10 Wedding Wall Art Size Guides for Perfect Styling
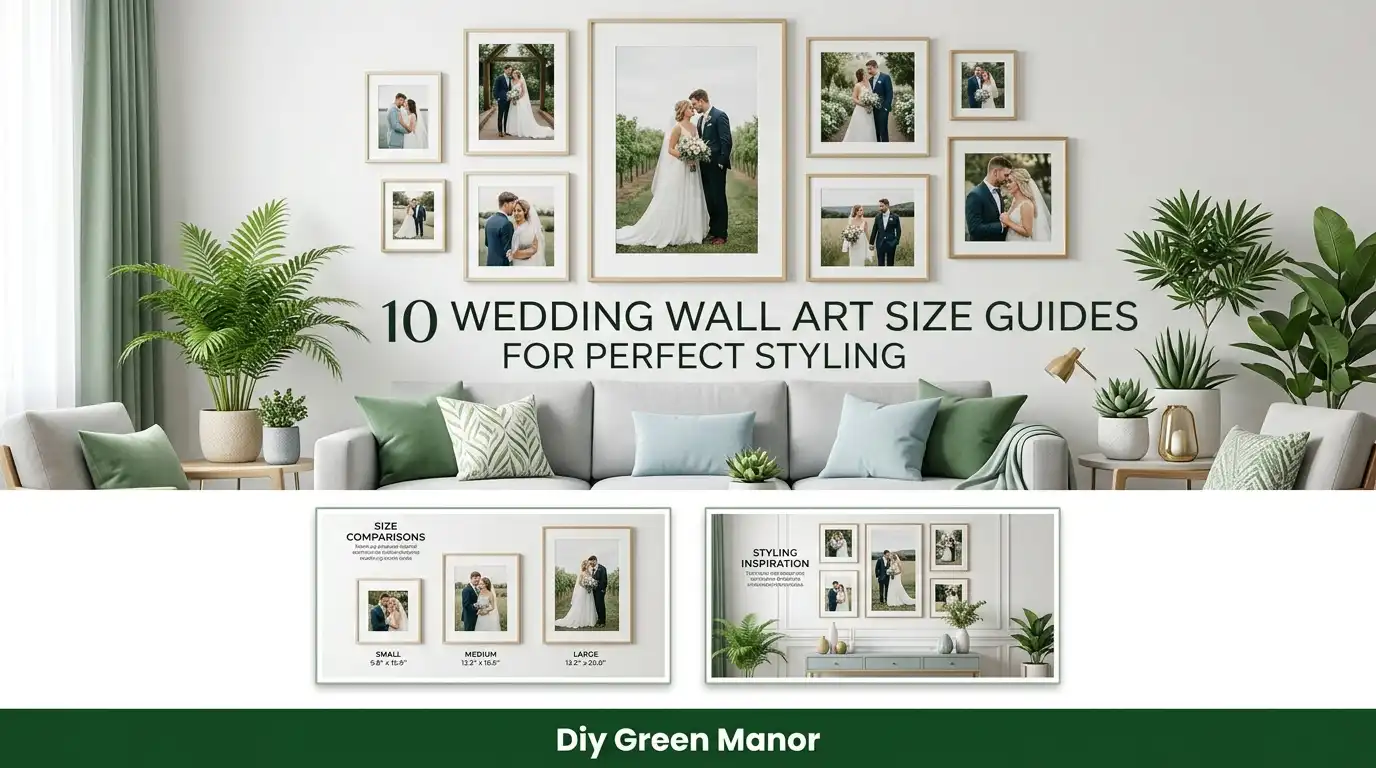
Preserving your wedding memories through gallery-quality canvas prints, custom framed portraits, and fine art acrylic displays turns your special day into timeless home decor. However, choosing the right print size and layout proportion is just as important as selecting the photographs themselves. A single small print on a vast living room wall can feel lost, while an oversized display in a compact hallway can overwhelm the space.
Whether you are styling a focal wall above your sofa, creating an intimate bedroom gallery, or lining an entryway stairwell, aligning your print dimensions with room scale ensures a balanced, professional look. From dramatic statement canvases to structured grid layouts, here is your definitive 10-part wedding wall art size and styling guide to showcase your love story perfectly.
1. The Single Oversized Statement Canvas (30×40 or 36×48 Inches)
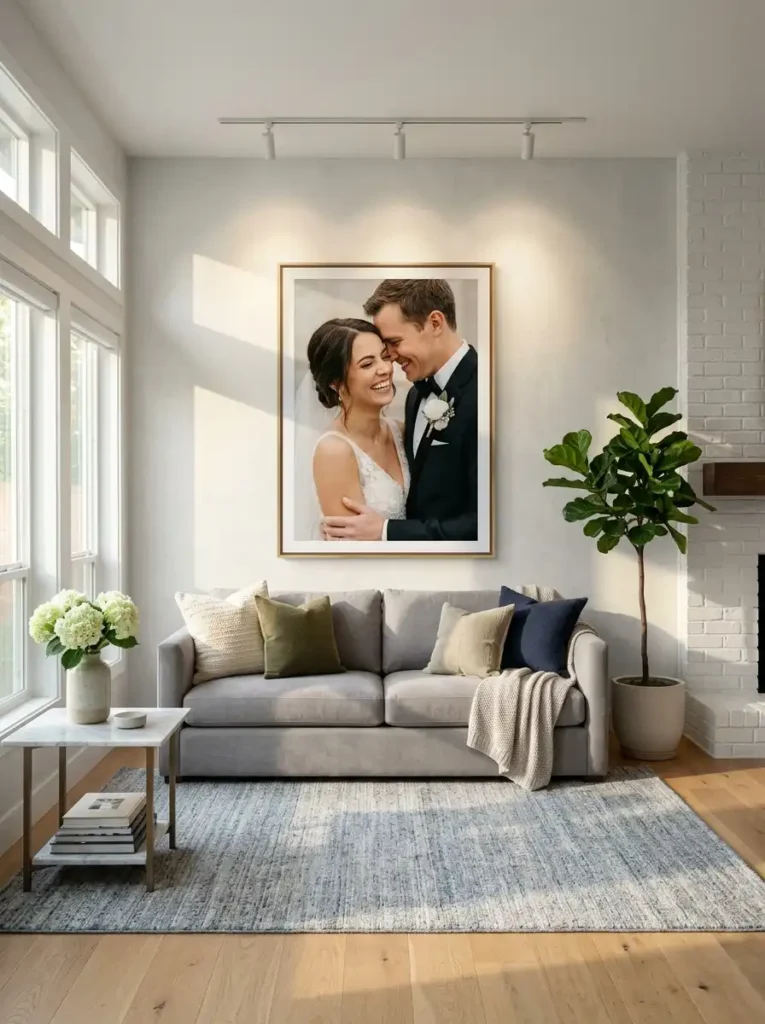
For primary focal points—such as the wall above your living room sofa or fireplace mantel—a single oversized canvas creates an undeniable center of attention. Prints sized at 30×40 inches or 36×48 inches capture every crisp detail of your favorite wedding portrait, bringing high-end gallery elegance into your home.
When hanging a single large print above furniture, follow the two-thirds rule: the total width of the artwork should span approximately 60% to 75% of the furniture’s width beneath it. Hang the canvas so its vertical midpoint sits roughly 57 to 60 inches from the floor for optimal eye-level viewing.
2. The Classic Triptych Trio (Three 16×24 or 20×30 Inch Prints)
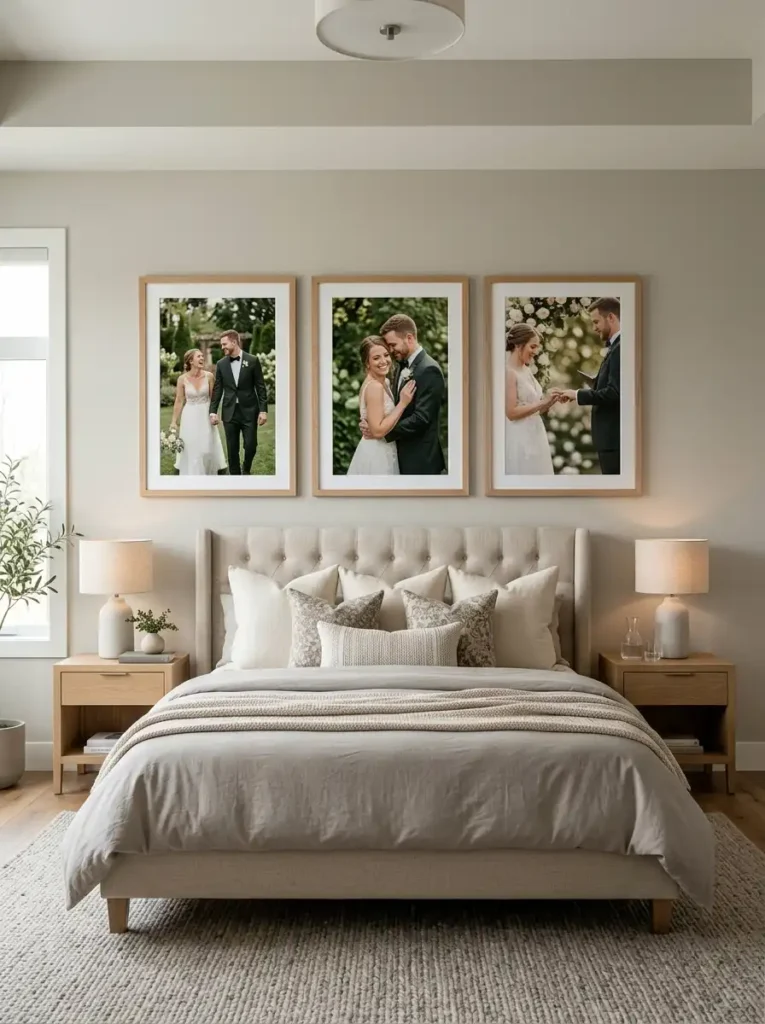
A triptych layout uses three identical frame sizes arranged side by side to tell a continuous story. Combining three 16×24 inch or 20×30 inch vertical prints works exceptionally well above king or queen-size bed headboards, long dining sideboards, or wide hallway walls.
Select three complementary photographs with cohesive lighting and color palettes—such as a wide landscape venue shot flanked by two intimate couple portraits. Maintain a strict 2 to 3-inch gap between each frame to create a clean, unified visual line across the wall.
3. The Balanced 4-Frame Square Grid (Four 16×16 or 20×20 Inch Prints)
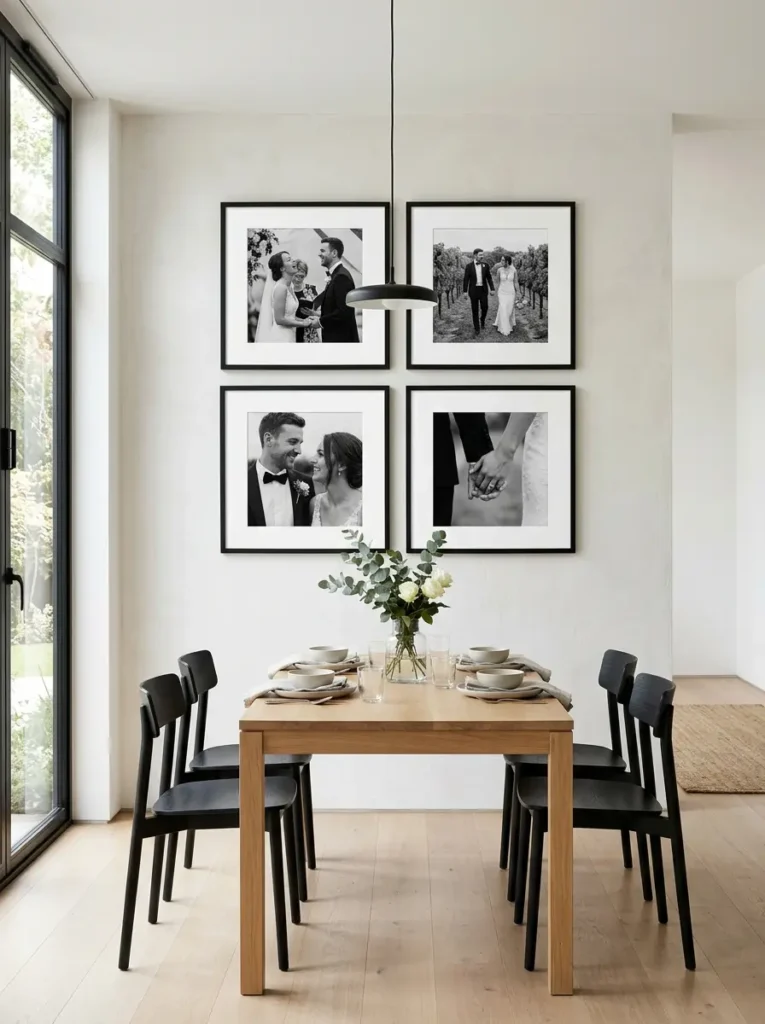
Symmetrical grid displays bring structured order, modern balance, and visual harmony to square walls or dining room focal areas. Arranging four square prints sized at 16×16 inches or 20×20 inches into a 2×2 grid creates an impactful architectural feature without feeling overly busy.
Use identical frames and extra-wide white matting to give your photos a sleek, curated gallery appearance. Square grids work brilliantly for highlighting key wedding moments, such as the first kiss, ring exchange, bouquet detail, and first dance.
4. The Center Anchor Layout (One 24×36 Flanked by Two 12×18 Inch Prints)
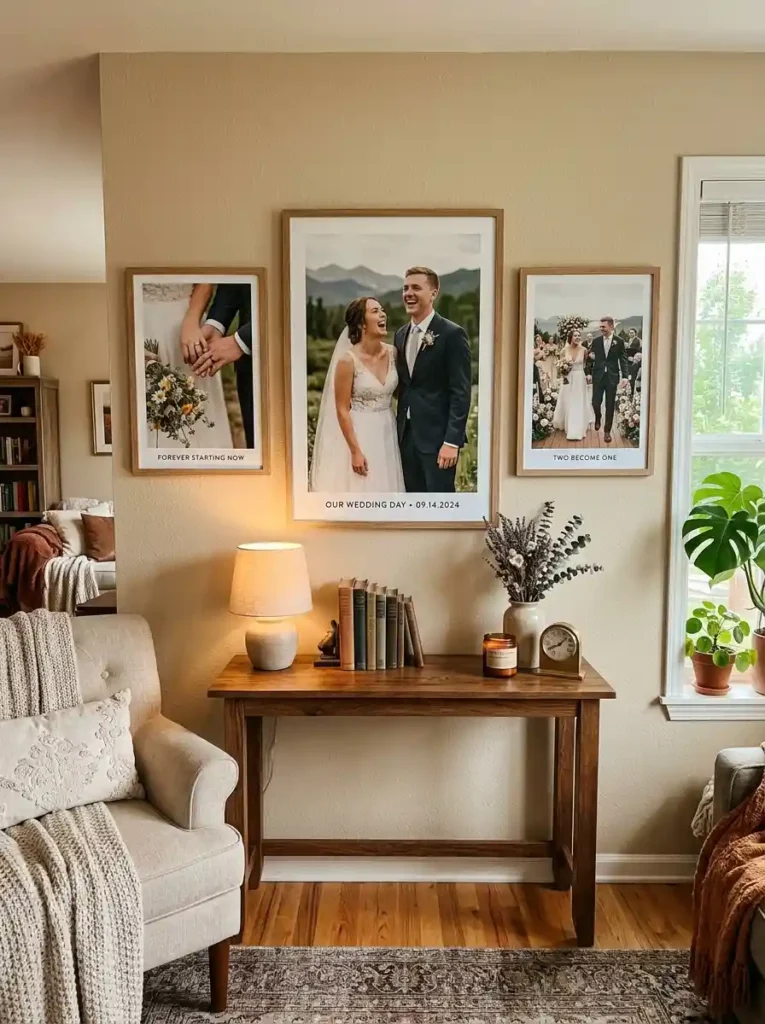
The center anchor layout uses a prominent central portrait surrounded by smaller accent pieces to create dynamic hierarchy. Positioning a bold 24×36 inch portrait in the middle with a vertical 12×18 inch frame on either side anchors the wall while offering space for variety.
This layout is ideal for blending a primary couple portrait with close-up detail shots, such as your wedding vows, floral arrangements, or bridal party portraits. Keep spacing consistent at 2 to 3 inches between all three frames to maintain balance.
5. The Grand 9-Frame Gallery Grid (Nine 11×14 or 12×12 Inch Prints)
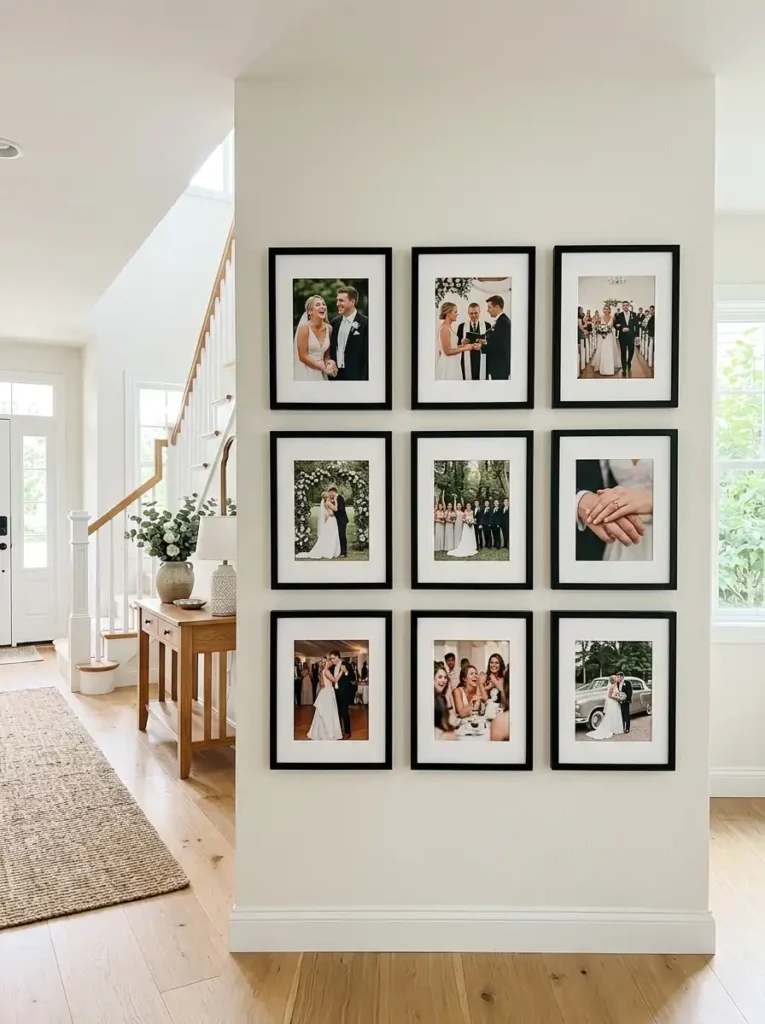
For wide, open spaces like main hallways or grand entry foyers, a 3×3 gallery grid of nine identical 11×14 inch or 12×12 inch framed prints turns your wedding album into a museum-style wall installation.
A nine-frame grid allows you to showcase the full story of your wedding day chronologically—from getting-ready moments and ceremony vows to sunset portraits and reception celebrations. Aligning all frames with precise spacing yields an impressive, high-end display.
6. The Vertical Stairwell Cascade (Mixed 11×14, 16×20, and 8×10 Inch Prints)
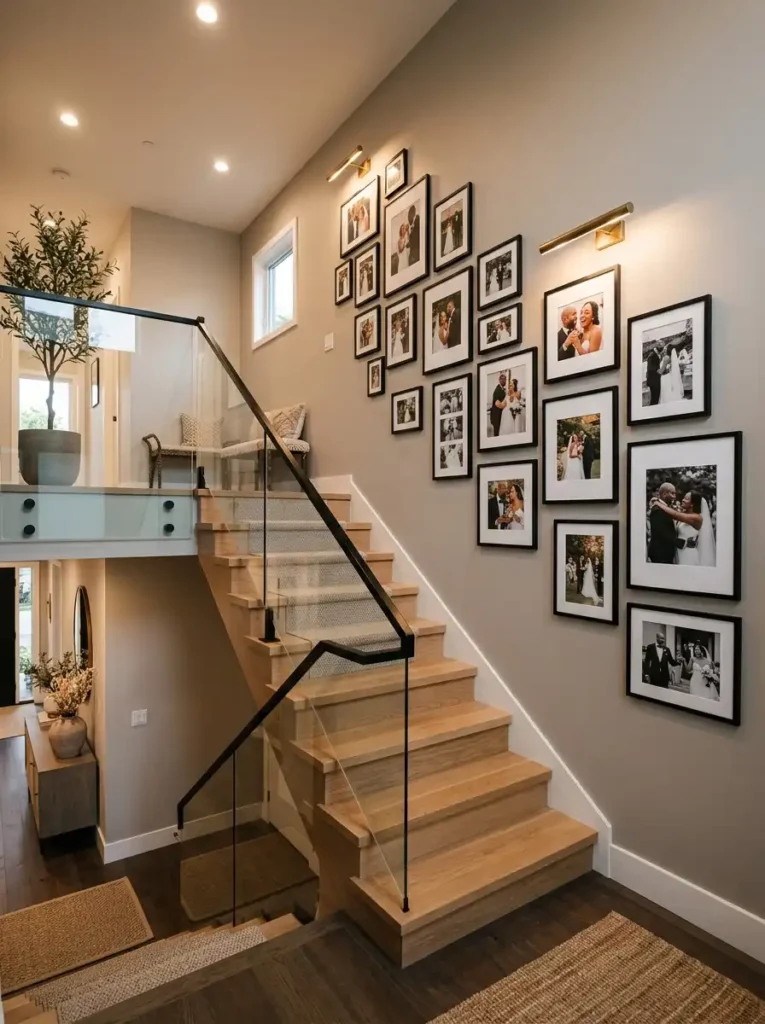
Stairwells present a unique design challenge due to their angled, ascending perspective. Creating a cascading display of mixed sizes—such as 16×20, 11×14, and 8×10 inch frames—allows your wall art to follow the natural incline of the stairs effortlessly.
Establish an imaginary baseline parallel to the handrail roughly 5 feet above the stair treads. Position your largest frames along this centerline first, then fill in above and below with smaller prints to create an organic, balanced gallery.
7. The Panoramic Landscape Feature (12×36 or 20×60 Inch Prints)
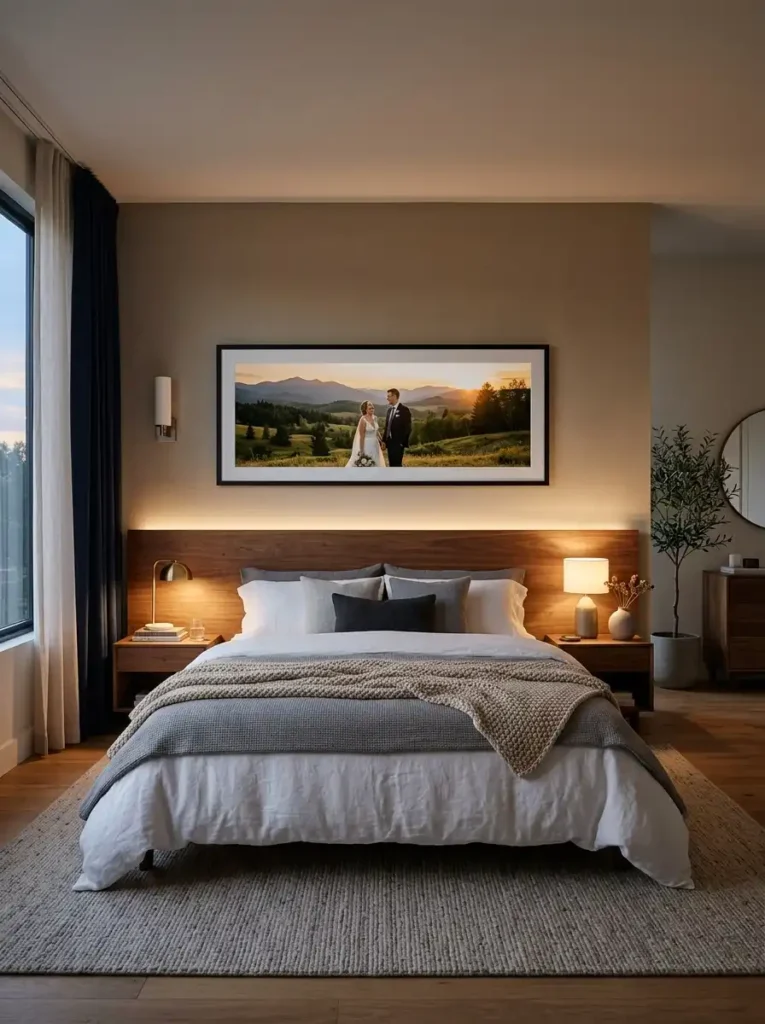
Panoramic prints excel at displaying wide-angle photography, such as outdoor ceremony vistas, scenic mountain backdrops, or dramatic sunset venue shots. A 12×36 inch or 20×60 inch panoramic print fills horizontal wall space above low-profile headboards or long sofas effortlessly.
Panoramic ratios (2:1 or 3:1) draw the eye horizontally, making narrow rooms feel wider and more expansive. Protect ultra-wide prints with anti-glare museum glass to preserve rich sky gradients and subtle landscape details.
8. The Asymmetrical Organic Gallery (Mixed 8×10, 11×14, 16×20 & 20×24 Prints)
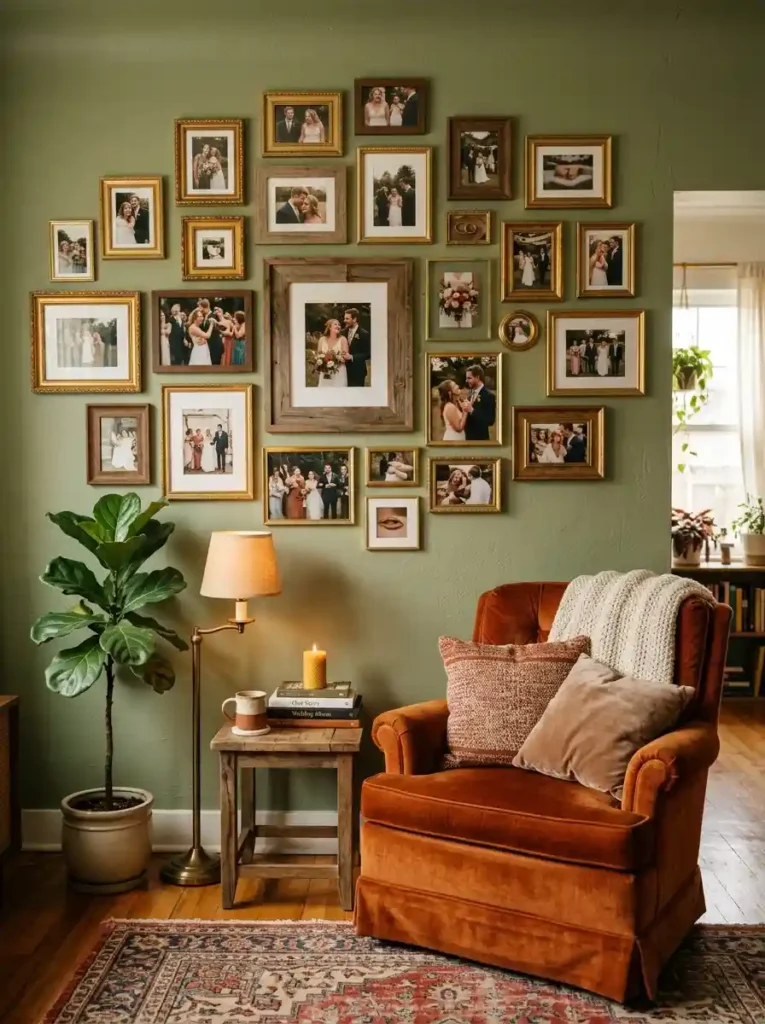
If you prefer a relaxed, collected-over-time aesthetic, an asymmetrical gallery wall combines multiple frame sizes and finishes into an artistic arrangement. Mixing 8×10, 11×14, 16×20, and 20×24 inch prints adds personality and warmth to reading nooks or home offices.
Start by placing your largest anchor frame slightly off-center, then arrange smaller frames around it organically. Laying all frames out on the floor first allows you to adjust spacing and balance before driving nails into the wall.
9. The Narrow Accent Column (Three 11×14 or 12×16 Inch Prints Stacked Vertically)
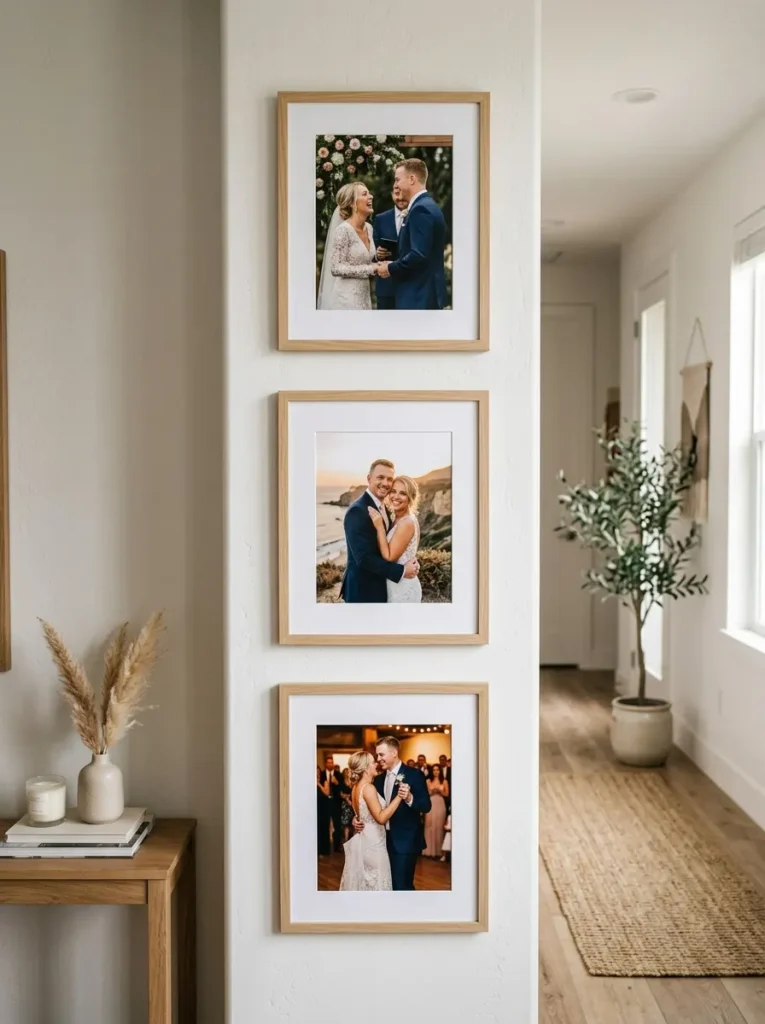
Narrow walls between doorways, windows, or architectural pillars require vertical styling to maximize utility without crowding the space. Stacking three 11×14 inch or 12×16 inch vertical prints in a clean column turns awkward tight spots into intentional design features.
Vertical stacks draw the eye upward, giving the illusion of higher ceilings in compact hallways or powder room entryways. Choose clean, slim frames in natural oak or white to keep the presentation light and airy.
10. The Ledge Shelf Floating Display (11×14 to 20×30 Inch Mixed Layering)
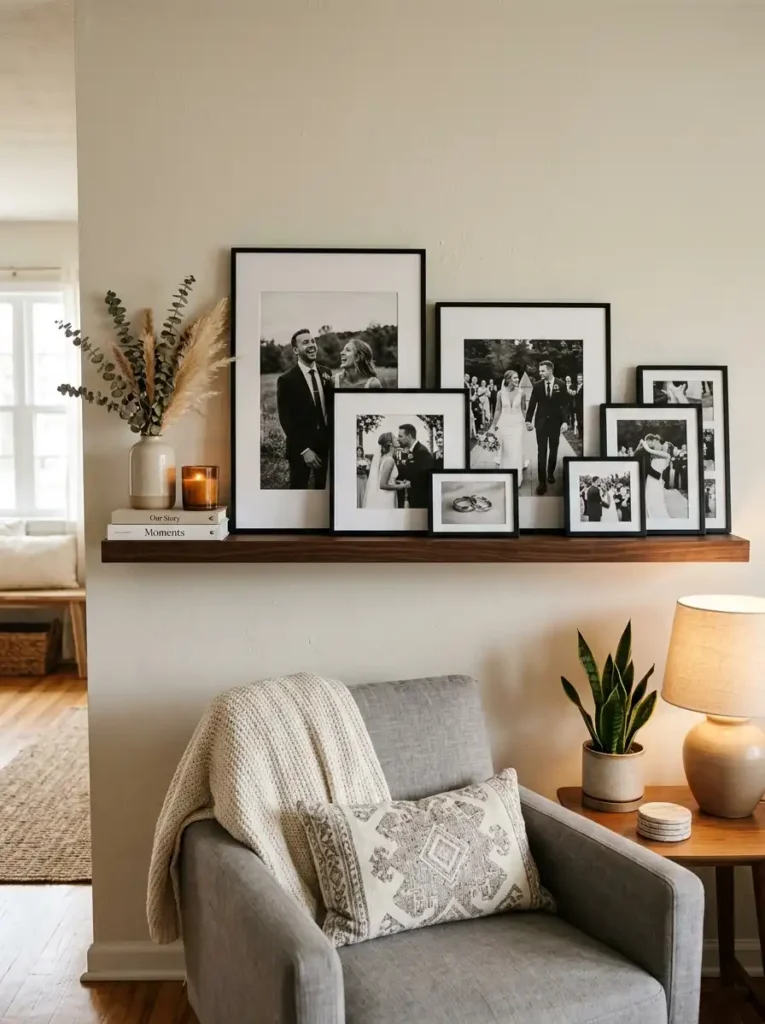
Floating picture ledges offer the ultimate flexibility for displaying wedding photography without making permanent wall holes. Placing a 4 to 6-foot wooden photo ledge above a credenza allows you to lean and layer prints ranging from 11×14 up to 20×30 inches seamlessly.
Layering larger frames behind smaller ones creates rich depth and texture. The best part about picture ledges is the freedom to rotate photos, swap seasonal shots, or add anniversary portraits over time without re-hanging hardware.
🌷 Conclusion
Styling your wedding wall art is about finding the right harmony between photograph scale, frame proportions, and room architecture. Whether you opt for a bold single statement canvas above your sofa, a structured grid display in your hallway, or a flexible floating picture ledge, proper sizing ensures your wedding memories shine as timeless interior design elements.
Which wedding wall art layout fits your home’s aesthetic best? Save your favorite size guides and AI prompts to your Pinterest home decor boards, share your wall transformations with us, and explore DIY Green Manor for more home styling, art framing, and lifestyle inspiration!