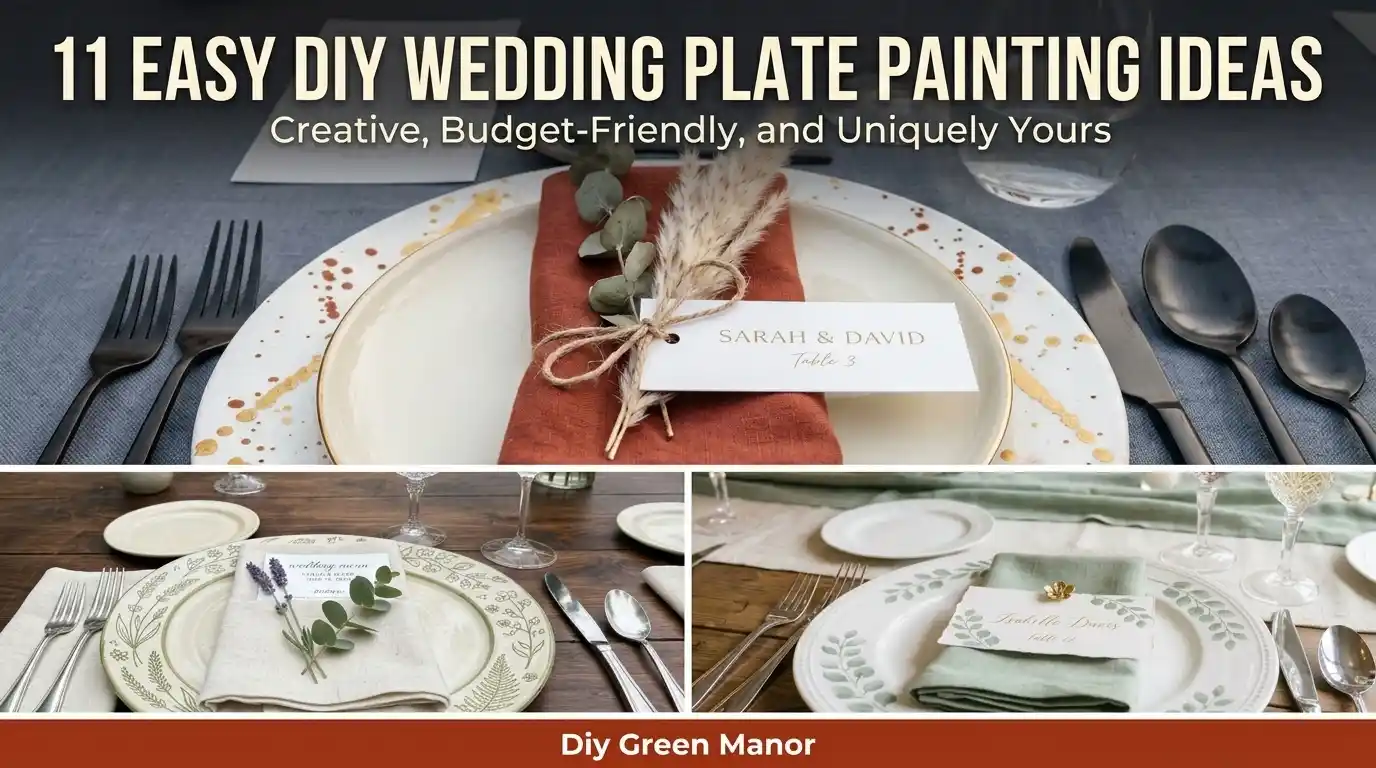
11 easy diy wedding plate painting ideas
Hand-painted dinnerware and custom charger plates bring a personal, artistic flair to your wedding reception that mass-produced rentals simply cannot match. Whether you want to create memorable keepsake plates for your head table, design custom chargers for your guests, or gift painted commemorative platters to your bridal party, hand-painted porcelain and ceramic crafts offer endless creative freedom.
Using affordable ceramic paints, porcelain paint pens, and baked-on glass paints, transforming plain ceramic or glass plates into stunning reception decor is a fun, budget-friendly project. Here are 11 easy DIY wedding plate painting ideas to elevate your tablescapes with handmade elegance.
1. Minimalist Gold Leaf & Paint Rimmed Chargers
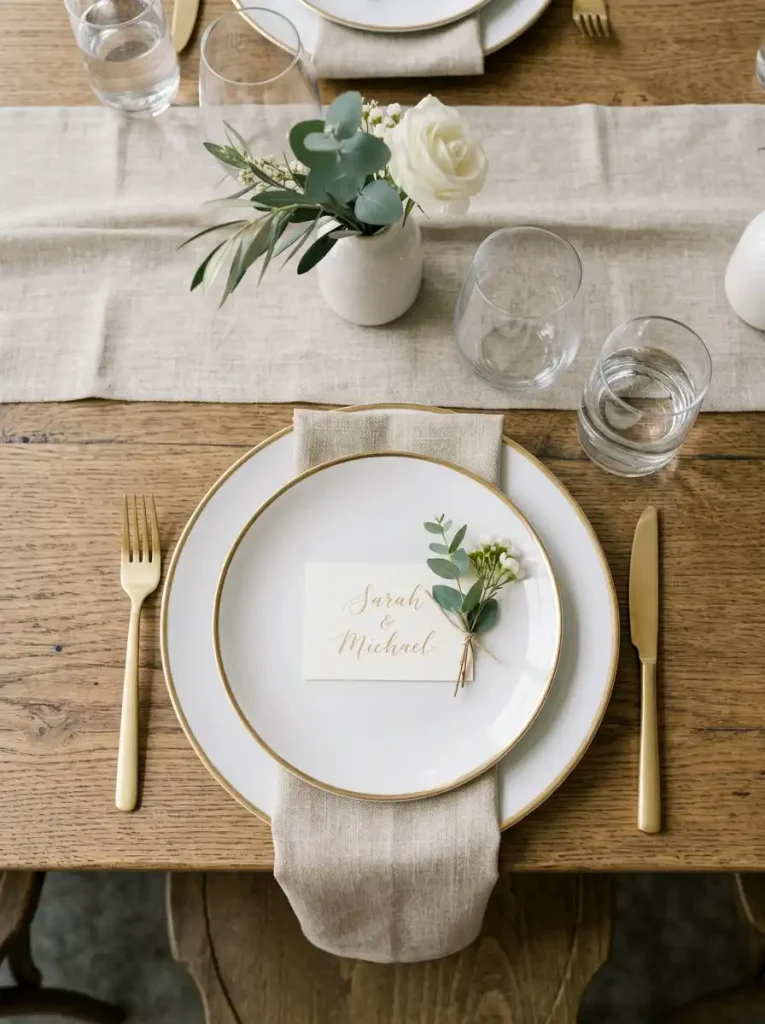
Transform plain porcelain or clear glass charger plates by applying a metallic rim. Using food-safe gold, copper, or rose gold ceramic paint, brush a thin, delicate band around the outer edge of each plate. For a textured, vintage look, use gilding adhesive and genuine gold leaf flakes along the border, sealing it with a gloss sealant.
This clean, metallic detail adds instant warmth to your place settings while complementing candlelit reception tables seamlessly.
2. Monogrammed Couple’s Crest Keepsake Plate
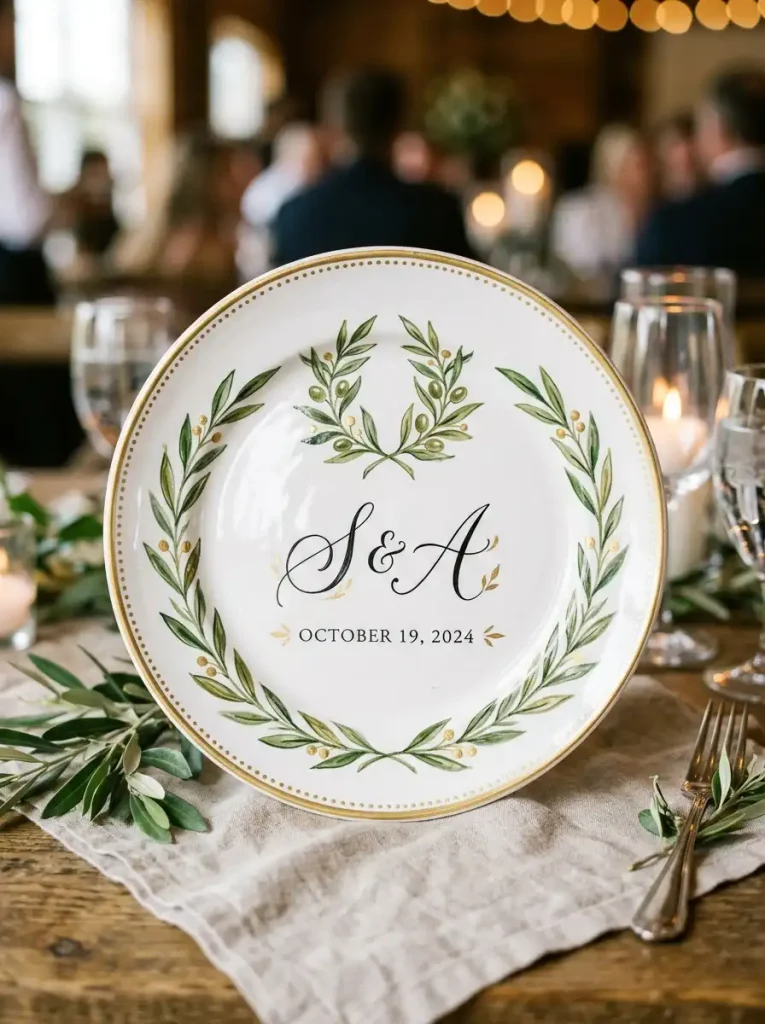
Create a focal point for the head table by painting a custom crest featuring your initials, wedding date, and a delicate botanical wreath. Draw your design first using a fine-point oil-based porcelain marker or charcoal pencil, then fill in the lines with fine detail paintbrushes.
Bake the finished plate according to the paint manufacturer’s instructions to cure the paint, producing a durable keepsake you can display in your home long after the wedding day.
3. Delicately Inked Pressed Flower Silhouette Plates
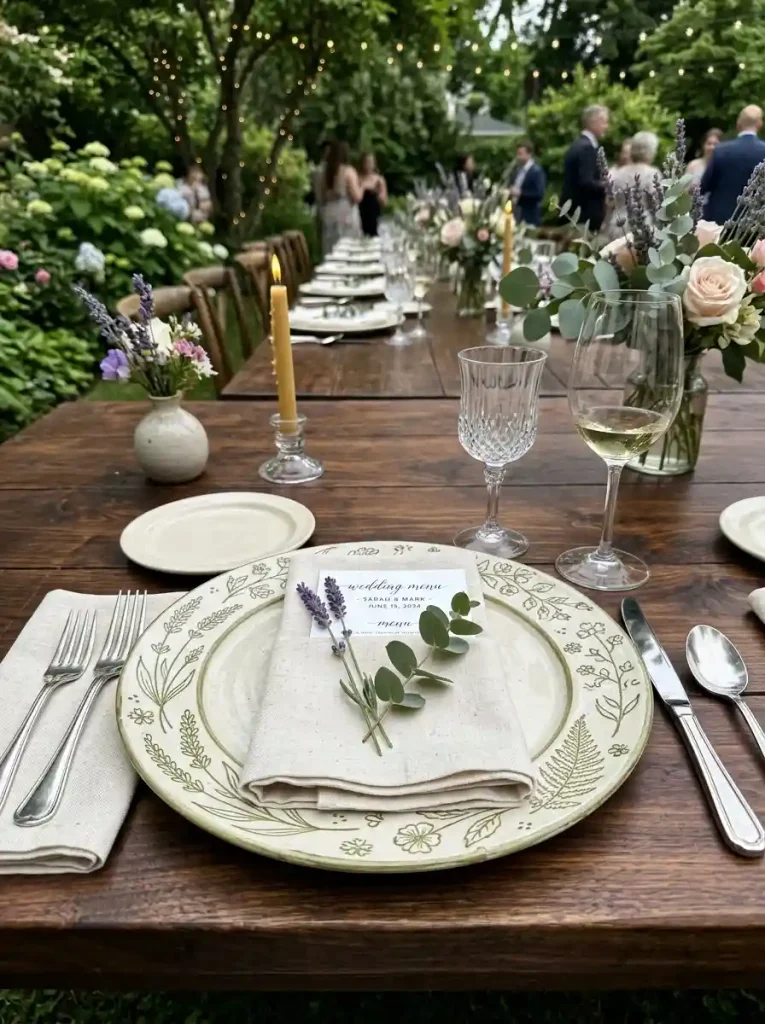
Combine the beauty of florals with simple line art by painting silhouette outlines of pressed flowers and garden herbs around the outer plate rims. Use dark olive green, terracotta, or navy porcelain paint pens to trace wild daisy, fern, and lavender shapes.
This subtle, organic design adds a gentle botanical feel to outdoor, rustic, or garden-themed wedding receptions without overwhelming your overall table decor.
4. Watercolor Wash & Calligraphy Place Name Plates
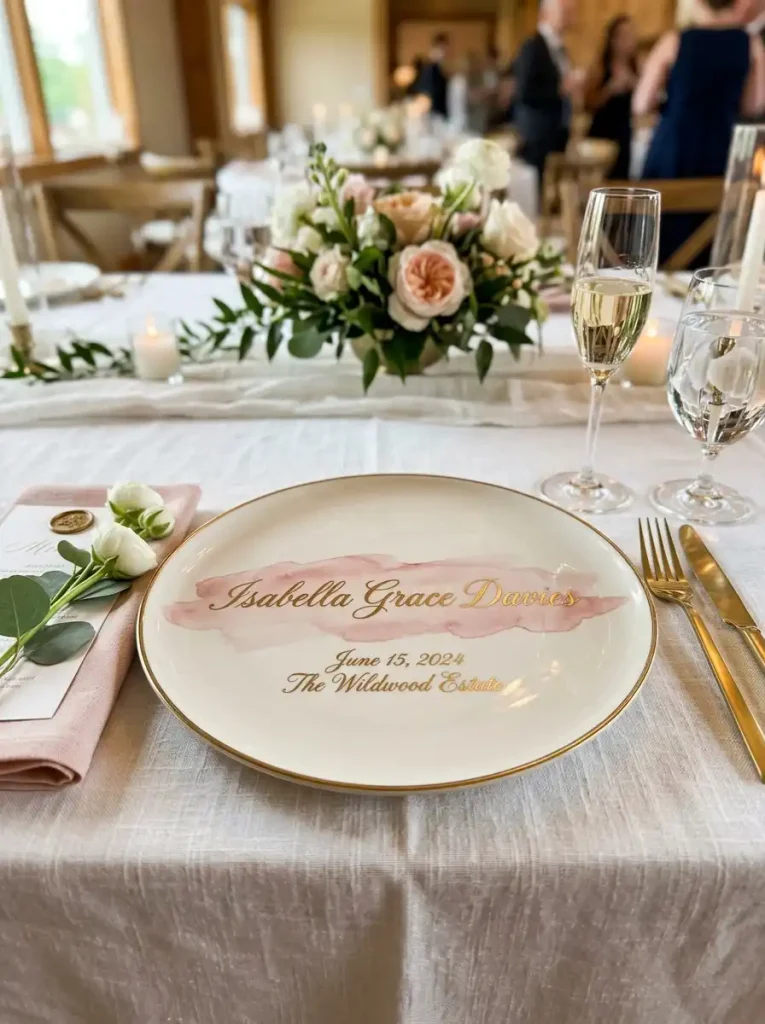
Serve a dual purpose at your reception by creating plates that function as both charger decor and personal place cards. Paint a soft, diluted watercolor-style paint stroke across the center of a white ceramic plate using ceramic glass paint. Once dry, use a fine gold or black paint pen to write each guest’s name across the color wash.
Your guests can take these personalized plates home as memorable wedding favors that showcase your handiwork.
5. Classic Blue & White Delftware-Inspired Patterns
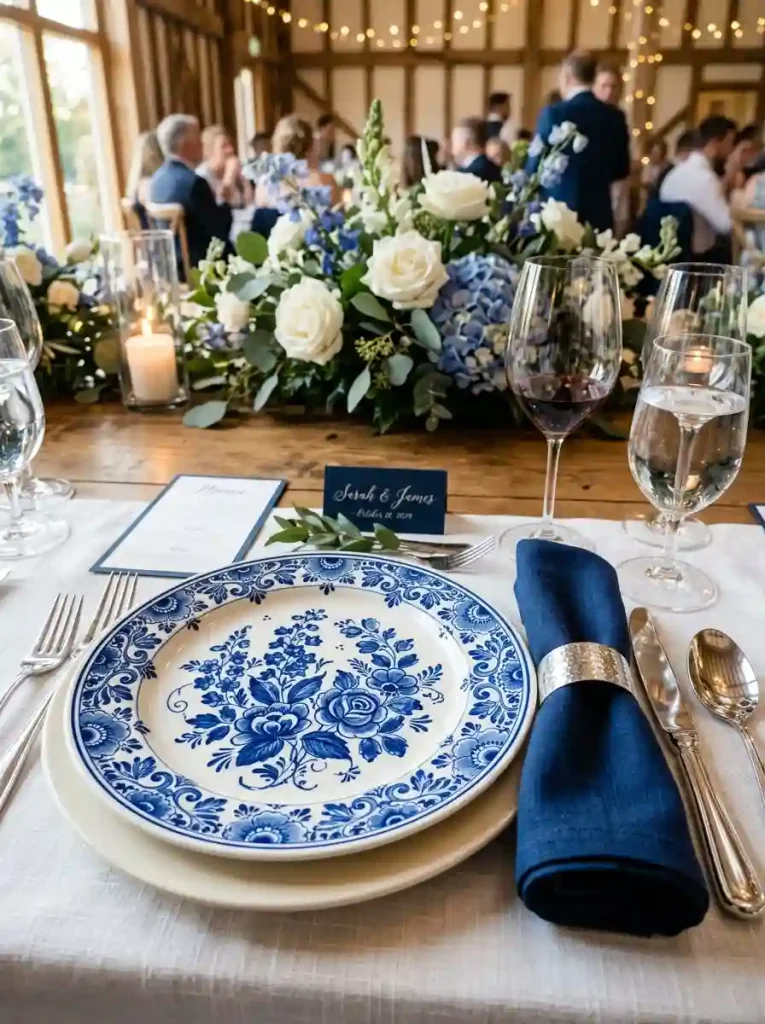
Capture timeless European elegance by painting intricate blue floral motifs on crisp white ceramic plates. Inspired by vintage Delftware or French Chinoiserie pottery, use varying shades of cobalt blue porcelain paint to draw delicate vines, blossom clusters, and decorative border scrolls.
These classic blue-and-white plates pair beautifully with classic garden, coastal, or romantic estate wedding themes.
6. Abstract Splatter Art Accent Chargers
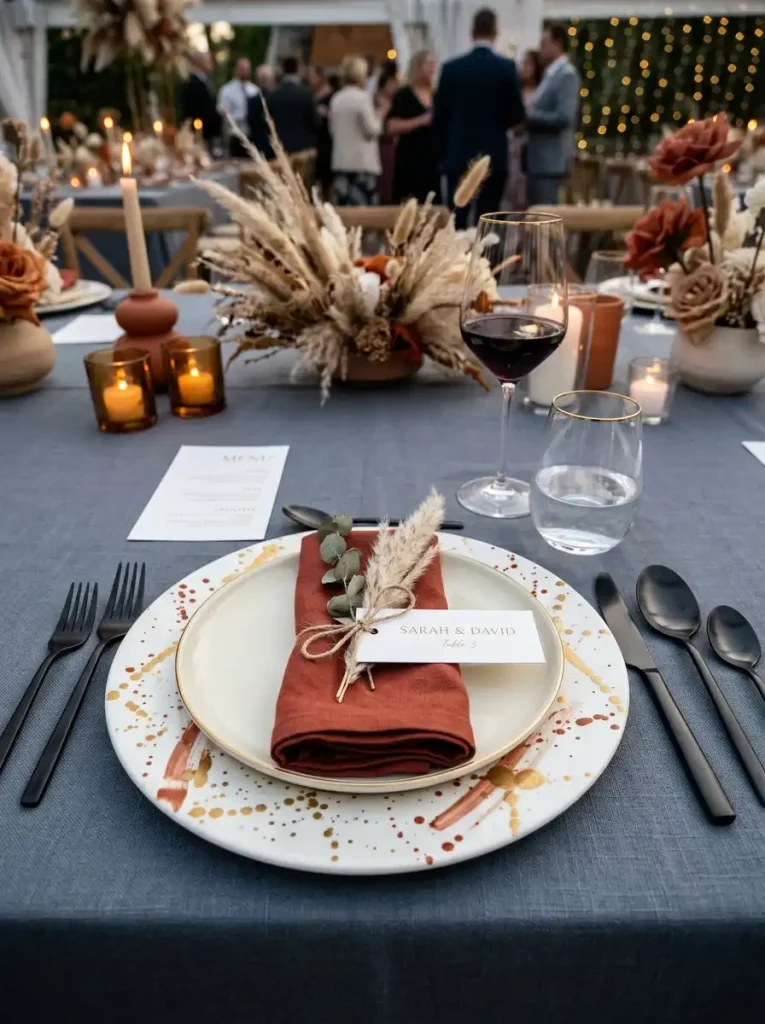
If you love modern, bohemian, or eclectic decor, abstract splatter painting offers an easy, low-stress DIY technique. Dip an acrylic paintbrush into gold, emerald green, or terracotta ceramic paint, then flick the brush over plain white chargers to create random, artistic speckles.
Because no two plates turn out identical, this technique gives your wedding table setting an organic, hand-crafted aesthetic with minimal effort.
7. Modern Geometric Border Patterns
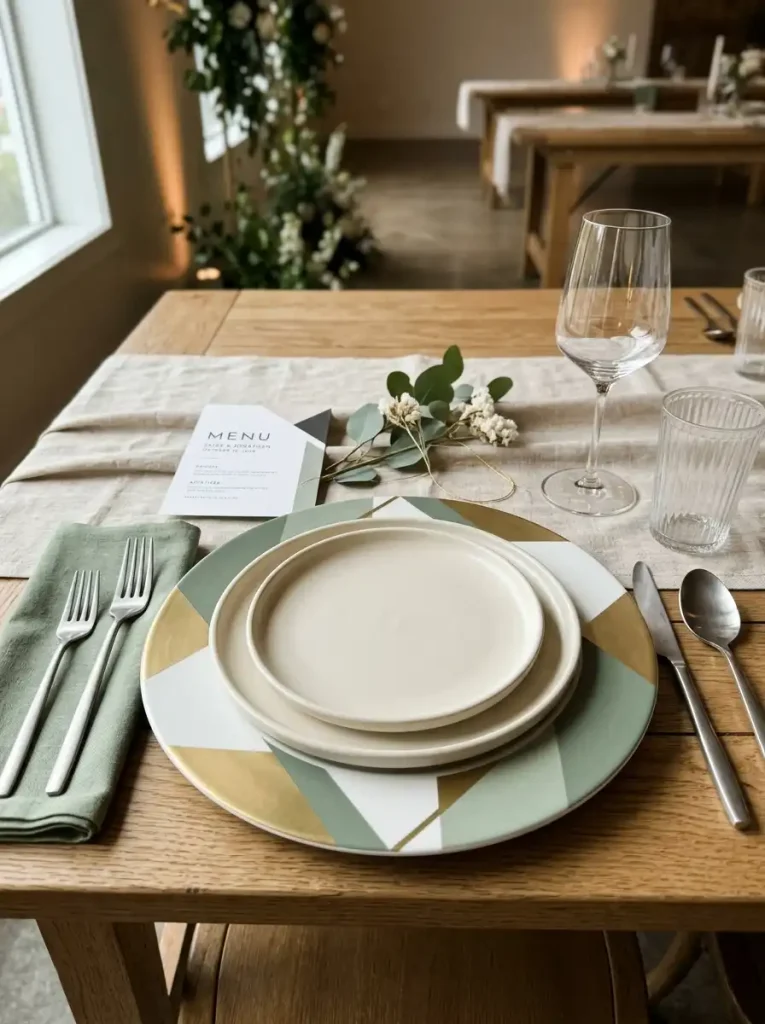
Add clean lines and modern flair to your reception dinnerware by taping off sharp geometric angles along the plate borders with painter’s tape. Paint the exposed ceramic with bold colors like slate gray, sage green, or matte black, removing the tape while the paint is slightly tacky to reveal crisp, straight edges.
This structured look suits urban loft receptions, contemporary gallery venues, and minimalist wedding themes.
8. Faux Marble Swirl Plates
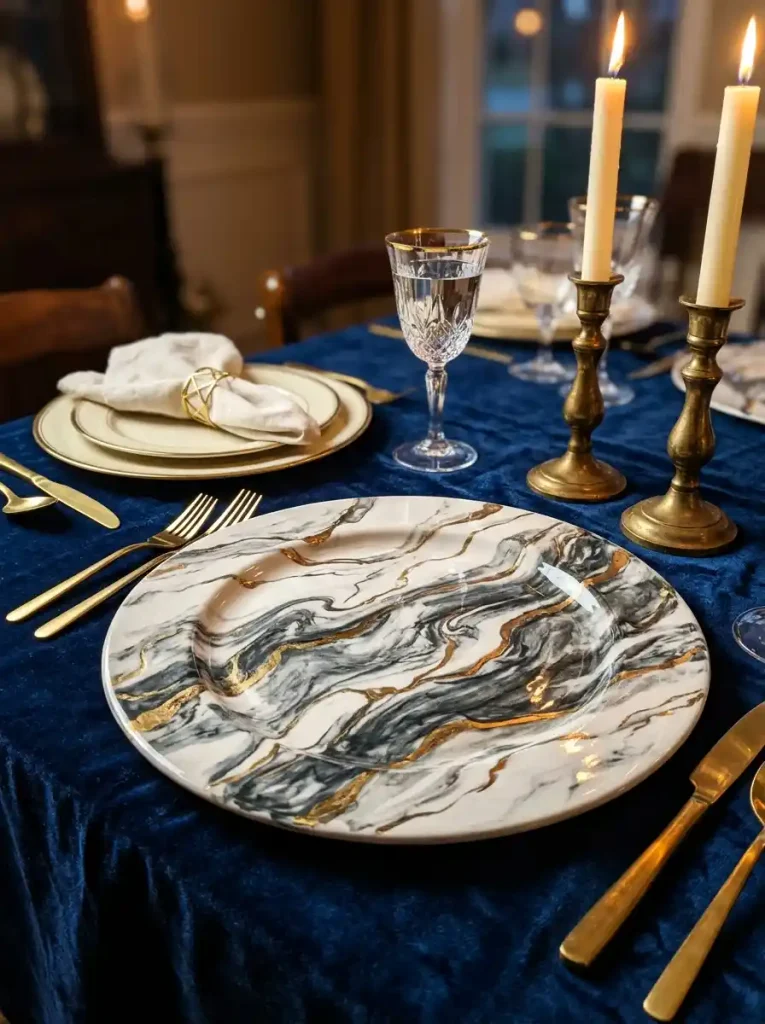
Achieve the luxurious look of real marble without the high cost. Pour small drops of two contrasting ceramic paint colors (such as white and charcoal gray, or cream and soft green) onto a paper plate. Dip a sea sponge or marbling brush into the paint mixture, gently dabbing and swirling the colors along the plate edges to imitate natural marble veining.
Finish the design with subtle touches of metallic gold paint veins to enhance the high-end, polished stone illusion.
9. Pressed Botanical Stencil Impressions
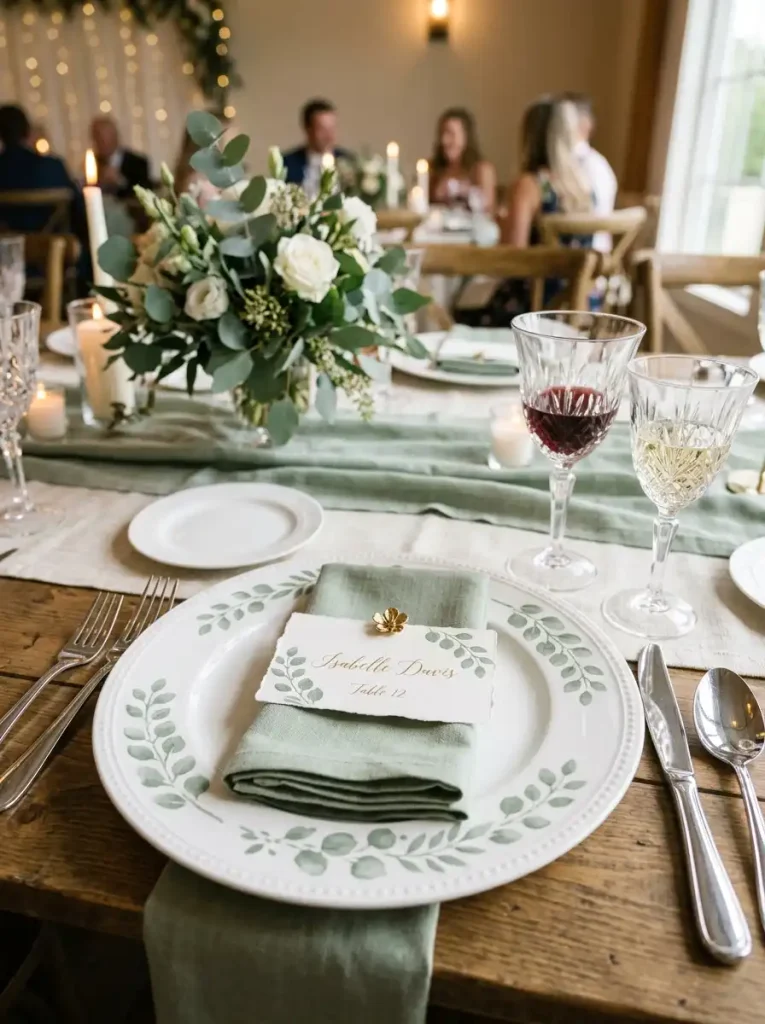
For a precise floral look without advanced painting skills, use flexible botanical stencils. Secure a fern, eucalyptus, or olive leaf stencil onto the plate surface with low-tack tape, then use a foam pouncer brush to dab ceramic paint over the stencil cutouts.
This technique allows you to produce uniform, professional-looking botanical patterns across dozens of guest plates quickly and efficiently.
10. Moody Ombre Color Gradient Rim
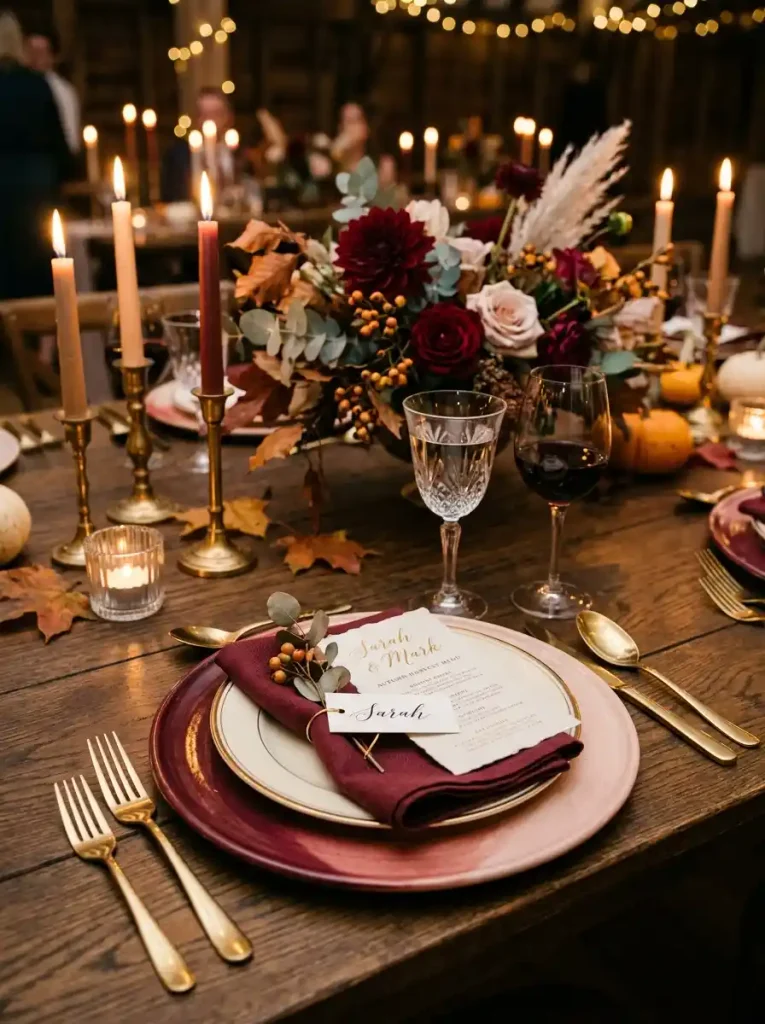
Create dramatic depth on your reception tables by painting an ombre color transition along the outer rims of your plates. Start with a deep shade at the outer edge (such as burgundy, navy, or forest green) and use a damp cosmetic sponge to blend the color inward into lighter, sheer tones toward the center.
This rich gradient effect adds a moody, romantic backdrop for your dinnerware, making it ideal for autumn or winter celebrations.
11. Celestial Night Sky & Starry Details
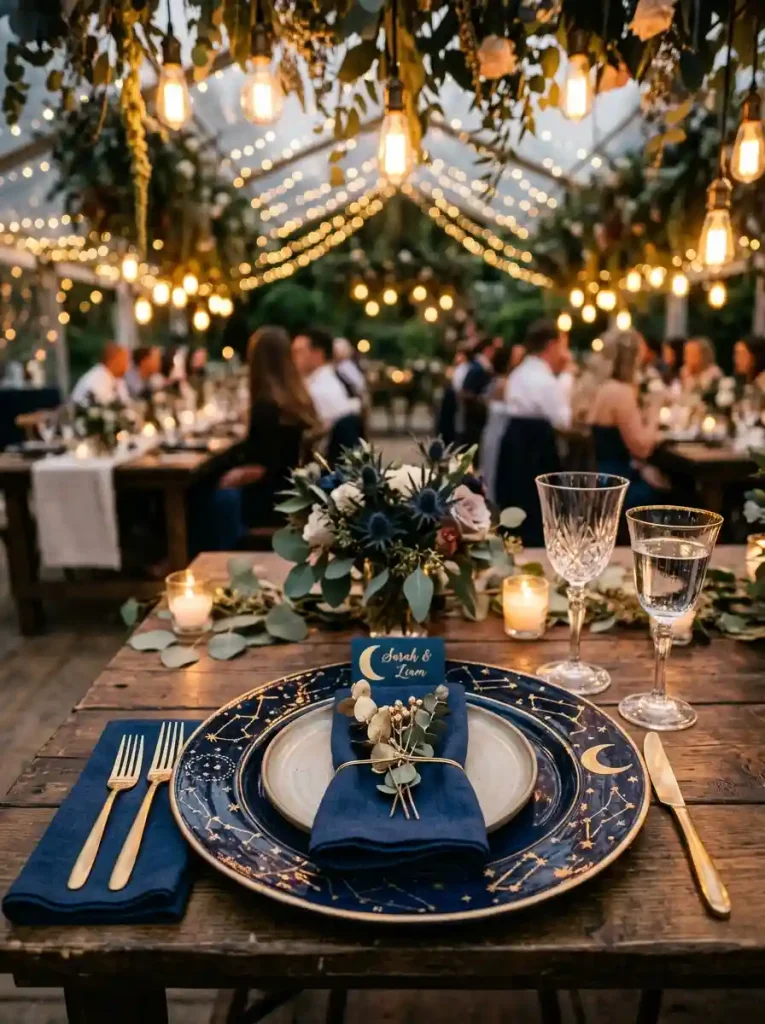
For an evening or stargazing-themed reception, paint the outer margins of dark navy or black ceramic plates with tiny, hand-painted constellation maps, crescent moons, and gold starbursts. Use fine-tipped gold and white metallic ceramic pens to detail the celestial designs.
Set against dark linens and twinkling candlelight, these celestial plates create an intimate, magical dining atmosphere for your guests.
Conclusion
Hand-painted DIY plates allow you to inject personal artistic expression into your wedding reception decor while keeping costs under control. Whether you choose minimal gold rims, intricate botanical illustrations, or personalized calligraphy place cards, these hand-crafted details bring warmth, creativity, and lasting memories to your special day.
Frequently Asked Questions (FAQ)
What type of paint should I use for DIY painted wedding plates?
Use specialty porcelain or ceramic paints (such as Pebeo Porcelaine 150) or oil-based paint markers designed specifically for glass and ceramic surfaces. If the plates will come into direct contact with food, ensure the paint is certified food-safe. Alternatively, paint only the outer rims or the undersides of clear glass charger plates so the painted surface never touches food.
How do I bake and cure painted ceramic plates so the design doesn’t wash off?
Most porcelain and ceramic paints require heat curing to set permanently. Allow your painted plates to dry completely for 24 hours, then place them in a cold household oven. Heat the oven to the temperature specified on your paint label (usually around 300°F/150°C) and bake for 30 to 35 minutes. Let the plates cool completely inside the oven before removing them to prevent cracking.
Are hand-painted wedding plates dishwasher safe?
While heat-cured ceramic paint is durable, hand-painted plates should generally be hand-washed gently with mild soap and a soft sponge. Avoid abrasive scrubbers and dishwasher cycles, as high heat and harsh detergents can fade or peel the painted details over time.
Can I paint the undersides of clear glass plates instead?
Yes! Reverse-painting the underside of clear glass charger plates is one of the best DIY techniques. Because you apply the paint to the bottom surface, the top remains completely smooth, easy to clean, and 100% food-safe.