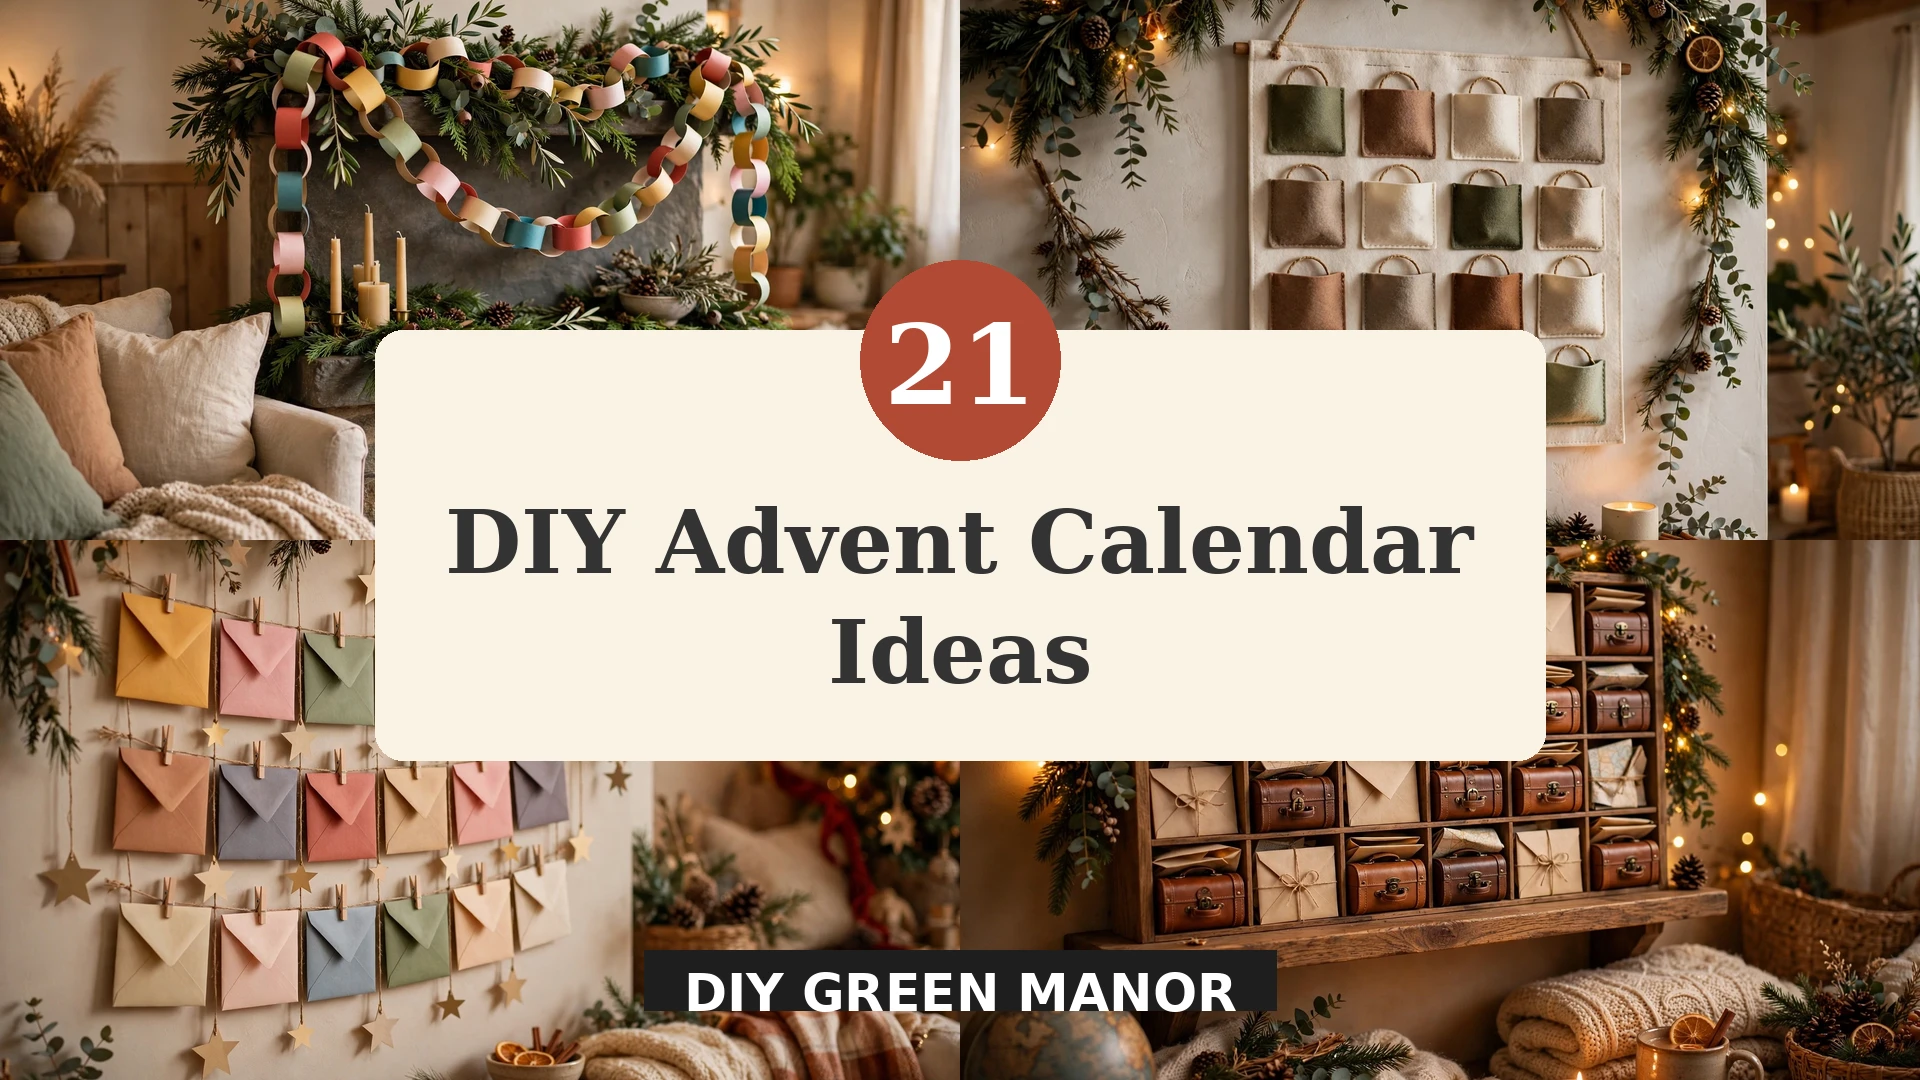
21 DIY Advent Calendar Ideas for a Countdown Worth Opening
21 DIY Advent Calendar Ideas for a Countdown Worth Opening
December mornings feel different when a little surprise is waiting, and a handmade advent calendar turns that feeling into a daily ritual. These DIY advent calendar ideas go far beyond chocolate behind cardboard doors, with pockets, drawers, jars, bags and books that you can fill with treats, notes, activities and small gifts. Each one is made to be opened, enjoyed and refilled year after year.
In this guide, you will find 21 advent calendar ideas for every home, budget and skill level, from a simple paper chain to a wooden drawer cabinet and a book advent the whole family can share. Each idea includes materials and styling tips, so you can start this weekend and be ready well before December 1. For matching Christmas decor, see our DIY Christmas ornament ideas, DIY Christmas wreath ideas and DIY Christmas garland ideas.
1. Classic Paper Chain Countdown
A paper chain countdown is the simplest advent calendar of all, and that simplicity is exactly why children love it. Twenty-four or twenty-five paper loops in Christmas colors hang in a long chain, and one link is torn off each day until Christmas arrives. The chain looks cheerful draped over a mantel, a doorway or a banister, and it costs almost nothing to make from construction paper or scrapbook paper. They also brighten hallways and kitchens daily.
Cut paper strips in red, green, gold and cream, write a small activity or treat note inside each loop before closing it, and link them in a repeating pattern. Hang the chain where children can reach it safely, and let a different family member tear off each day’s link. Save the notes from inside the loops, since they make a sweet record of the countdown once Christmas morning finally arrives. Children love choosing each day’s link.
- Use sturdy paper so links do not tear before their day arrives.
- Write activities inside loops, not just treats, for a varied countdown.
- Hang the chain out of reach of pets that might chew it.

2. Mini Stocking Advent Calendar
Mini stockings turn an advent calendar into a mantel display in its own right, with twenty-four tiny knitted or felt stockings hung in a neat row. Each stocking holds a small treat, a coin or a folded note, and the row looks charming against a wall, a mantel or a staircase banister. The stockings can be reused every year, which makes this a calendar that grows into a family tradition rather than a one-season craft.
Buy or sew mini stockings in one color family, clip them to twine with small clothespins, and number the order with tiny tags or by their position along the line. Fill each stocking the night before December starts, keeping treats small so stockings keep their shape. Hang the line at a height children can reach, and refill the stockings each year with new surprises. Number tags in order help younger children follow the countdown without needing to read dates.
- Choose stockings with a loop so they hang straight on twine.
- Keep fillings small and light to avoid stretching the stockings.
- Store stockings in a labeled bag so next December setup is quick.

3. Wooden Drawer Advent Cabinet
A wooden drawer advent cabinet is the most lasting calendar on this list, a small chest of drawers that becomes a piece of Christmas furniture. Each tiny drawer hides a treat or a note, and the cabinet itself looks beautiful on a console table, a sideboard or a mantel all December long. Because it is sturdy and refillable, it is the calendar many families keep for decades and pass down.
Look for a ready-made mini drawer unit at a craft store, or repurpose a small parts organizer, then paint it in cream, red or natural wood tones. Label the drawers in order, fill them with wrapped treats, tiny ornaments or activity cards, and place the cabinet where it will not be knocked over. Refill it each November, and let children open one drawer each morning before school. A daily drawer ritual gives children something special to anticipate each morning.
- Paint drawers before filling them, and let paint dry fully first.
- Use small wrapped treats so drawers close easily.
- Place the cabinet on a stable surface away from table edges.

4. Envelope Christmas Tree Wall
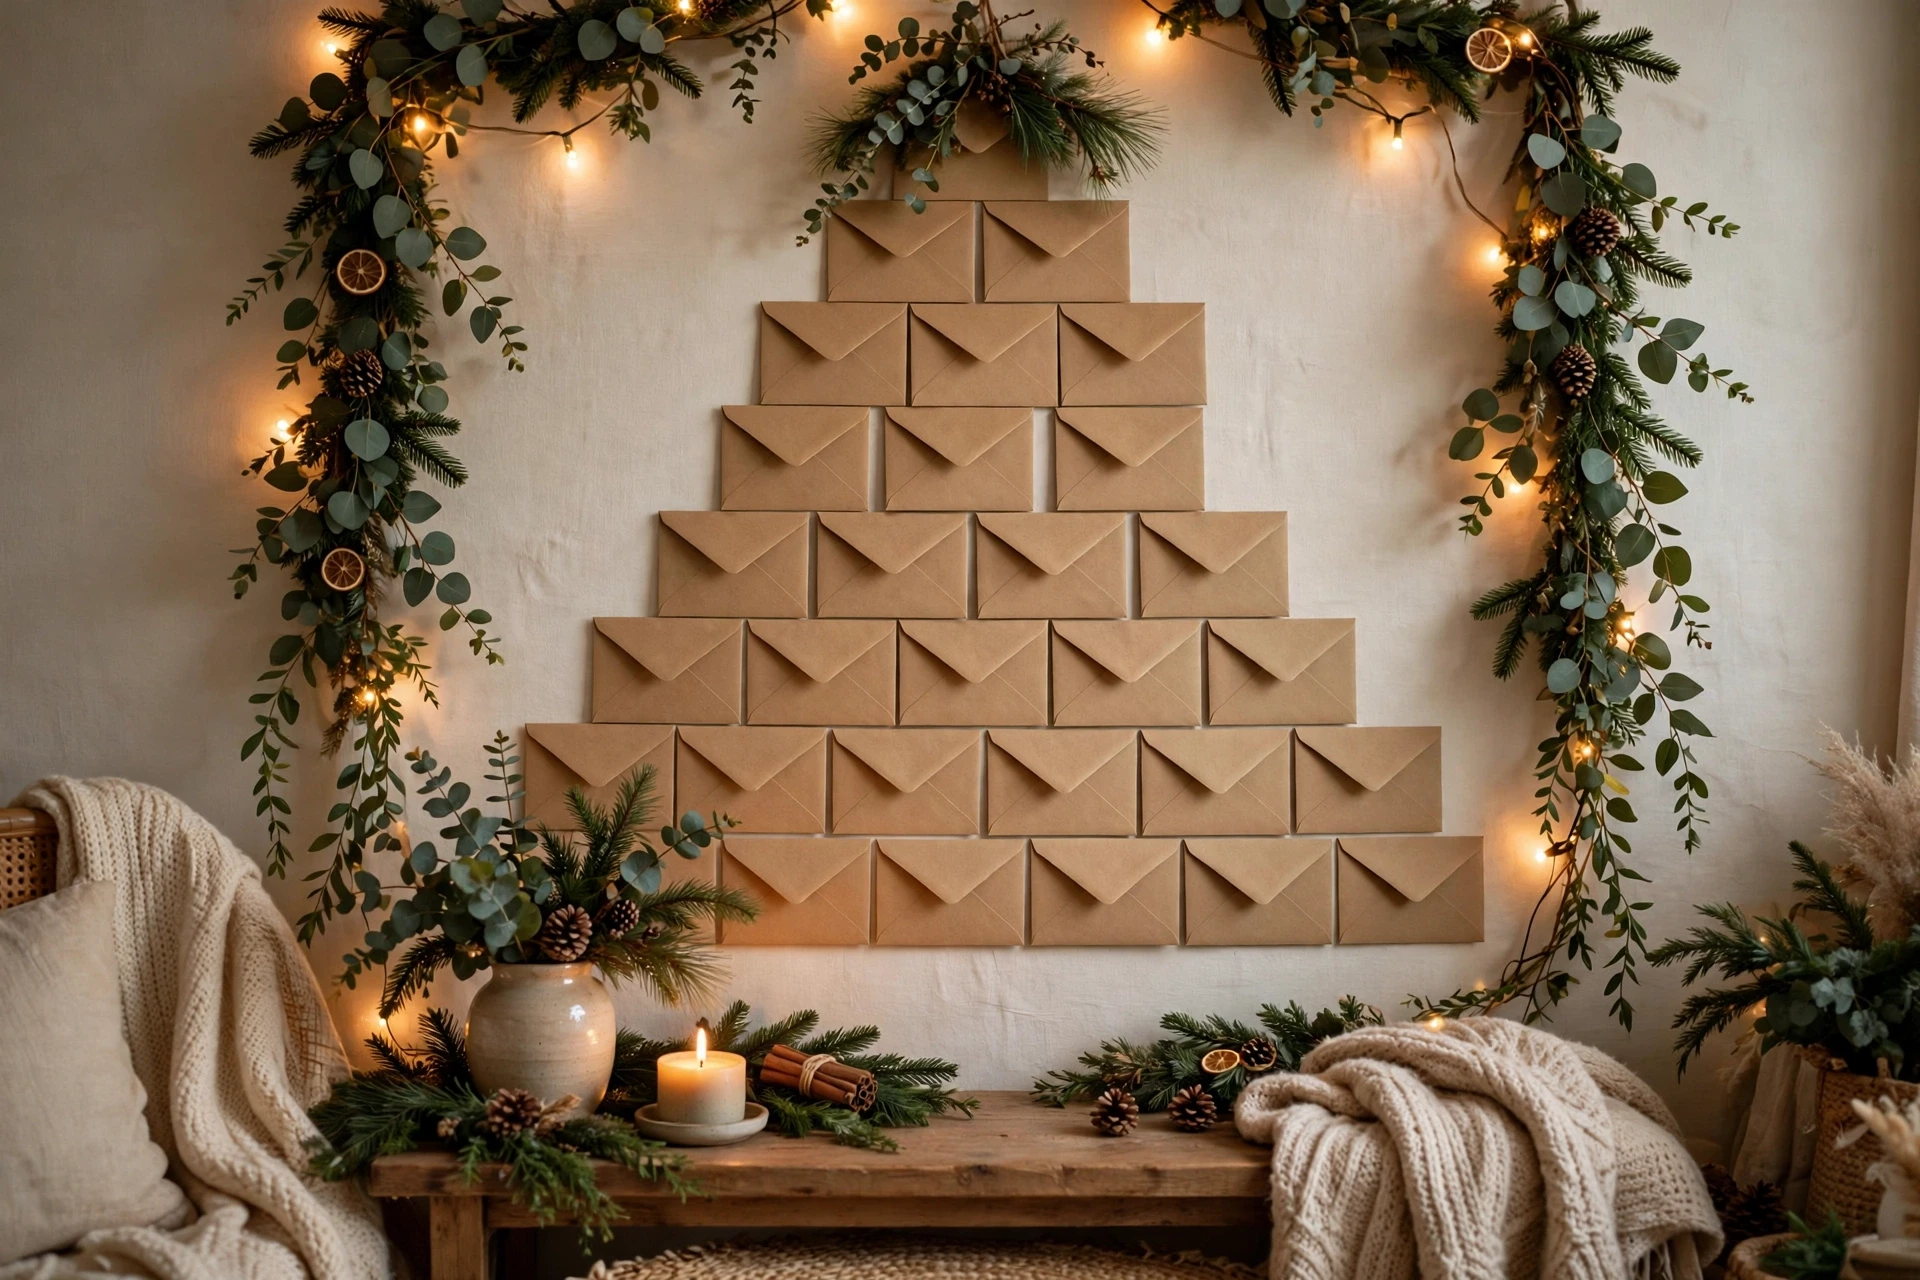
An envelope tree turns a blank wall into the countdown itself, with kraft envelopes arranged in the shape of a Christmas tree. Each envelope holds a note, a photo or a small flat gift, and the tree grows more exciting as envelopes are opened one by one. It is a wonderful choice for a small home, since it needs no shelf space and comes down easily after Christmas. It also photographs beautifully for holiday memories.
Seal twenty-four envelopes, decorate them with stamps, washi tape and greenery, and tape them to the wall in tree rows, widest at the bottom. Add a star at the top and a short trunk below, and open envelopes from the top down so the tree shape slowly changes. Keep a small basket nearby for opened envelopes, and save favorite notes in a scrapbook after the holidays. A basket keeps opened envelopes tidy until the countdown ends.
- Use removable tape so wall paint stays undamaged.
- Keep envelope contents flat so envelopes lie neatly against the wall.
- Open from the top down to keep the tree shape balanced.
5. Mason Jar Treat Countdown
Mason jars make a bright, gift-like advent calendar, with treats visible through the glass and a ribbon or tag marking each day. A row of jars on a kitchen shelf or a windowsill looks cheerful and a little bit old-fashioned, and the jars themselves can be reused all year for storage once December ends. This style suits adults and teenagers especially well, since fillings can be as grown-up as you like.
Choose small jars in one size, fill each with a different treat such as chocolates, nuts, dried fruit or a tea bag, and close them with a lid and a ribbon. Line the jars in order on a shelf, and let each person open one jar per day. Label the lids rather than the glass, so jars stay clean for reuse, and wash them before storing them away in January.
- Use small jars so the display fits on one shelf.
- Keep perishable fillings in mind and fill jars close to December 1.
- Label lids, not glass, to keep jars reusable.

6. Felt Pocket Advent Calendar
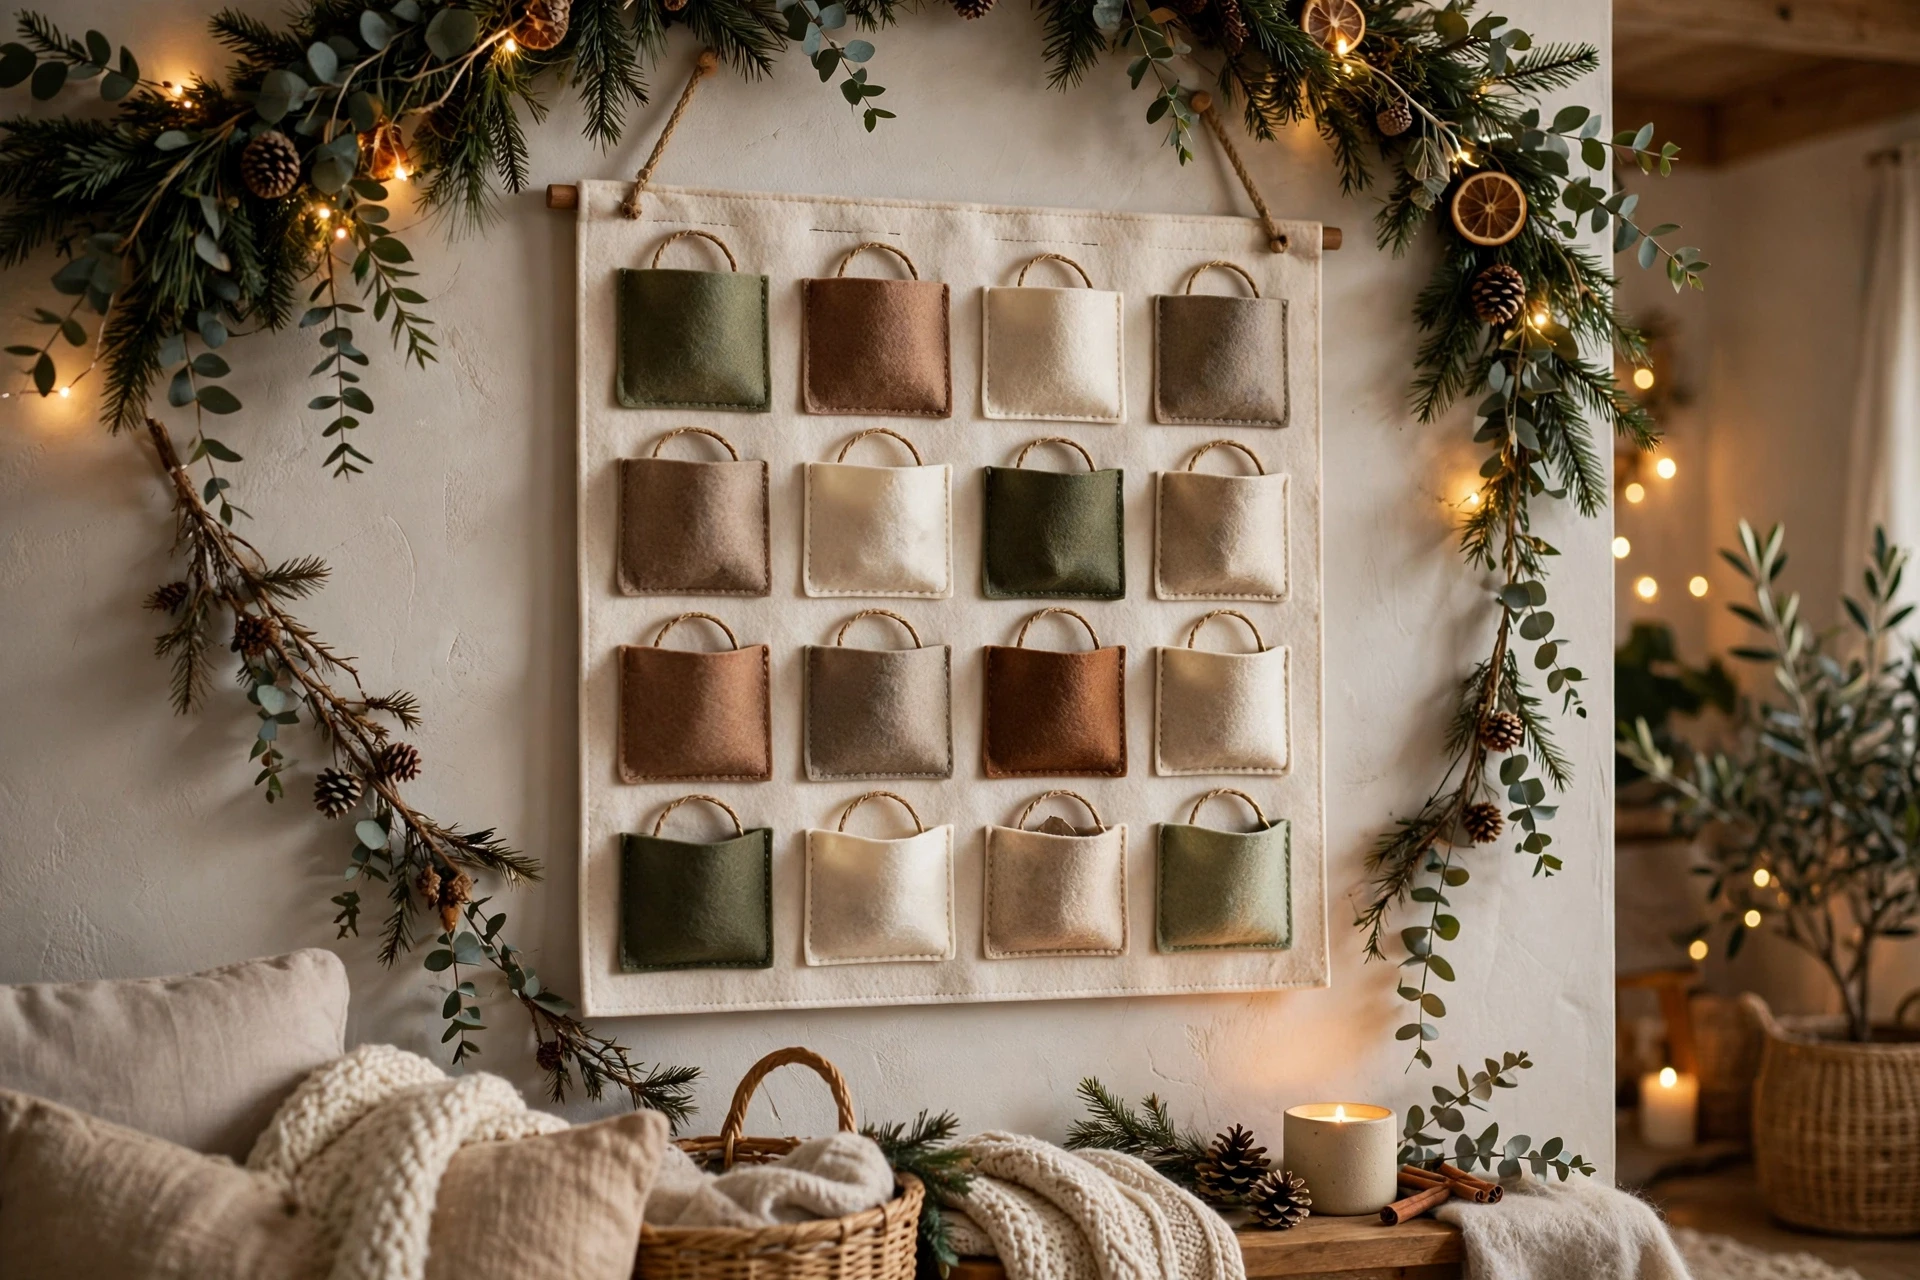
A felt pocket calendar is soft, quiet and endlessly reusable, with twenty-four stitched pockets sewn onto a hanging panel. Each pocket holds a tiny toy, a treat or an activity card, and the panel itself becomes a wall decoration that children look forward to seeing each December. Felt does not fray, so this is a forgiving sewing project even for beginners. Felt pockets also survive excited little hands far better than paper calendars do.
Cut a backing panel and pocket squares from felt in Christmas colors, sew three sides of each pocket to the panel, and leave the top open. Hang the panel from a dowel or a ribbon loop, fill pockets with small flat surprises, and let children reach into a new pocket each morning. Store the panel rolled, not folded, so pockets keep their shape for next year. Children love reaching into a soft pocket each morning for a surprise.
- Use felt, which does not fray, for a beginner-friendly project.
- Keep pocket contents flat so the panel hangs evenly.
- Store the panel rolled to protect the pockets.
7. Wrapped Book Advent Calendar
A book advent calendar replaces daily treats with daily stories, wrapping twenty-four books and opening one each evening until Christmas. It is a beautiful tradition for families who love reading together, and it builds a small Christmas library that children return to every year. The wrapped stack itself, tied with ribbon and greenery, looks wonderful under the tree or on a bookshelf. A wrapped book stack also looks beautiful beside the tree, doubling as holiday decoration.
Choose a mix of new and favorite Christmas books, wrap each one in brown paper, and tie them with ribbon in one color. Stack the books in opening order or arrange them in a basket, and read the day’s book together each evening. Label the wrapping lightly in pencil, so books can be re-wrapped, and keep the collection together in a labeled box after Christmas. Reading together each evening also creates quiet family time during a busy season.
- Mix new books with old favorites for a balanced collection.
- Wrap in brown paper for a simple, reusable look.
- Read each book on its day, not ahead, to keep the countdown special.

8. Kraft Bag Garland Calendar
A kraft bag garland is a rustic, budget-friendly advent calendar, with small paper bags clipped along a length of twine. Each bag holds a treat or a note, and the garland can run along a mantel, a banister or a window frame, bringing the countdown into the room itself. Kraft paper suits almost any Christmas style, from farmhouse to Scandinavian minimal. Kraft bags also suit a farmhouse or Scandinavian home, where natural materials feel right.
Fold down the tops of small kraft bags, fill each one, and clip them to twine with wooden clothespins in day order. Decorate bags with stamps, sprigs of greenery or simple drawings, and hang the garland where it will not be brushed against constantly. Open one bag per day, and save the bags for reuse or recycling once the countdown ends. A garland also fills an empty mantel beautifully, even in a small living room.
- Use small bags so the garland does not sag under weight.
- Clip bags, do not tape them, so opening is easy and tidy.
- Keep the garland away from radiators and open flames.

9. Matchbox Tower Calendar
A matchbox tower turns empty matchboxes into a tiny advent village, stacked and glued into a shape that looks like a set of little drawers. Each box slides open to reveal a small treat, a joke or a tiny toy, and the tower itself becomes a tabletop decoration children love to explore. It is a clever upcycling project, since the boxes cost almost nothing. Guests often ask how such a tiny tower calendar was made.
Cover empty matchboxes in wrapping paper, stack them in a pyramid or house shape with craft glue, and let the glue dry fully before filling. Slide a treat or note into each drawer, and place the tower on a stable table where small hands can reach it. Keep drawer contents tiny, since matchboxes are small, and supervise younger children with the smallest treats. Keep the tower in one spot all month, so drawers are never lost or mixed up.
- Glue the tower fully before filling, so it stays stable.
- Use only tiny, safe fillings for matchbox drawers.
- Let glue dry overnight before the first opening.

10. Cupcake Liner Tree Calendar
A cupcake liner tree is a bright, cheerful wall calendar made from paper liners flattened into a tree shape. Each liner covers a small treat or note taped to the wall, and peeling one back each day reveals the surprise underneath. It is an easy afternoon craft with children, using supplies most kitchens already have on hand. Cupcake liners come in endless colors, so the tree can match any room’s Christmas palette perfectly.
Tape small treats or folded notes to the wall in tree rows, cover each one with a flattened cupcake liner, and add a star and a trunk to complete the shape. Use tape that removes cleanly, and peel liners from the top down so the tree keeps its shape. Choose colorful liners in red, green and gold for a festive look that photographs beautifully. Colorful liners also make the wall tree cheerful even before any surprises are revealed.
- Use removable tape to protect wall paint.
- Keep wall contents flat so liners lie neatly.
- Peel from the top down to preserve the tree shape.

11. Painted Tin Can Calendar
Painted tin cans make a sturdy, industrial-chic advent calendar, stacked in a pyramid or arranged on a shelf with treats tucked inside. The cans look charming painted in Christmas colors and topped with paper lids, and they survive years of use far better than paper calendars. This style suits a rustic or farmhouse home especially well. Tin cans also survive years of use, unlike paper calendars that tear after one December season.
Clean and dry empty cans, paint the outsides in red, green, cream or gold, and let them dry fully before filling. Cover each opening with a paper circle secured by a rubber band, and stack the cans in a pyramid on a stable surface. Poke through one paper lid per day, and store the cans nested together after Christmas for next year. A pyramid stack also looks impressive on a sideboard, drawing guests’ eyes immediately.
- Sand any sharp can edges smooth before painting.
- Let paint dry fully, ideally overnight, before filling.
- Stack cans on a stable surface away from table edges.

12. Photo Memory Advent Calendar
A photo memory calendar turns December into a walk down memory lane, with a favorite photo revealed each day. Print small photos from the past year, clip them to twine in day order, and let each morning bring back a trip, a birthday or a quiet moment worth remembering. It is a deeply personal calendar, and a thoughtful gift for grandparents. A photo line also sparks conversation, as guests stop to ask about each pictured memory.
Print photos in one small size, write a short caption and date on the back of each, and clip them to twine with mini clothespins. Hang the line where the family gathers, and look at each photo together as it is revealed. Save the photos in an envelope afterward, and add new ones each year so the calendar grows with your family. Looking at photos together each morning also slows December down in a welcome way.
- Print photos in one size for a tidy, even display.
- Write captions on the back, not the front, of each photo.
- Save the set in an envelope to reuse favorite photos.

13. Tea and Coffee Advent Box
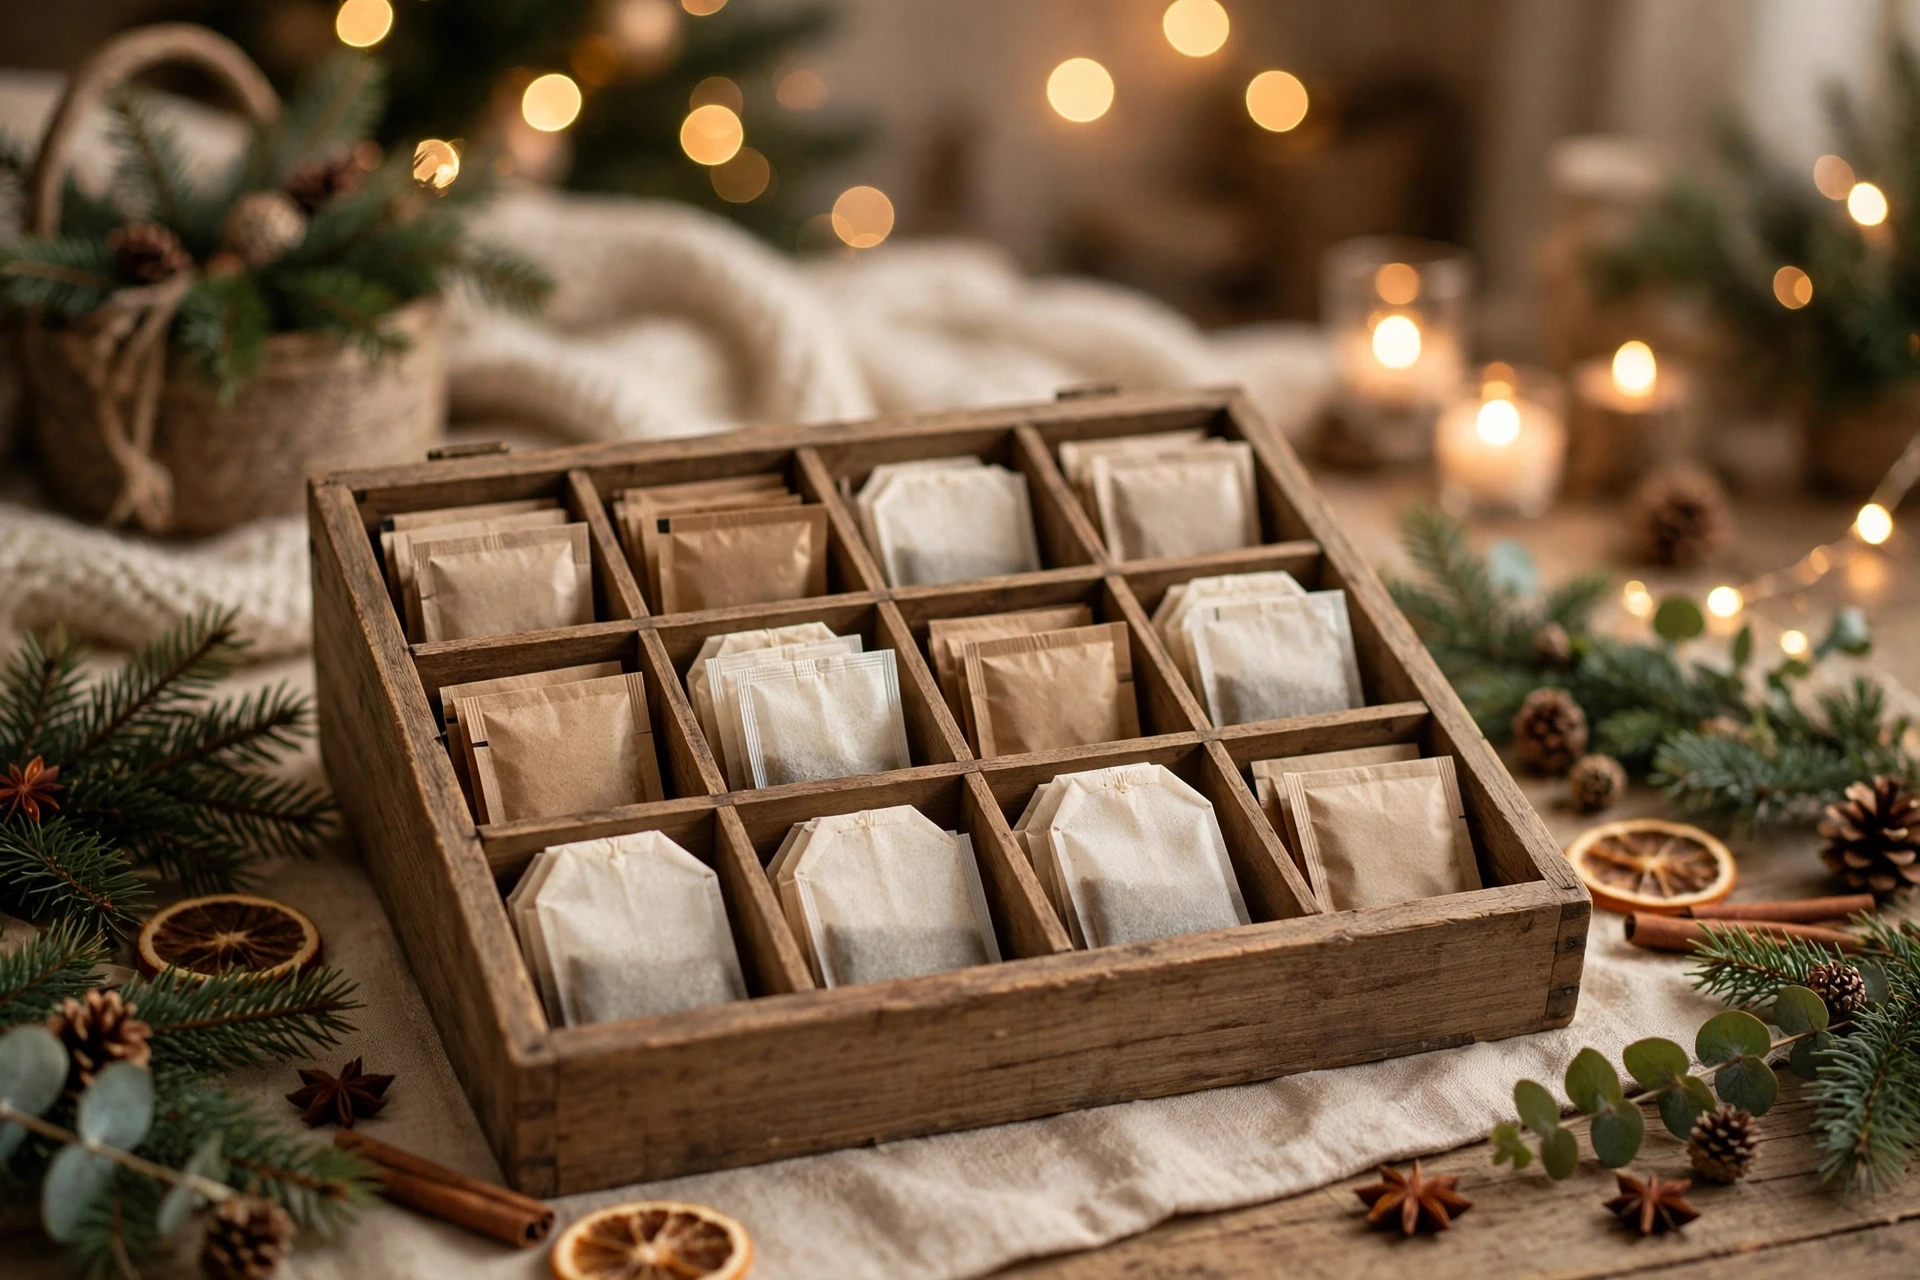
A tea and coffee advent box is the grown-up calendar many adults secretly want, with a different tea bag, coffee packet or hot chocolate sachet behind each door. It turns a December morning into a small tasting ritual, and it is easy to personalize for the drinker’s taste, from herbal teas to single-origin coffees. The box itself can be as simple or as pretty as you like. It also makes a thoughtful gift for coworkers, friends and teachers.
Choose twenty-four drinks, wrap each one in tissue or a small envelope, and arrange them in a decorated box or drawer unit in day order. Add a few extras such as honey sticks, biscotti or a small mug on the final day. Label drinks lightly, keep the box in a cool, dry place, and open one packet each morning with breakfast. Morning drinks also become a calming ritual before a busy December day begins.
- Match drinks to the recipient’s taste, not just a random mix.
- Keep the box cool and dry so tea and coffee stay fresh.
- Save a special drink for Christmas Eve or Christmas Day.
14. Kids Activity Advent Calendar
An activity advent calendar swaps sweets for experiences, with one fun job or outing revealed each day. Baking cookies, making ornaments, watching a Christmas film or delivering a card become the treats, and children remember those days far longer than they remember another chocolate. It is the calendar many parents choose when they want December to feel full, not just sweet. Activity calendars also reduce sugar overload, which many parents appreciate during December.
Write twenty-four activities on cards, mixing quiet crafts with outings and kindness jobs, and place one card in each envelope, pocket or bag. Keep activities realistic for school days, saving bigger outings for weekends, and let children open the card each morning at breakfast. Prepare materials for craft activities in advance, so a busy evening never spoils the plan. Morning reveals also build excitement, since children guess all day what evening will bring.
- Balance quiet crafts with active outings across the month.
- Save big outings for weekends and keep school days simple.
- Prepare craft supplies in advance for busy evenings.

15. Wood Slice Advent Calendar
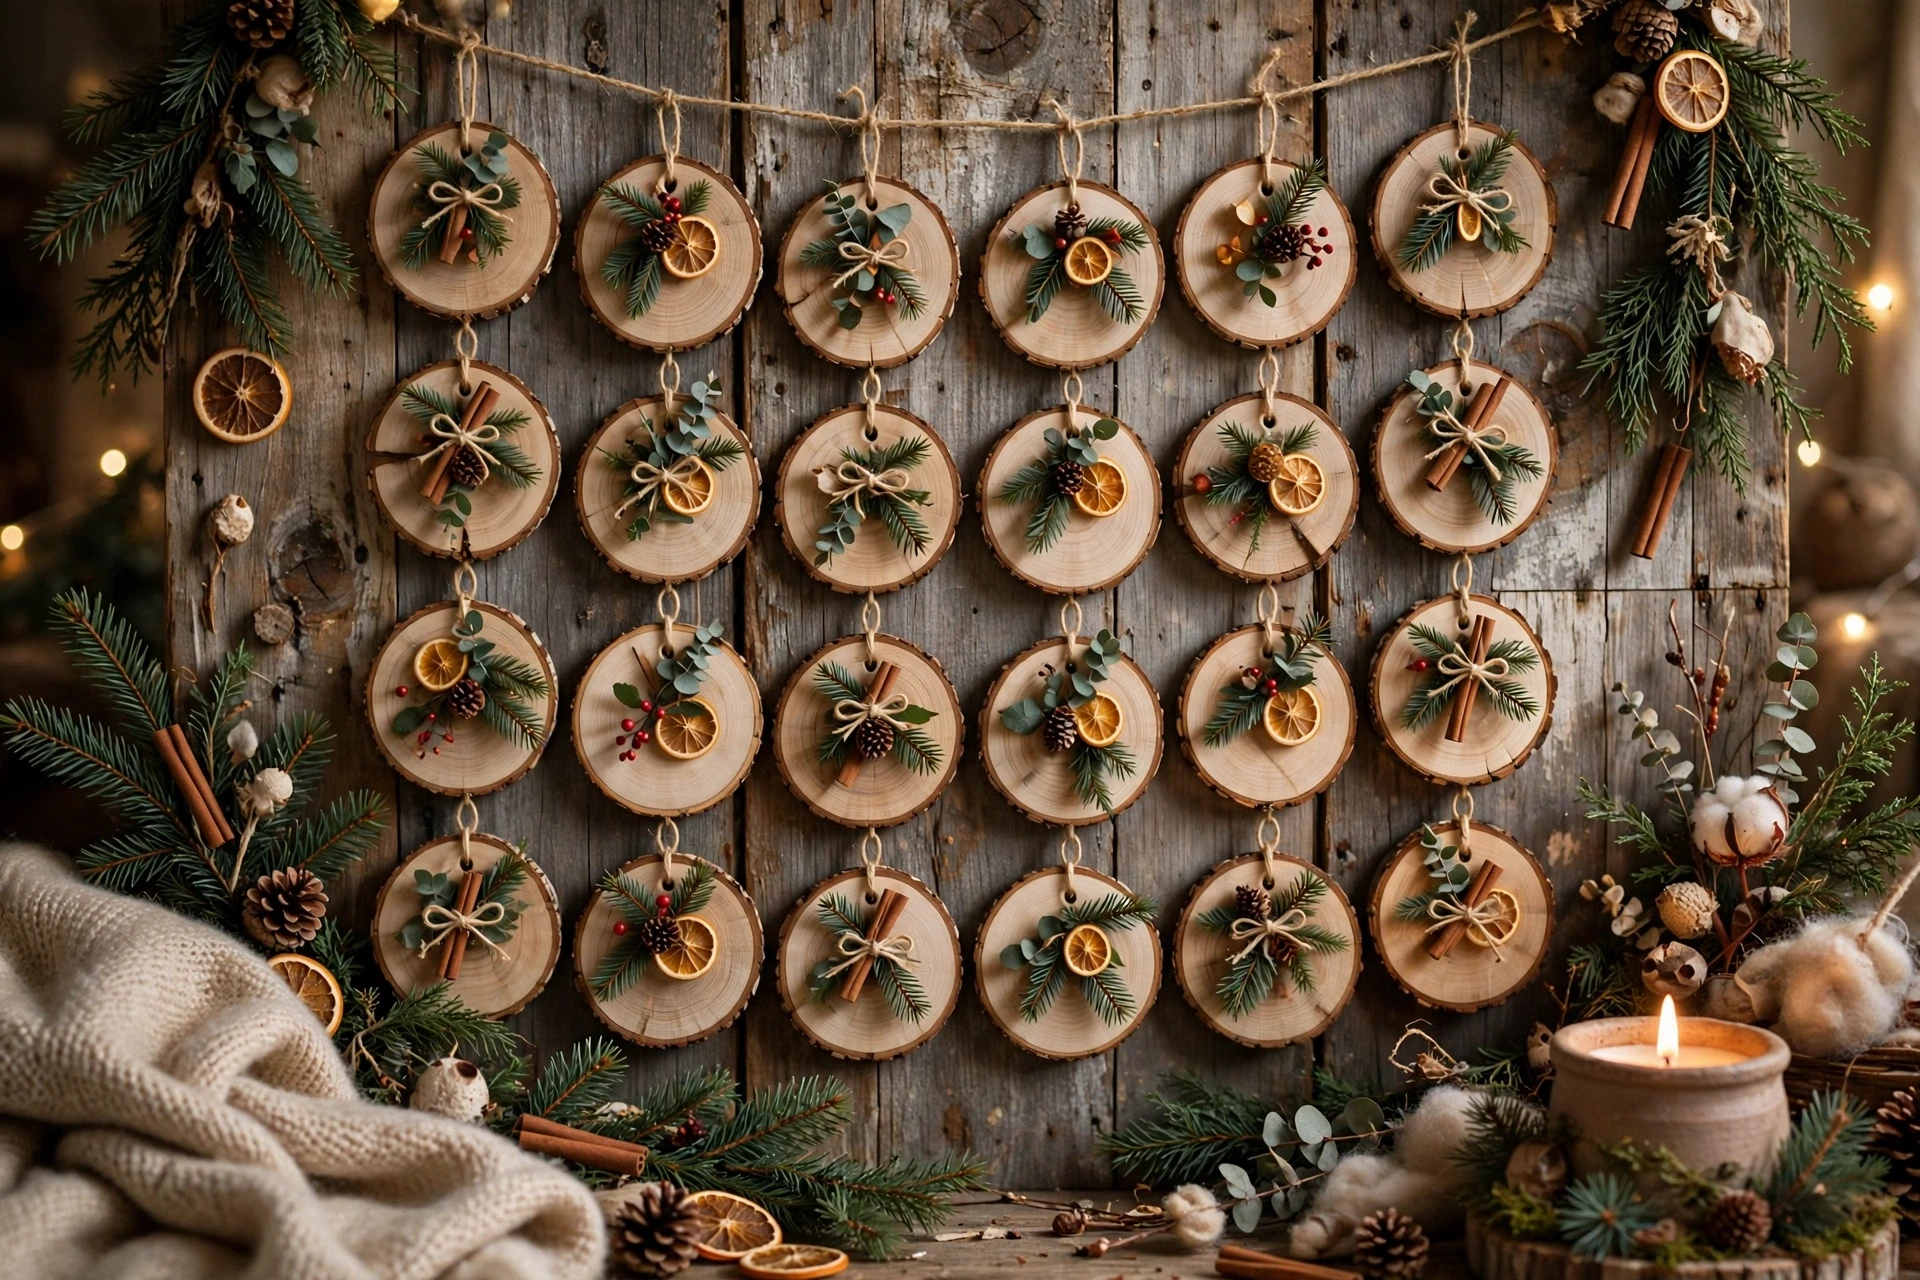
A wood slice calendar brings rustic warmth to the countdown, with small wooden discs hung on a wall or a board in a grid. Each disc can be lifted or turned to reveal a treat, a note or a number underneath, and the natural wood grain looks beautiful against greenery and warm lights. It is a wonderful choice for a cabin-style or farmhouse Christmas. Wood slices also pair beautifully with pine garlands, lanterns and warm fairy lights.
Cut or buy thin wood slices, sand the edges smooth, and hang them in rows on a board or directly on the wall with small hooks. Tuck a folded note or a small treat behind each slice, or write activities on the back of the slices themselves. Keep slices light so hooks hold safely, and store the set in a box between seasons. A wood calendar also suits a cabin Christmas, where natural textures feel at home.
- Sand wood slices smooth to avoid splinters.
- Use light slices so wall hooks hold safely.
- Store slices in a box to protect them between seasons.
16. Fabric Pouch Garland Calendar
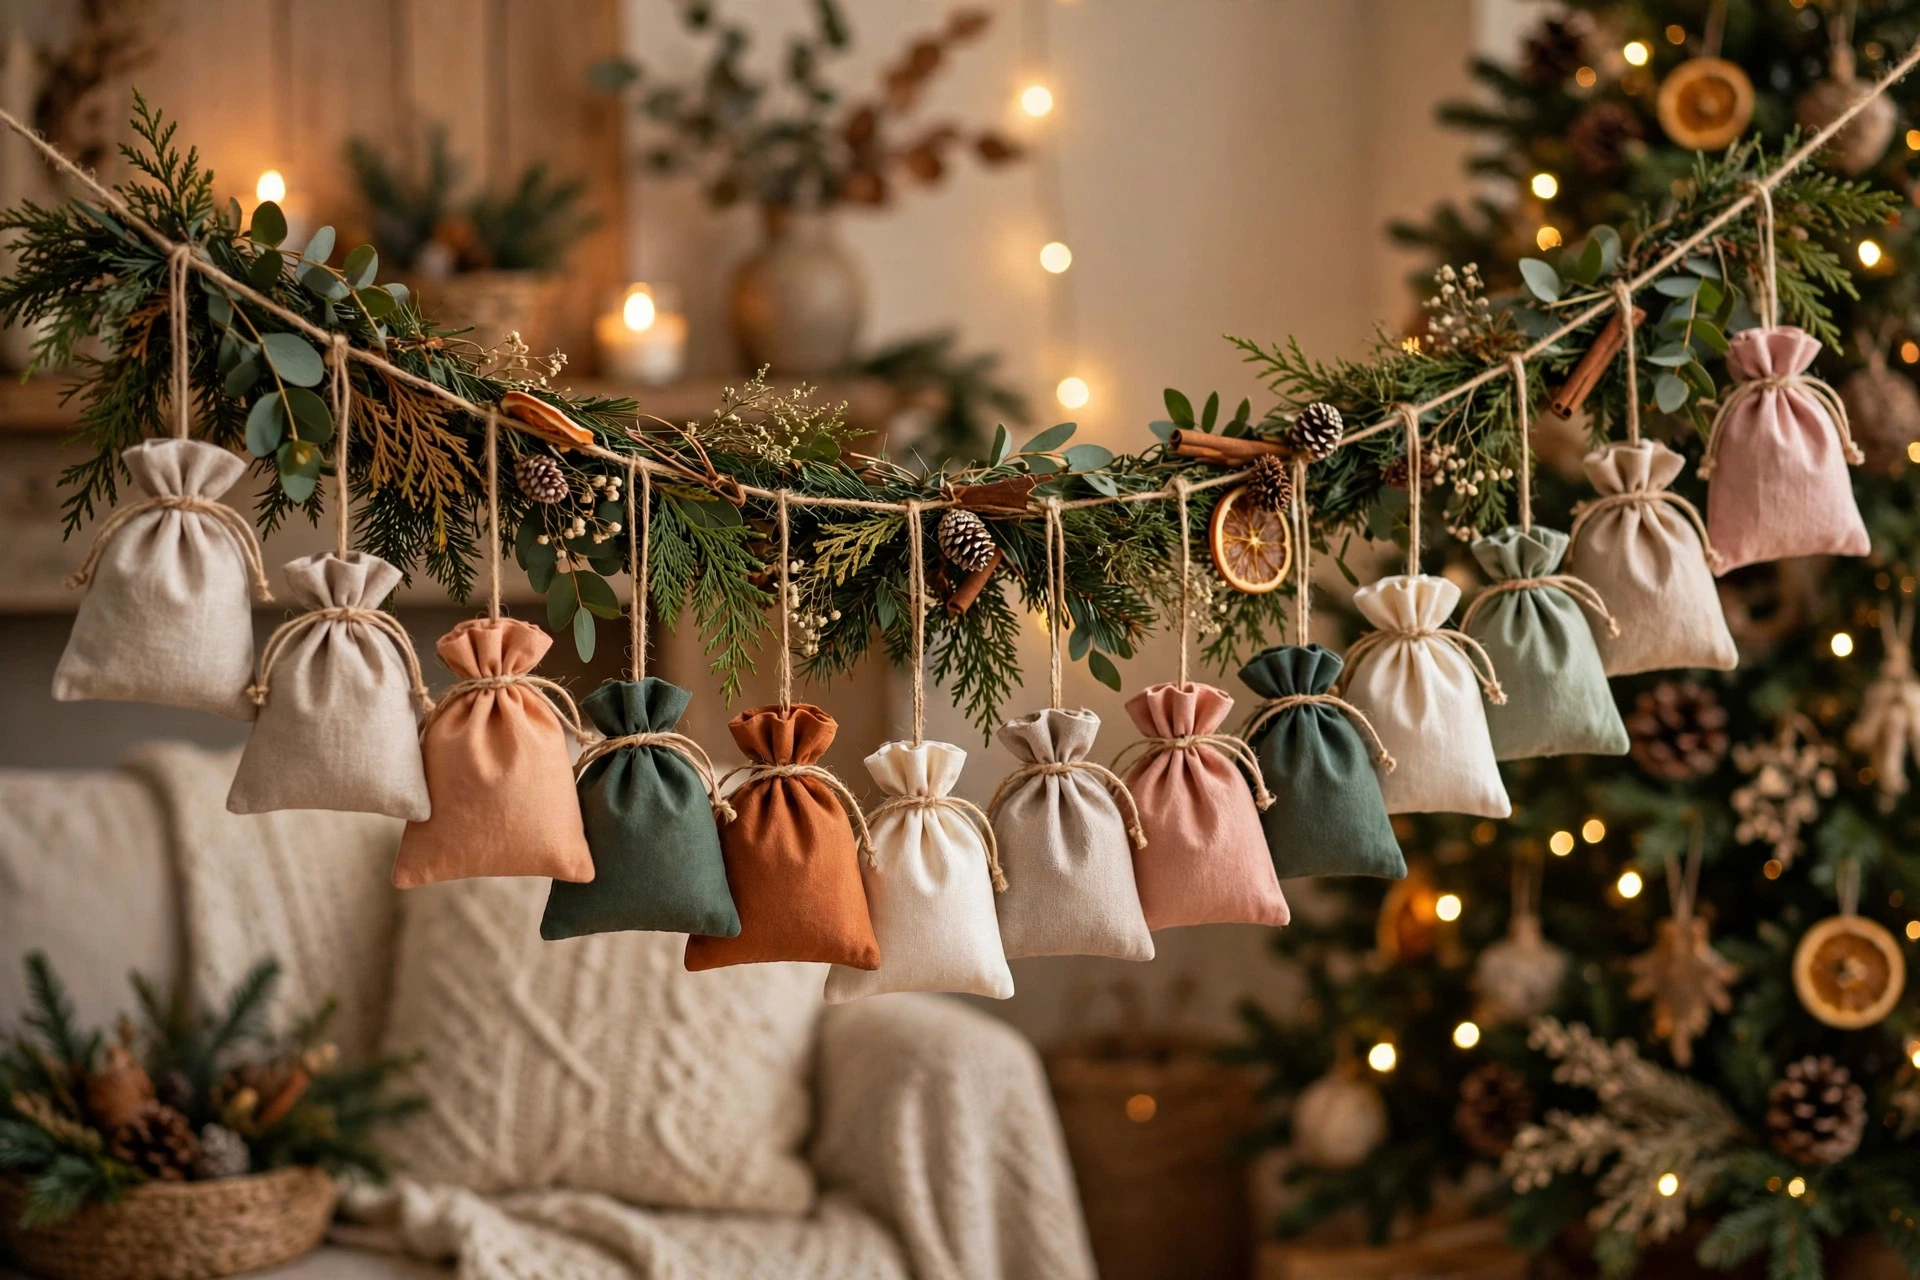
A fabric pouch garland is a soft, reusable twist on the paper bag calendar, with small cloth pouches tied along twine. The pouches can be sewn from Christmas fabric scraps, which makes this a lovely stash-busting project, and they look charming hung along a mantel or a staircase. Unlike paper, the pouches survive years of December mornings. Fabric pouches also feel special to untie, turning each morning into a small gift-opening ritual.
Sew small drawstring pouches from fabric scraps, fill each with a treat or a note, and tie them to twine in day order with ribbon. Hang the garland where pouches can be untied easily, and wash the pouches after Christmas before storing them. Make a few extra pouches, so a lost or damaged one never breaks the countdown. Pouches also survive washing well, so they return fresh and ready each December.
- Use fabric scraps to keep this project low-cost.
- Make a few spare pouches for replacements.
- Wash pouches after Christmas before storing them.
17. Ornament Countdown Tree
An ornament countdown tree builds your Christmas tree one ornament at a time, with a bare branch tree or a small tabletop tree gaining one decoration each day. By Christmas Eve the tree is fully dressed, and every ornament carries the memory of the day it was hung. It is a beautiful tradition for a household that loves decorating slowly rather than all at once. A slow tree also teaches patience, since the full display only appears on Christmas Eve.
Set up a small bare tree or a branch arrangement in a vase at the start of December, and place twenty-four ornaments in a box beside it. Hang one ornament each morning, starting at the bottom and working up, and save a special ornament for the top on Christmas Eve. Keep ornaments small and light so branches stay balanced as the tree fills. Daily hanging also gives children a job they proudly own throughout December.
- Use small, light ornaments so branches stay balanced.
- Hang from the bottom up for an even fill.
- Save a special ornament for the top on Christmas Eve.

18. Scratch-Off Advent Calendar
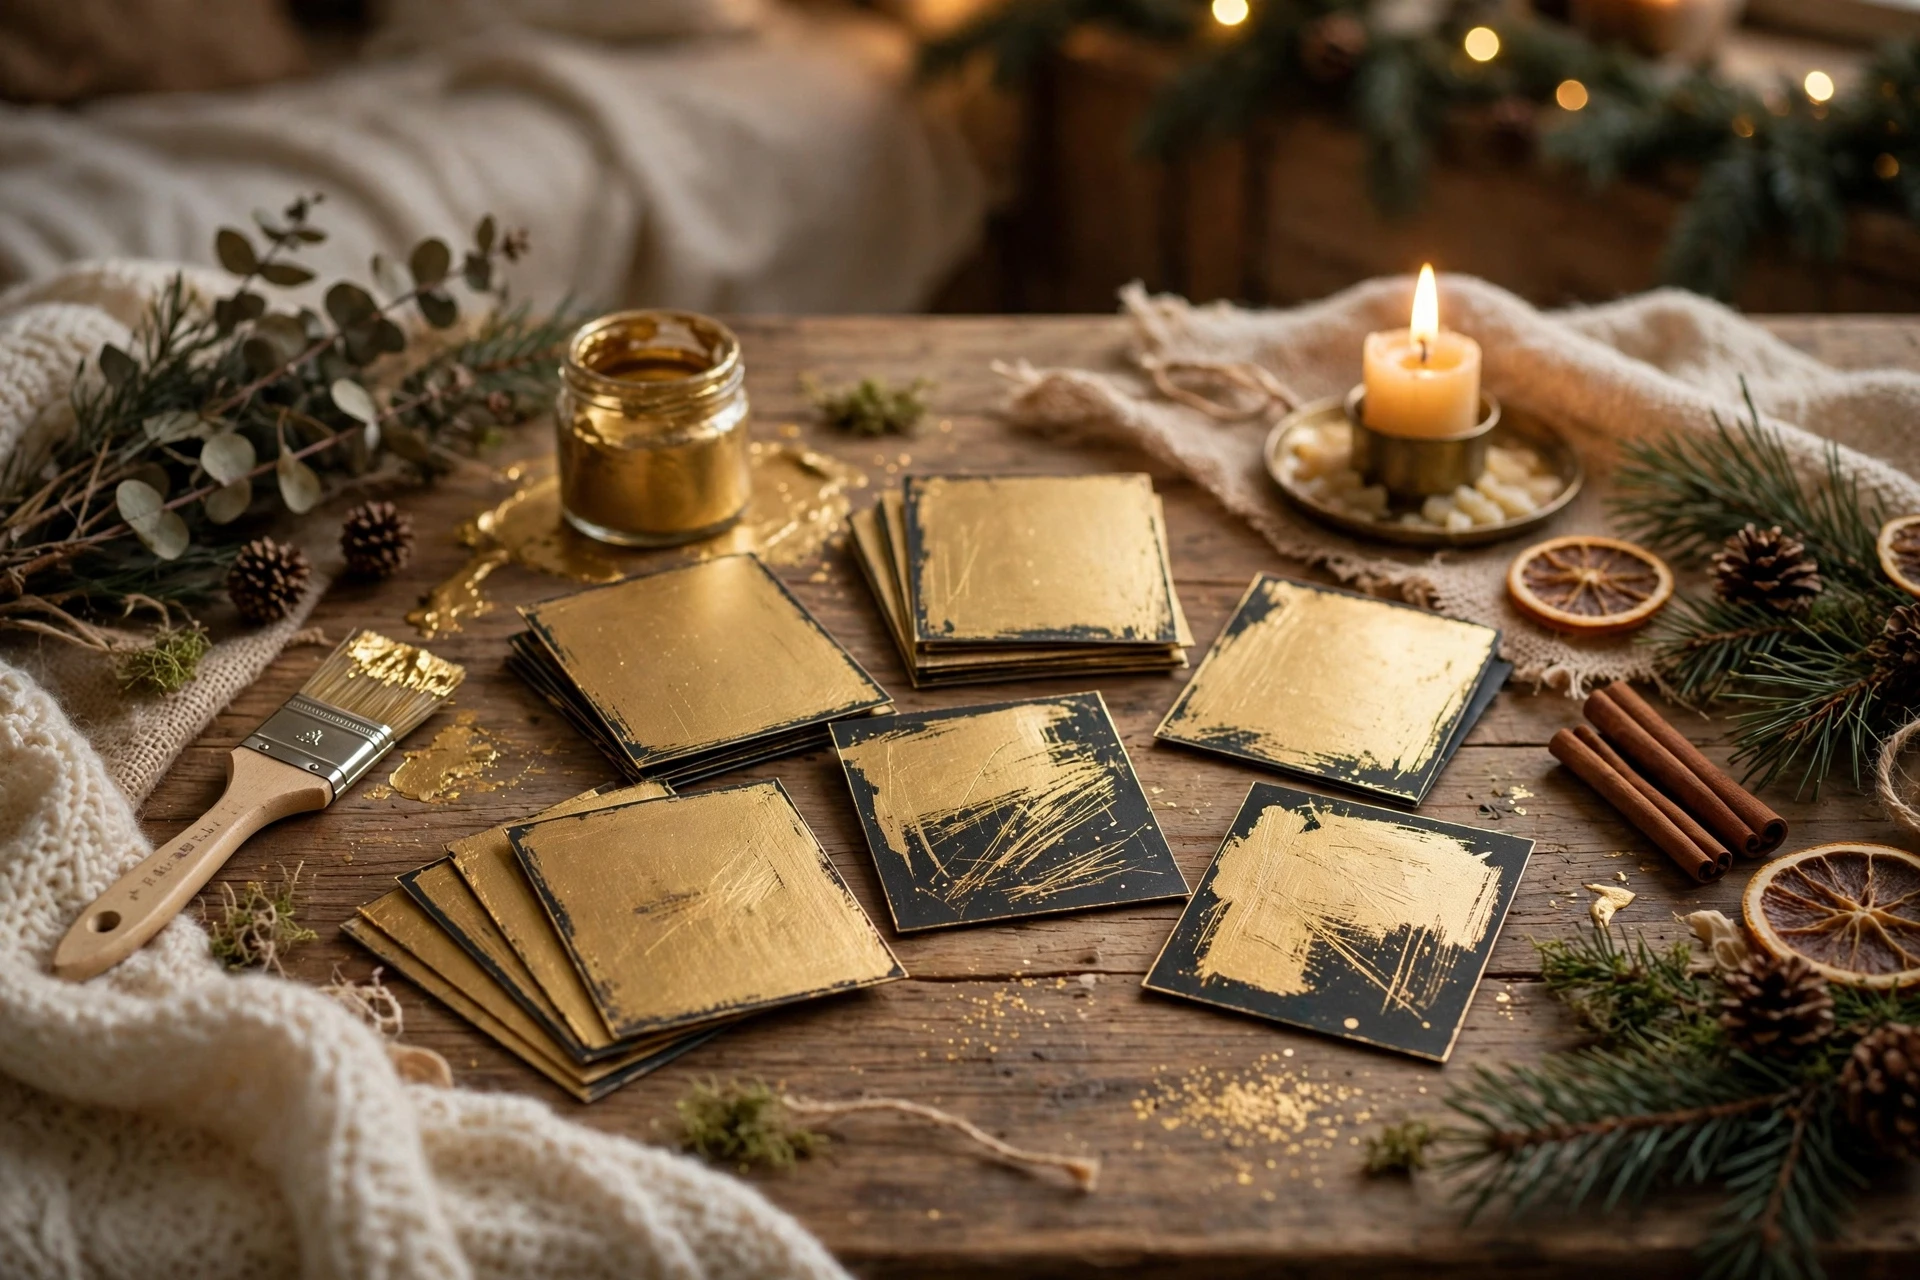
A scratch-off calendar adds a lottery-ticket thrill to December, with each day’s surprise hidden under a layer of scratch-off paint. Children and adults alike love scratching to reveal a treat, an activity or a joke, and the calendar itself can be a single poster, keeping it simple to make and display. It is a fun choice for teenagers and adults. Scratch panels also add mystery, since even the maker forgets some hidden surprises.
Write or print surprises on cards, cover each one with a mix of dish soap and metallic paint, and let the coating dry fully before displaying. Scratch one panel per day with a coin, and keep a small tray nearby to catch the flakes. Make the final panel a bigger surprise, such as a family outing or a special gift, to end the countdown with excitement. Keep scratched panels in order, so the calendar still looks complete.
- Let scratch-off coating dry fully before displaying.
- Use a coin, not a fingernail, for a clean scratch.
- Save the biggest surprise for the final panel.
19. Muffin Tin Treat Calendar
A muffin tin calendar is a clever kitchen hack, with each cup hiding a treat under a paper circle. The tin sits on a counter or a table, takes up almost no space, and turns opening a day into a satisfying little pop as the paper lid comes off. It is perfect for a small home, a dorm room or a classroom countdown. A muffin tin also works in a classroom, where each student opens one cup.
Place a small treat in each muffin cup, cover the tin with paper circles secured by a rubber band or tape, and label the circles in day order. Pop one circle per day, and refill the tin each December with new treats. Choose treats that keep well at room temperature, and keep the tin away from heat so chocolate does not melt. Refilling the tin also becomes a November tradition in itself, enjoyed year after year.
- Choose room-temperature treats that keep well all month.
- Secure paper lids firmly so treats stay hidden.
- Keep the tin away from heat to protect chocolate.

20. Travel Countdown Calendar
A travel countdown calendar is made for a trip, a move or a loved one coming home, with each day bringing the journey one step closer. Small envelopes, maps and travel photos mark the days, and the final envelope can hold a ticket, a boarding pass or a welcome-home note. It turns waiting itself into part of the celebration. They turn anxious waiting into excited anticipation, one envelope at a time.
Count the days until departure or arrival, and make one envelope for each day, filling them with photos, packing reminders, local tips or small travel treats. Arrange the envelopes on a board or in a box in day order, and open one each morning. Save the final envelope for the travel day itself, and keep the photos afterward as a trip keepsake. A board display also lets the whole family watch the journey approach together.
- Count days exactly, so the final envelope lands on travel day.
- Mix practical reminders with fun surprises.
- Save photos and notes as a trip keepsake afterward.

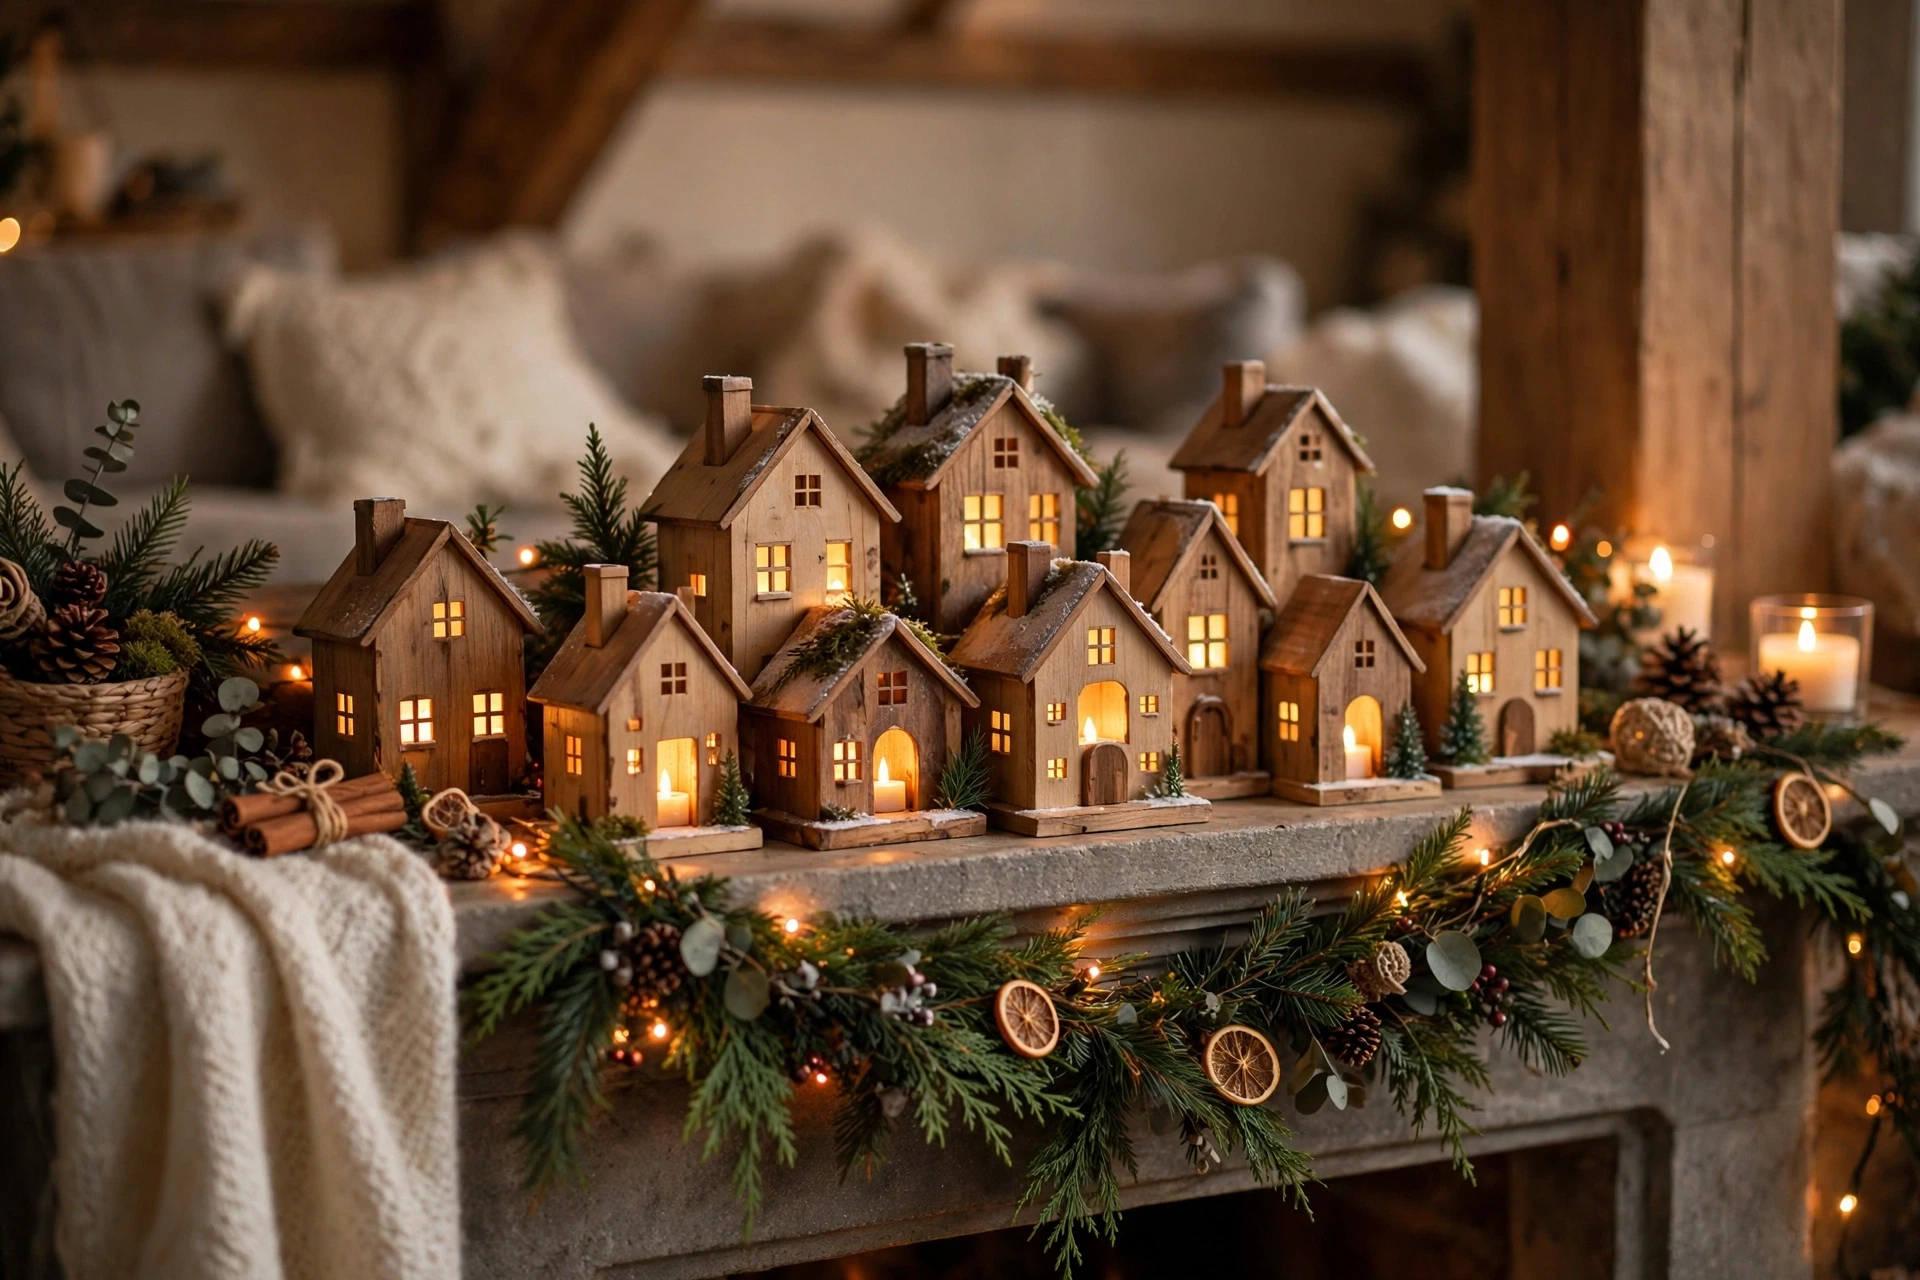
21. Advent Village Houses
An advent village turns the countdown into a tiny glowing town, with small wooden or cardboard houses arranged on a mantel or a windowsill. Each house hides a treat or a note behind its door or roof, and the village grows brighter as fairy lights are added through December. It is the most decorative calendar on this list, doubling as Christmas decor. A village also glows beautifully at night, when fairy lights reflect on windows.
Buy or build small house shapes from wood or sturdy cardboard, paint them in cream, red and green, and place a treat or note inside each one. Arrange the houses in a row with greenery and battery fairy lights, and open one house per day from the outside in. Store houses carefully in tissue after Christmas, so the village returns intact next year. Opening houses in order also keeps the village looking balanced until Christmas.
- Use battery fairy lights, never real candles, near cardboard houses.
- Store houses in tissue to protect paint and roofs.
- Open from the outside in so the village stays balanced.
Frequently Asked Questions
When should I start making a DIY advent calendar?
Start in early to mid-November, so you have time to gather materials, fill the calendar and fix any problems before December 1. Paper and envelope calendars can be made in a weekend, while wooden or sewn calendars may need two or three weekends, especially if paint or glue must dry between steps.
What can I put in an advent calendar besides chocolate?
Try small toys, activity cards, jokes, photos, tea bags, coins, hair accessories, stickers or tiny ornaments. For adults, add coffee packets, lip balm, candles or gift cards. The best fillings match the recipient’s age and interests, and mixing treats with activities keeps the countdown interesting all month.
How do I make an advent calendar reusable?
Choose sturdy materials such as wood, felt, fabric or tin, and fill them with items that can be replaced each year. Avoid glued-shut paper designs if you want reuse, and store the calendar in a labeled box with its fillings list, so next November you know exactly what to buy and refill.
Are DIY advent calendars cheaper than store-bought ones?
Usually yes, especially paper, envelope and tin calendars made from supplies you already own. Wooden and sewn calendars cost more upfront, but they last for years, which makes them cheaper over time than buying a new calendar every December. Reuse is what makes a handmade calendar truly budget-friendly.
How many days should an advent calendar have?
Most advent calendars run from December 1 to December 24, with twenty-four openings, while some add a twenty-fifth for Christmas Day itself. Choose twenty-four for a classic countdown, or twenty-five if you want a final surprise on Christmas morning, and plan your fillings to match that count.
Conclusion
A DIY advent calendar turns December into a daily celebration, whether you choose a simple paper chain, a reusable wooden cabinet or a village of glowing houses. The best calendar is the one that fits your home, your budget and the people opening it, and the one you will enjoy refilling next year. Start with one idea from this guide, and let the countdown become a tradition your family looks forward to every December.
Pick the style that suits you, gather your materials this weekend, and fill it with surprises worth opening. Before long, the morning ritual of opening one pocket, drawer or envelope will feel as much a part of Christmas as the tree itself, and that is exactly what a countdown worth opening should do.







One Comment