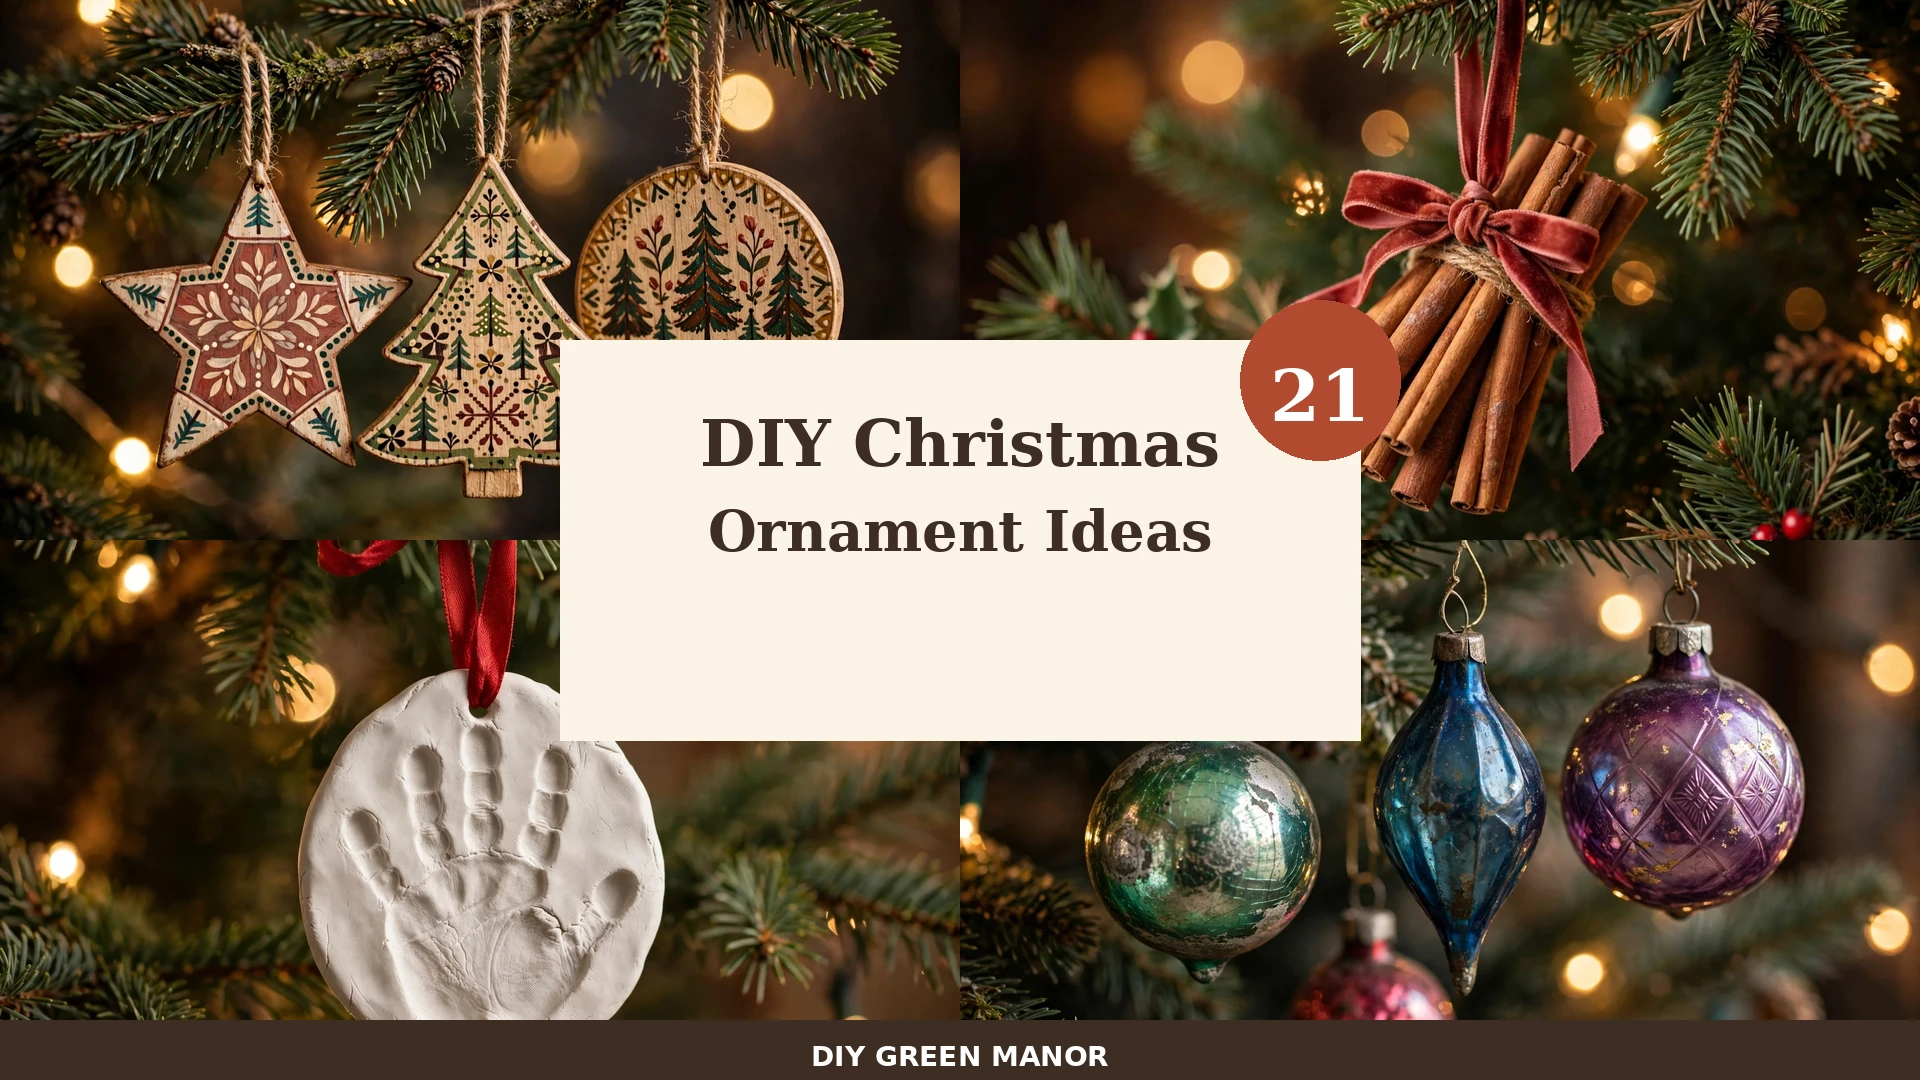
21 DIY Christmas Ornament Ideas for a Personal, Collected Tree
21 DIY Christmas Ornament Ideas for a Personal, Collected Tree
A collected tree tells a story that no matching ornament set ever could. Every handmade piece, saved ticket stub, and inherited bauble marks a year, a trip, or a person you love, and together they turn a Christmas tree into a family scrapbook you can walk around. These DIY Christmas ornament ideas are made for that kind of tree, where character matters more than perfection.
In this guide, you will find 21 ornament ideas you can make, personalize, and add to over time, from painted wood and salt dough to travel keepsakes and annual memory pieces. Each idea includes simple materials and styling tips, so you can start with one ornament this year and keep building. For the wider look around your tree, see our DIY Christmas wreath ideas and DIY Christmas garland ideas, which pair beautifully with a collected tree.
1. Hand-Painted Wooden Ornaments
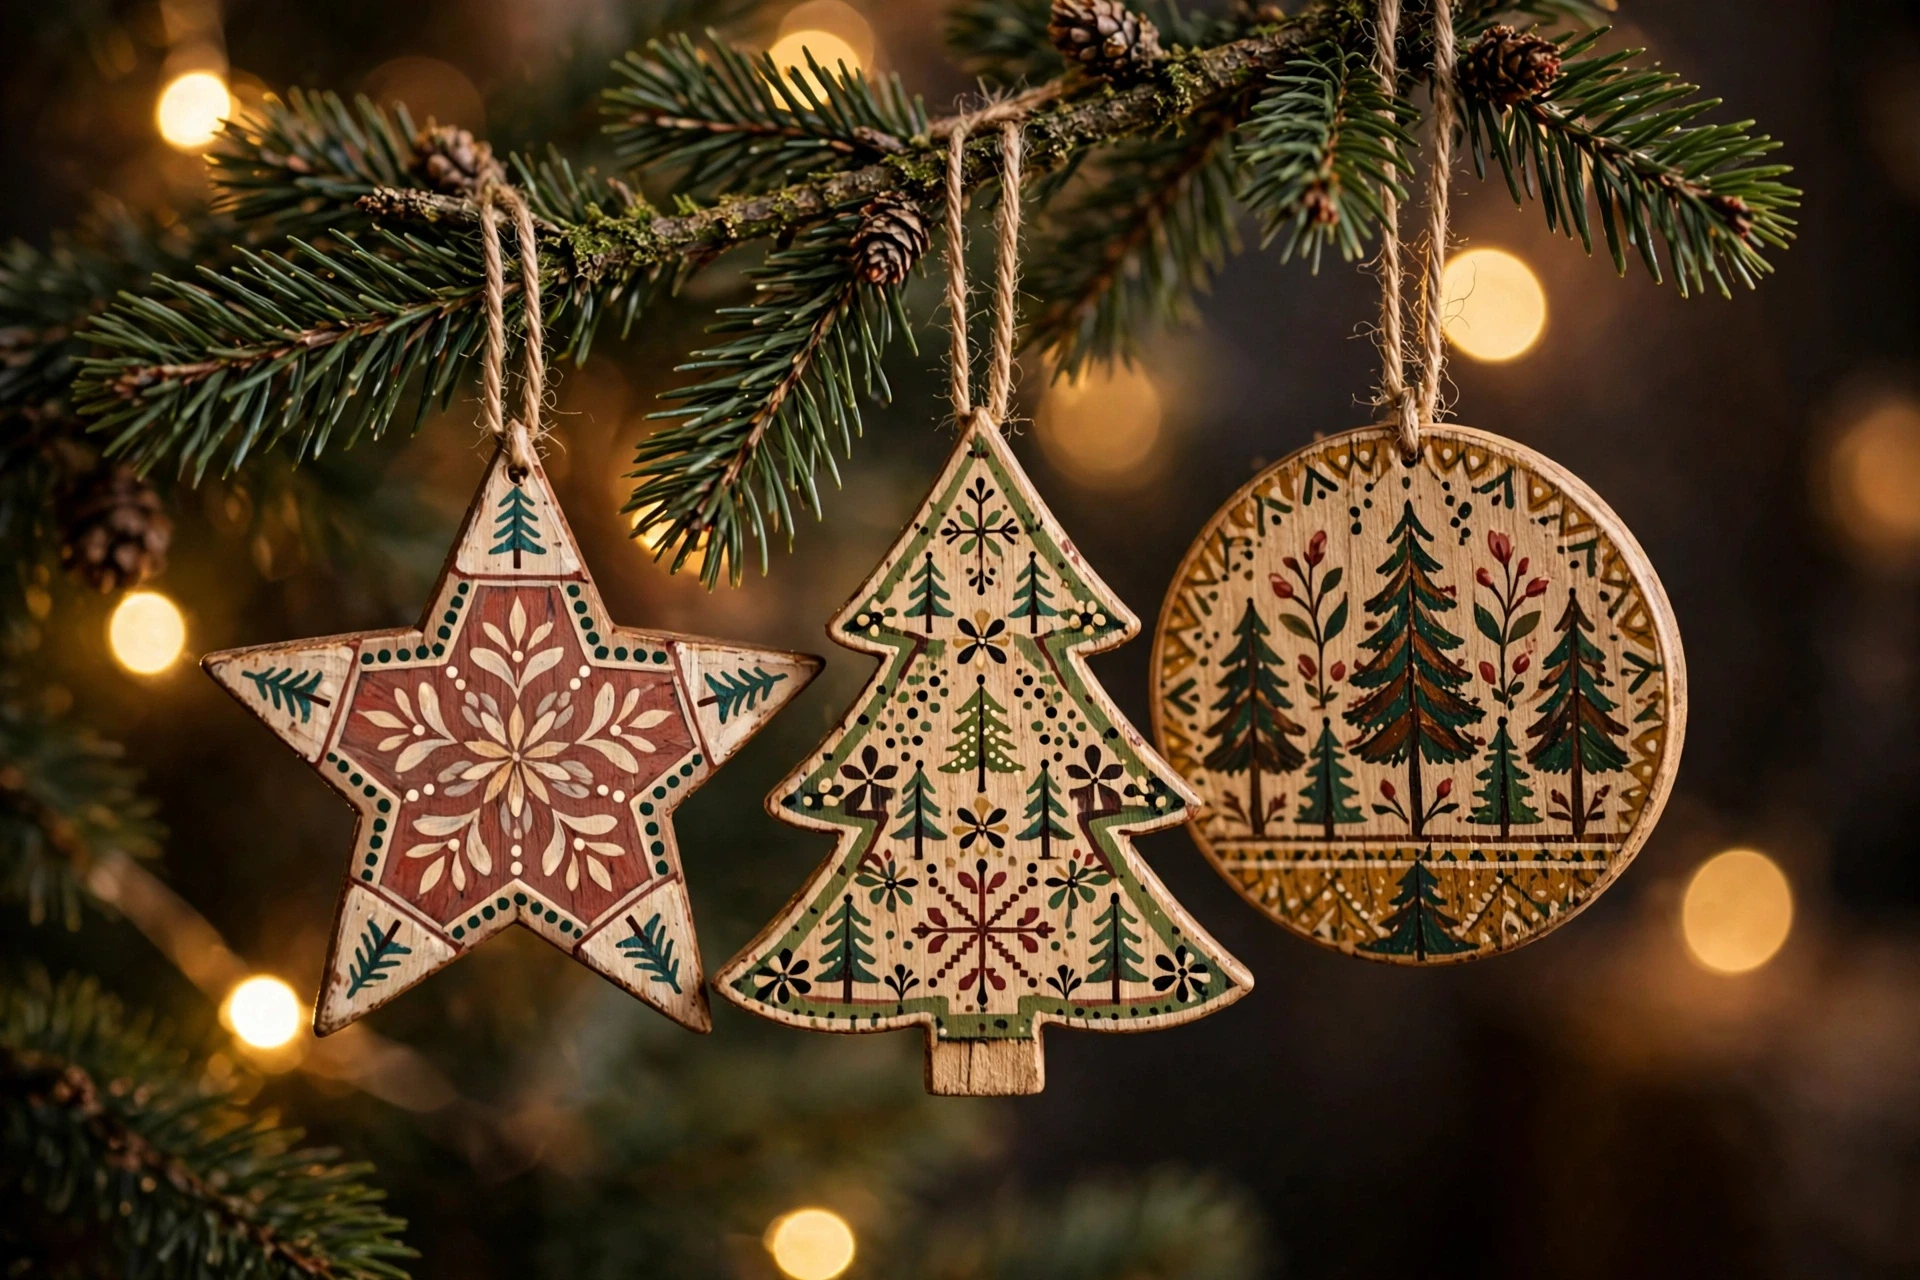
Hand-painted wooden ornaments are the backbone of a collected tree, because they are light, durable, and easy to personalize with names, dates, or small folk-art designs. Flat wooden shapes in stars, trees, and houses take paint beautifully, and a coat of clear sealer keeps them looking good year after year. They suit almost any tree style, from rustic farmhouse to bright and traditional. They also make gifts, since a painted ornament feels more personal than anything bought in a shop.
Start with plain wooden blanks, acrylic paint, and a fine brush, then paint simple patterns like stripes, dots, and tiny trees rather than detailed scenes. Add a name and year on the back with a paint pen, seal both sides, and hang each piece with twine or ribbon. Make one per family member each year, and the set will grow into a treasured collection. Hang painted ornaments at depths in the branches so the tree looks layered rather than flat.
- Use acrylic paint and a clear matte sealer for a durable, child-safe finish.
- Paint names and years on the back so the front stays decorative.
- Keep designs simple; bold shapes read better from across the room.
2. Dried Orange Slice Ornaments
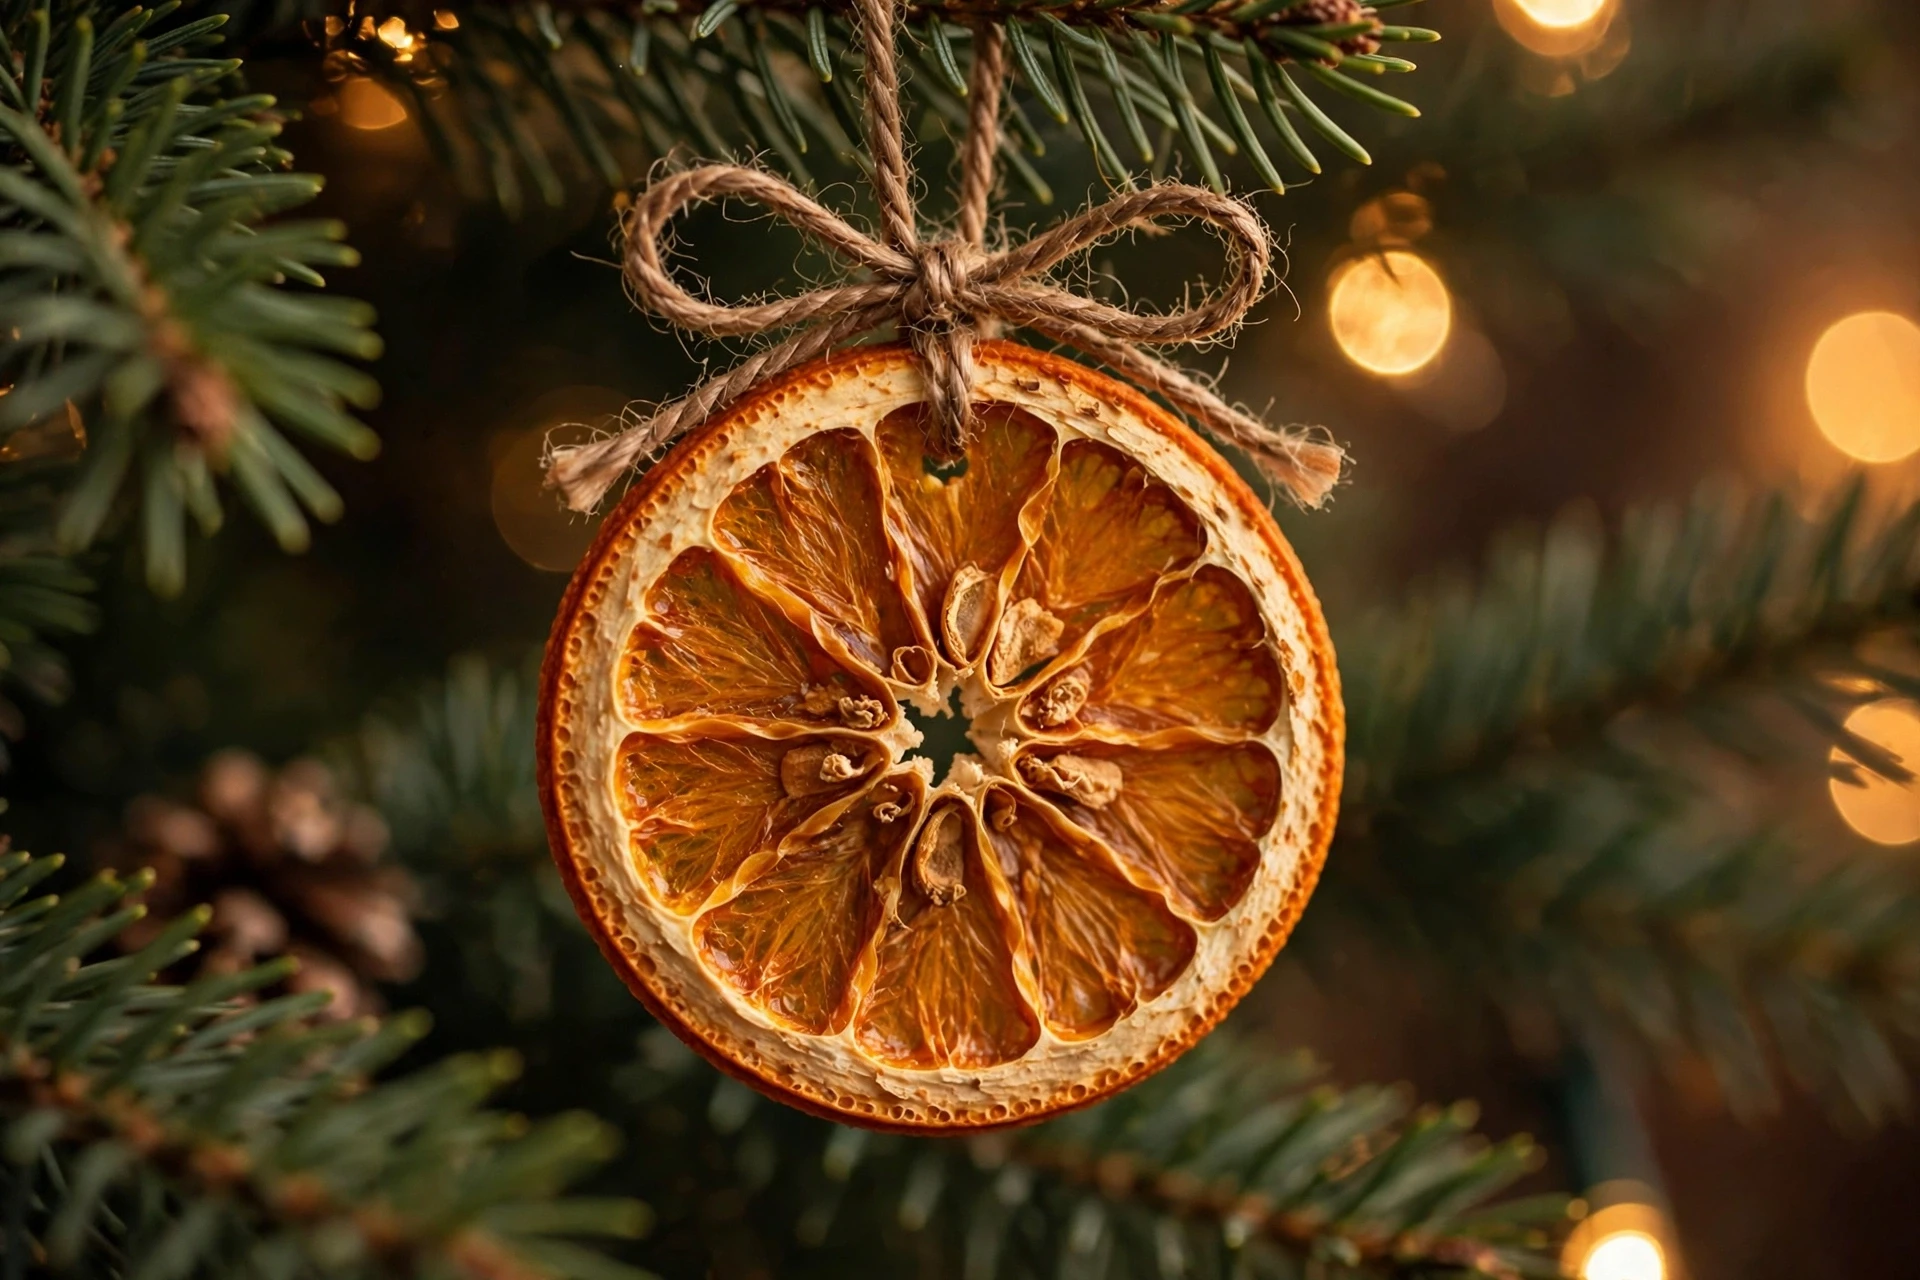
Dried orange slice ornaments bring a warm, old-fashioned glow to a collected tree, and they smell wonderful too. The translucent amber slices catch the tree lights beautifully, while their natural color pairs well with greenery, cinnamon, and wood. They cost almost nothing to make, which makes them perfect for filling out a tree while you build a handmade collection. Their warm color also pairs beautifully with gold ribbon, wooden beads, and simple white lights.
Slice oranges thinly, dry them in a low oven until crisp, and let them cool completely before hanging. Thread twine through a small hole, add a cinnamon stick or a sprig of greenery for decoration, and hang them near the lights for the best glow. Replace them every year or two, since they gradually darken and become more fragile with age. Keep a few spare slices in reserve, since they are easy to break when the tree is taken down.
- Dry slices at low heat until fully crisp, or they may soften and spoil.
- Hang orange ornaments away from direct heat sources like candles.
- Store leftovers flat in a dry box for next year’s tree.
3. Salt Dough Keepsake Ornaments
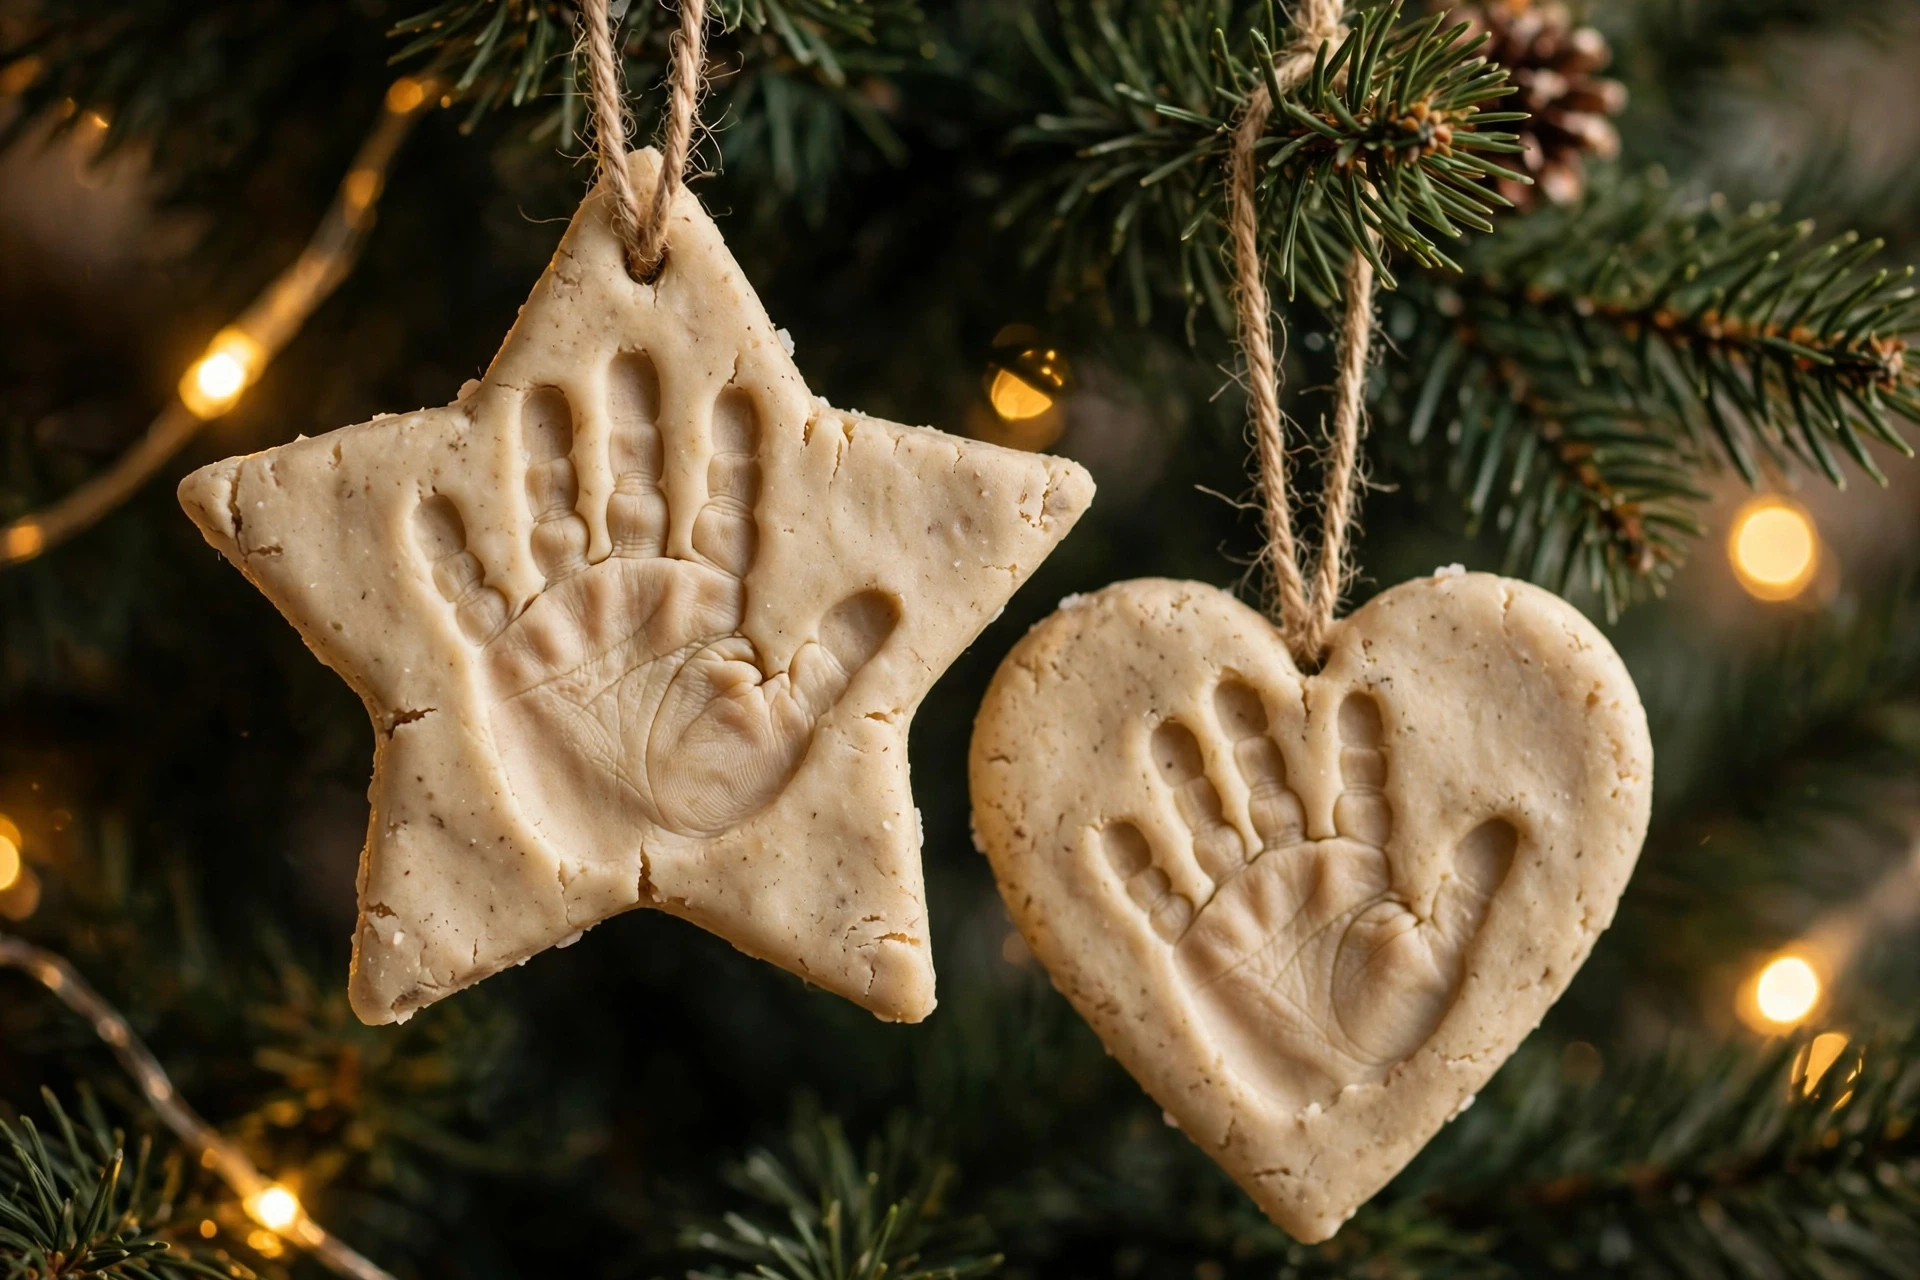
Salt dough ornaments are a classic family tradition, because children can help shape them and the finished pieces become keepsakes you will unpack with a smile for decades. The dough is made from pantry ingredients, rolls out easily, and bakes into sturdy shapes that hold paint, glitter, and handprints well. They feel personal in a way store-bought ornaments never do. Families often date each ornament, turning a simple craft into a timeline of childhood Christmases.
Mix flour, salt, and water into a firm dough, roll it out, and cut stars, hearts, and trees with cookie cutters. Press a handprint or fingerprint into a few pieces, bake until hard, then paint and seal them. Poke a hanging hole before baking, and write the year on the back so each ornament marks the Christmas it was made. Store salt dough ornaments in tissue paper, since they can chip if they knock together in storage.
- Bake at low heat until completely hard, or ornaments may crack later.
- Seal both sides to protect against humidity and fingerprints.
- Make a handprint ornament for each child every year.
4. Photo Ornaments in Mini Frames
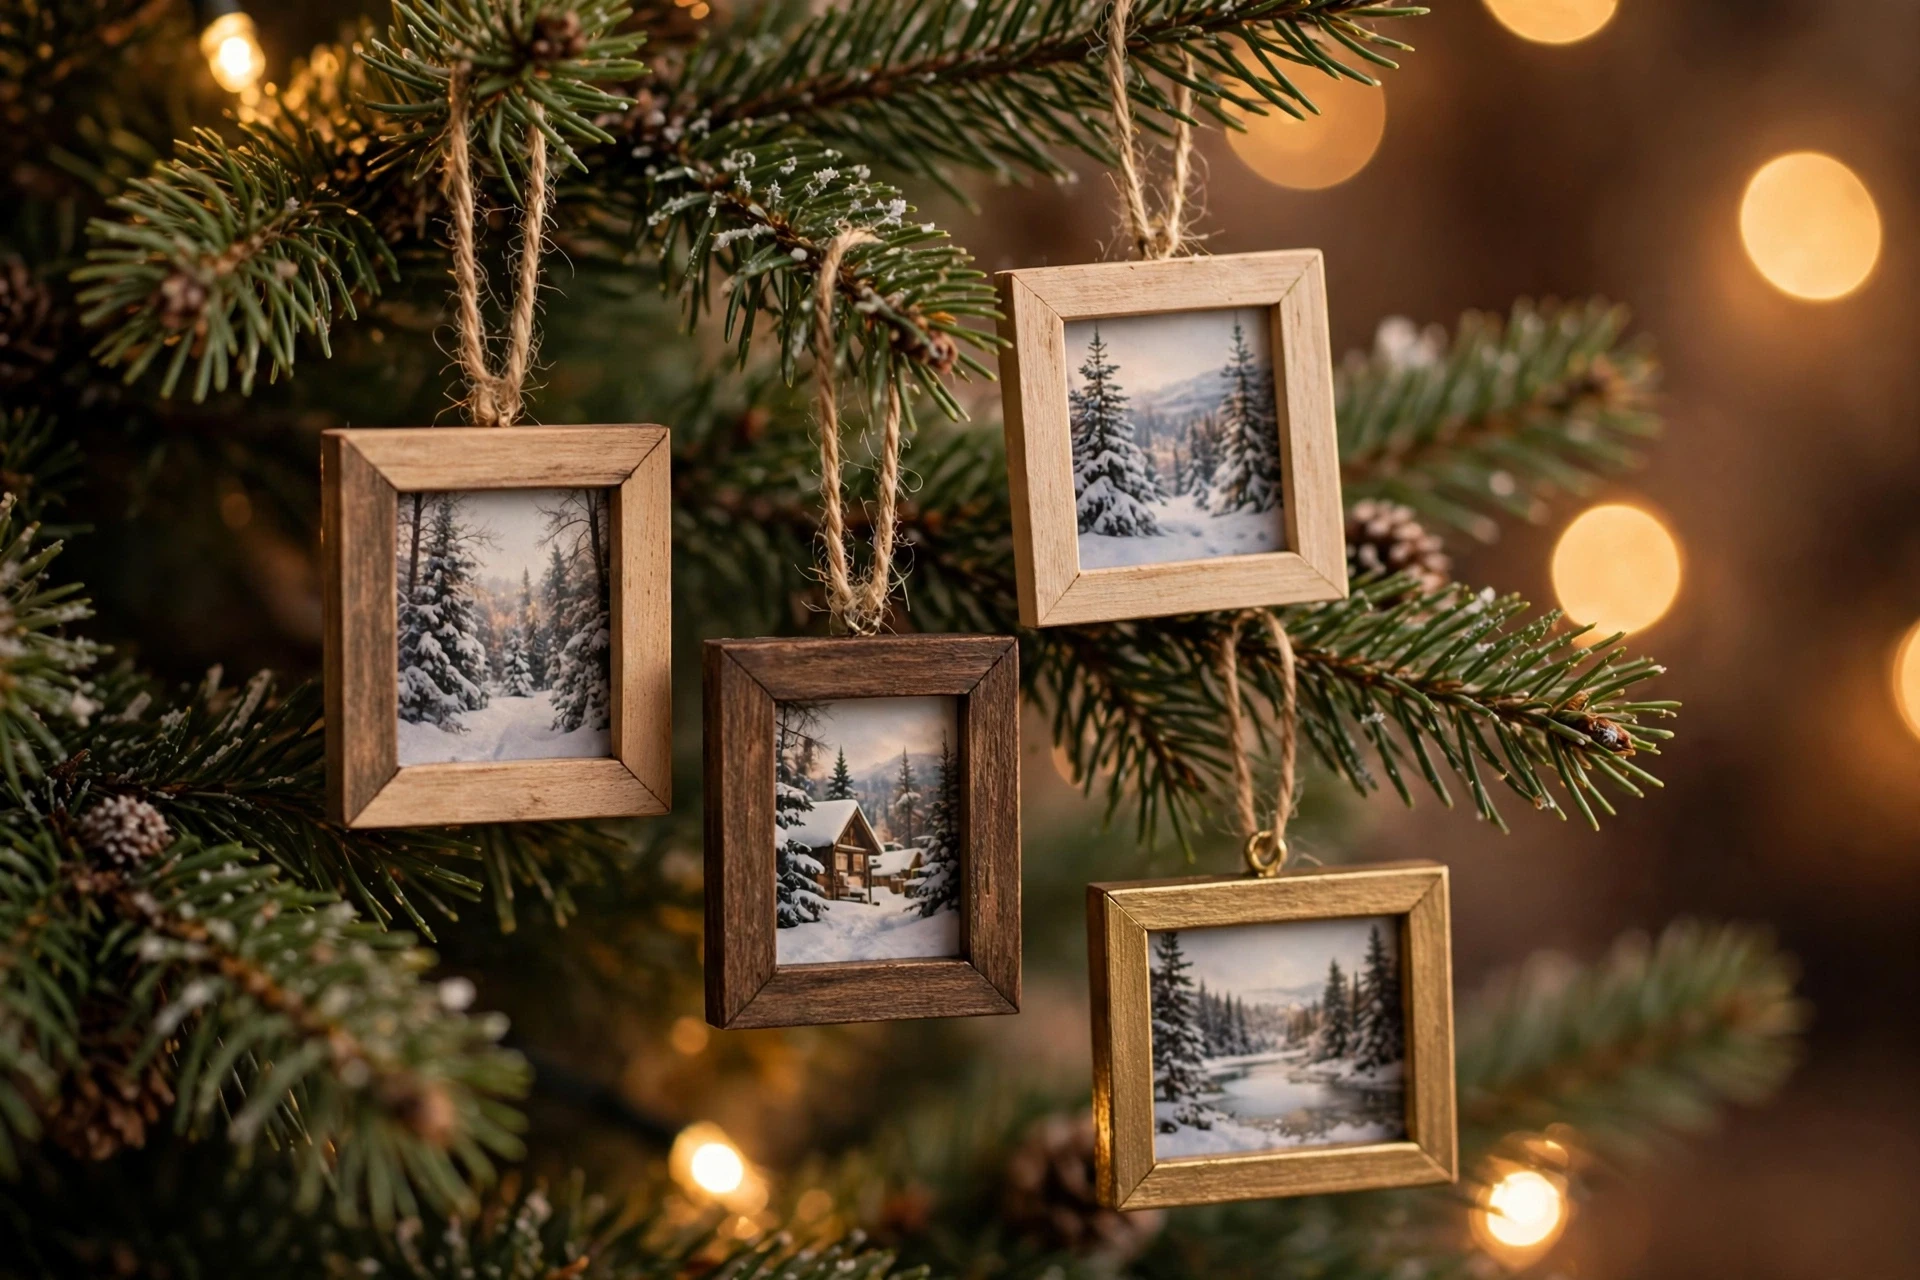
Photo ornaments turn your tree into a gallery of favorite memories, from family holidays to first Christmases and old snapshots of people you miss. A tiny frame gives each photo a finished look, and the ornaments spark conversations every time someone spots a familiar face among the branches. They are especially lovely on a tree shared across generations. A photo ornament also makes a thoughtful gift for grandparents who live far away.
Print small photos, trim them to fit miniature frames, and add a ribbon hanger to each one. Mix recent photos with older black-and-white prints for a collected feel, and place the most meaningful ones at eye level where they are easy to see. Laminate paper photos first, so humidity and handling do not damage them over the years. Rotate the photos every few years so newer memories join the older ones on the tree.
- Use miniature frames with a hook or loop for easy hanging.
- Mix old and new photos for a tree that spans generations.
- Place favorite photos at eye level, not hidden deep inside.
5. Fabric Scrap Patchwork Ornaments
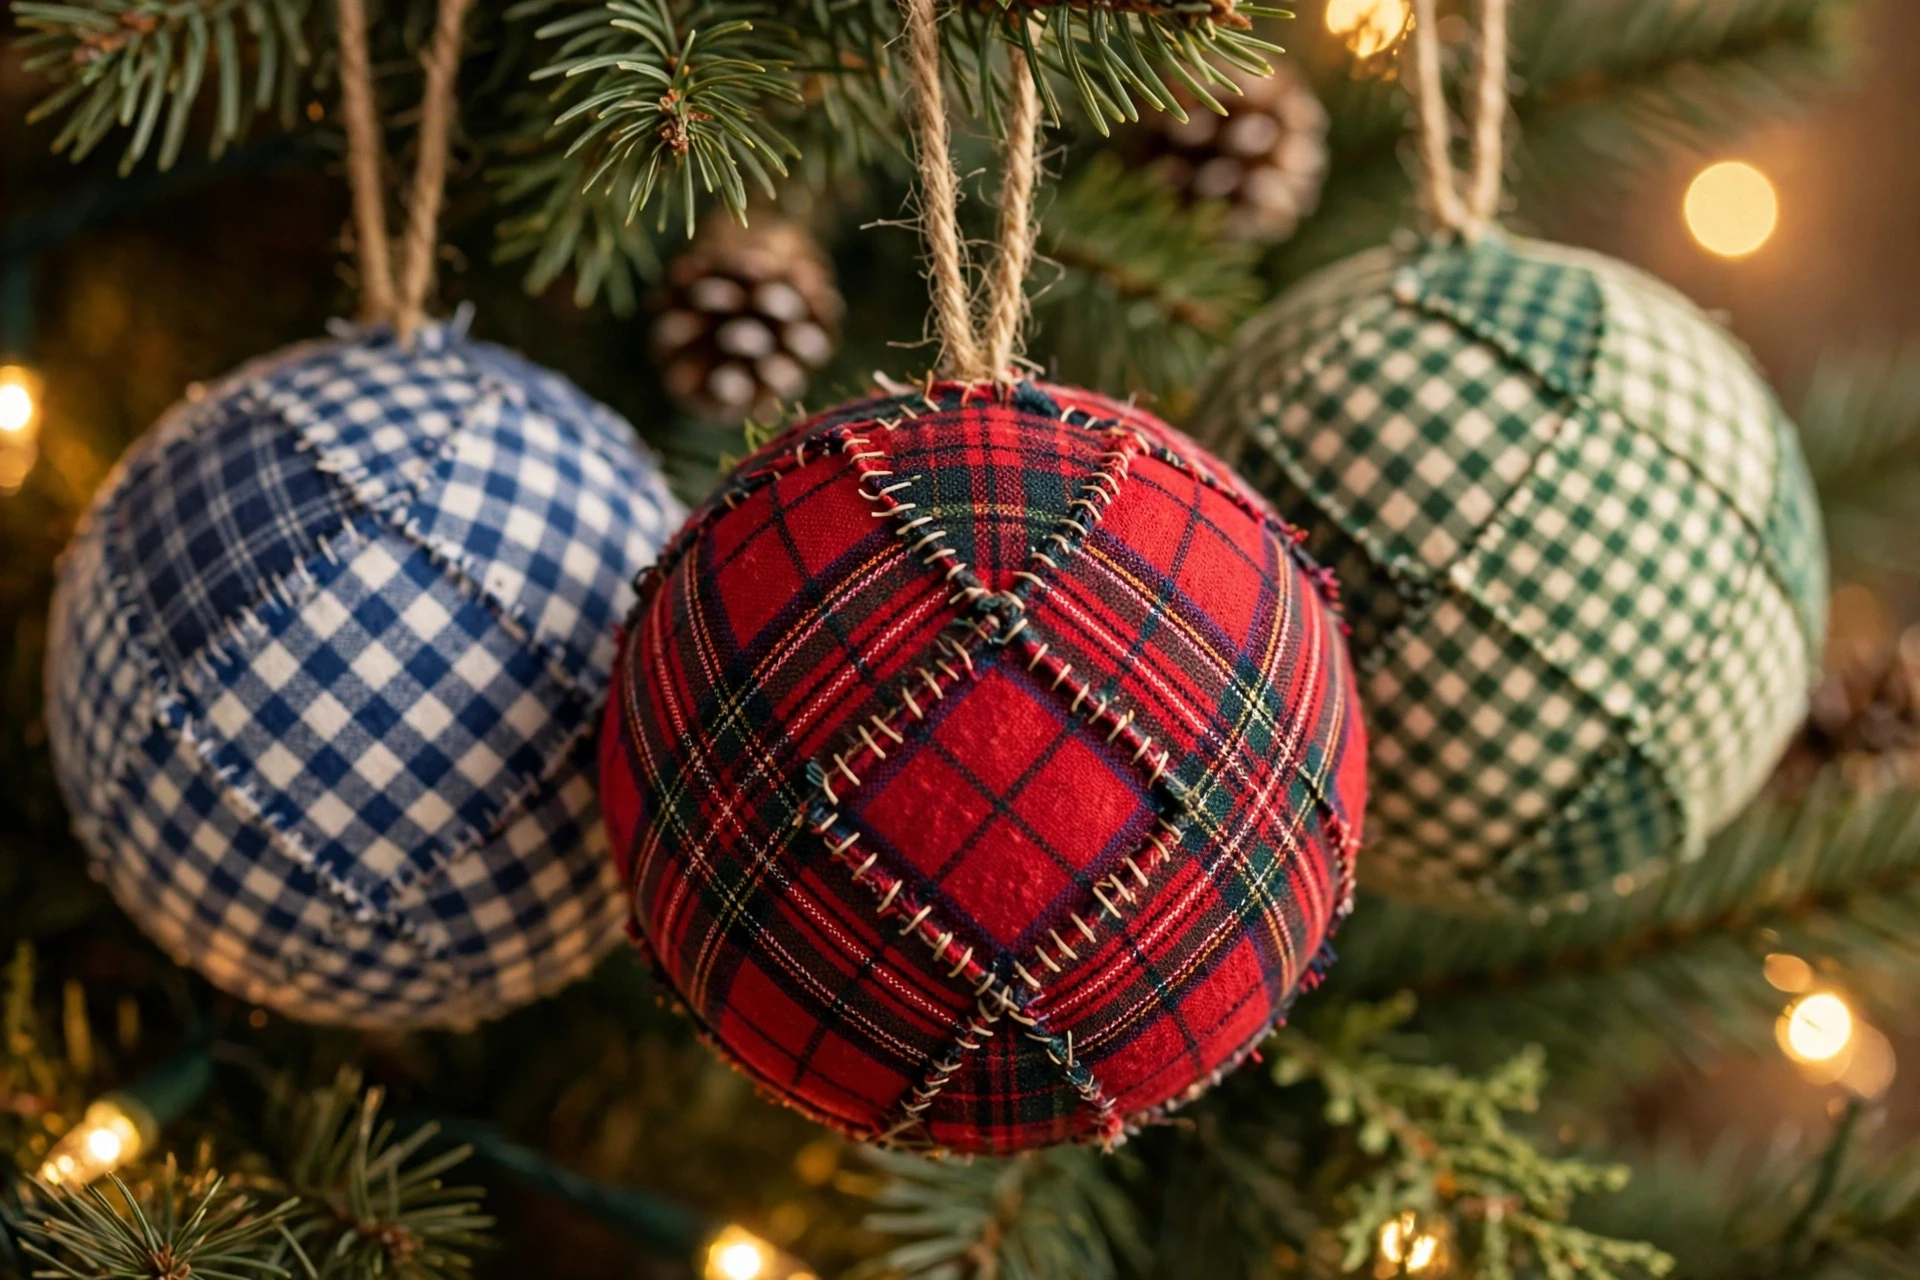
Fabric scrap ornaments are perfect for a collected tree, because they use up leftover material from sewing projects, old shirts, and favorite curtains, and every scrap carries a memory. Plaid, gingham, and floral prints mix happily together, giving the tree a soft, homemade texture that balances shinier glass ornaments beautifully. They are also light and unbreakable, which is ideal for lower branches. Fabric ornaments also soften a tree that has many shiny glass pieces competing for attention.
Cut fabric into simple shapes like balls, stars, and hearts, sew or glue them around a foam or stuffing core, and finish with a ribbon loop. Use pinking shears to stop fraying, and mix patterns in one color family for a coordinated look. Save scraps from baby clothes or a loved one’s shirt to make ornaments with real sentimental value. Sew a small loop from matching fabric instead of ribbon for a fully handmade finish.
- Use scraps from meaningful garments for ornaments with a story.
- Mix patterns within one color family to keep the tree cohesive.
- Choose lightweight fillings so ornaments hang straight.
6. Cinnamon Stick Bundle Ornaments
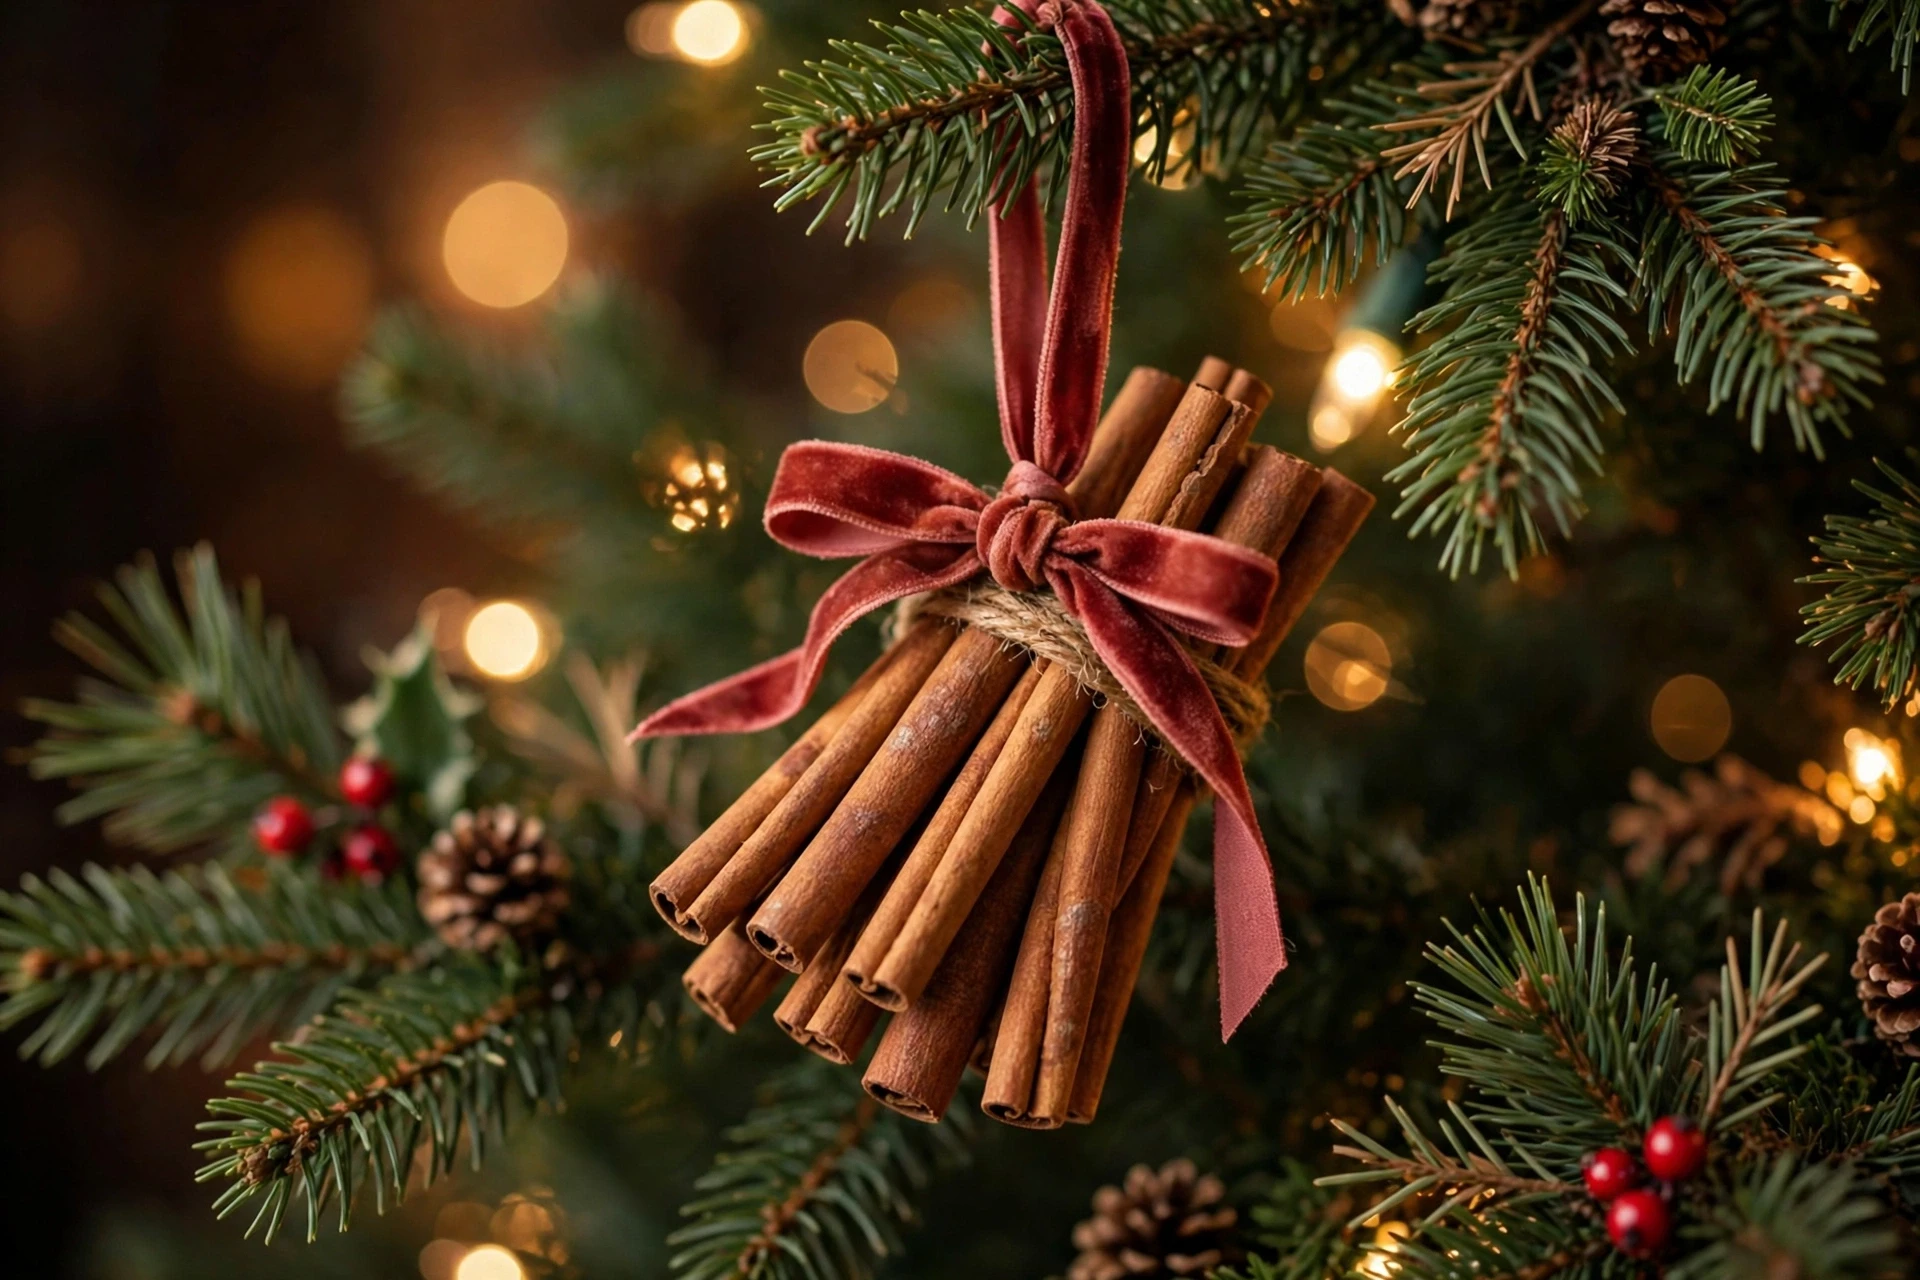
Cinnamon stick ornaments are small, fragrant, and wonderfully simple, making them a favorite for filling gaps on a collected tree. A bundle of cinnamon sticks tied with ribbon looks like a tiny gift, smells like Christmas baking, and adds warm brown tones that ground brighter ornaments. They are quick to make in batches, so they work well as gifts too. Their scent is strongest in the first few weeks, which makes them ideal for the Christmas season.
Bundle three or four cinnamon sticks together, wrap them tightly with twine or ribbon, and add a small sprig of greenery, a dried orange slice, or a tiny bell. Attach a loop for hanging, and tuck the bundles between branches where their scent will drift. Replace them every couple of years, since the fragrance fades gradually over time. Tuck bundles near the front of branches where guests will notice their fragrance and charm.
- Tie bundles tightly so sticks do not slip out over the season.
- Add greenery or a bell for a finished, gift-like look.
- Make extras as simple, fragrant gifts for friends.
7. Vintage Button Ornaments
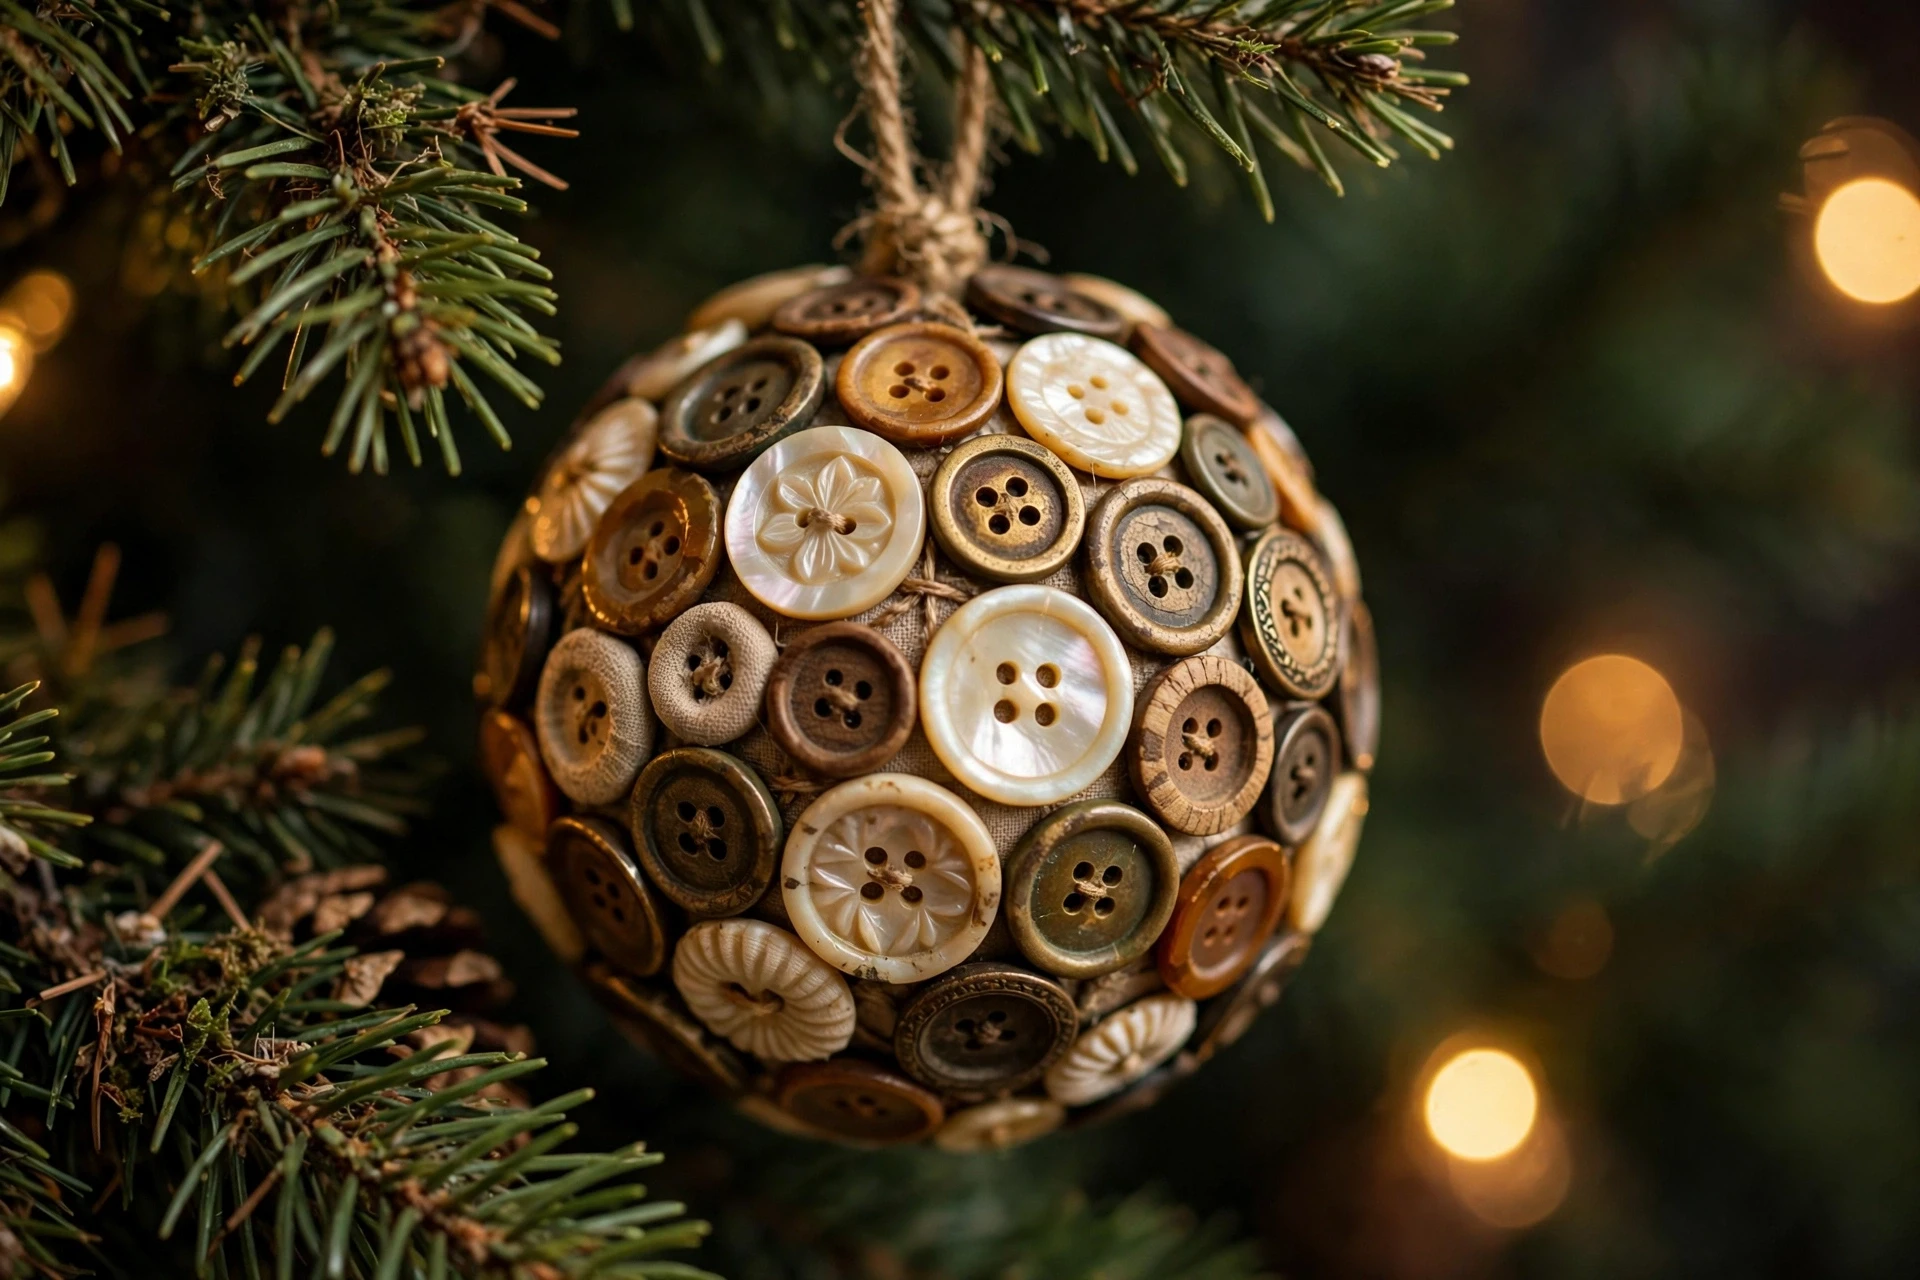
Vintage button ornaments are a charming way to reuse buttons from old coats, sewing tins, and thrifted jars, turning forgotten notions into sparkling tree decorations. Mixed buttons in pearl, brass, and jewel tones catch the light like tiny jewels, and no two ornaments ever look alike. They are a lovely nod to a grandmother’s sewing box and a thrifty maker’s eye. A button ornament can also use buttons saved from a favorite coat or a family member’s sewing tin.
Glue buttons onto a foam ball or a flat wooden shape, layering sizes and colors until the surface is covered, then add a ribbon hanger. Work in one color family for a refined look, or mix everything for a joyful, eclectic feel. Use a strong craft glue, and let each ornament dry fully before hanging it on the tree. Arrange the largest buttons first, then fill the gaps with smaller ones for a polished surface.
- Sort buttons by color family before gluing for a cohesive design.
- Use strong craft glue and let ornaments dry overnight.
- Save the most unusual buttons for the front of each ornament.
8. Pinecone Ornaments with Glitter
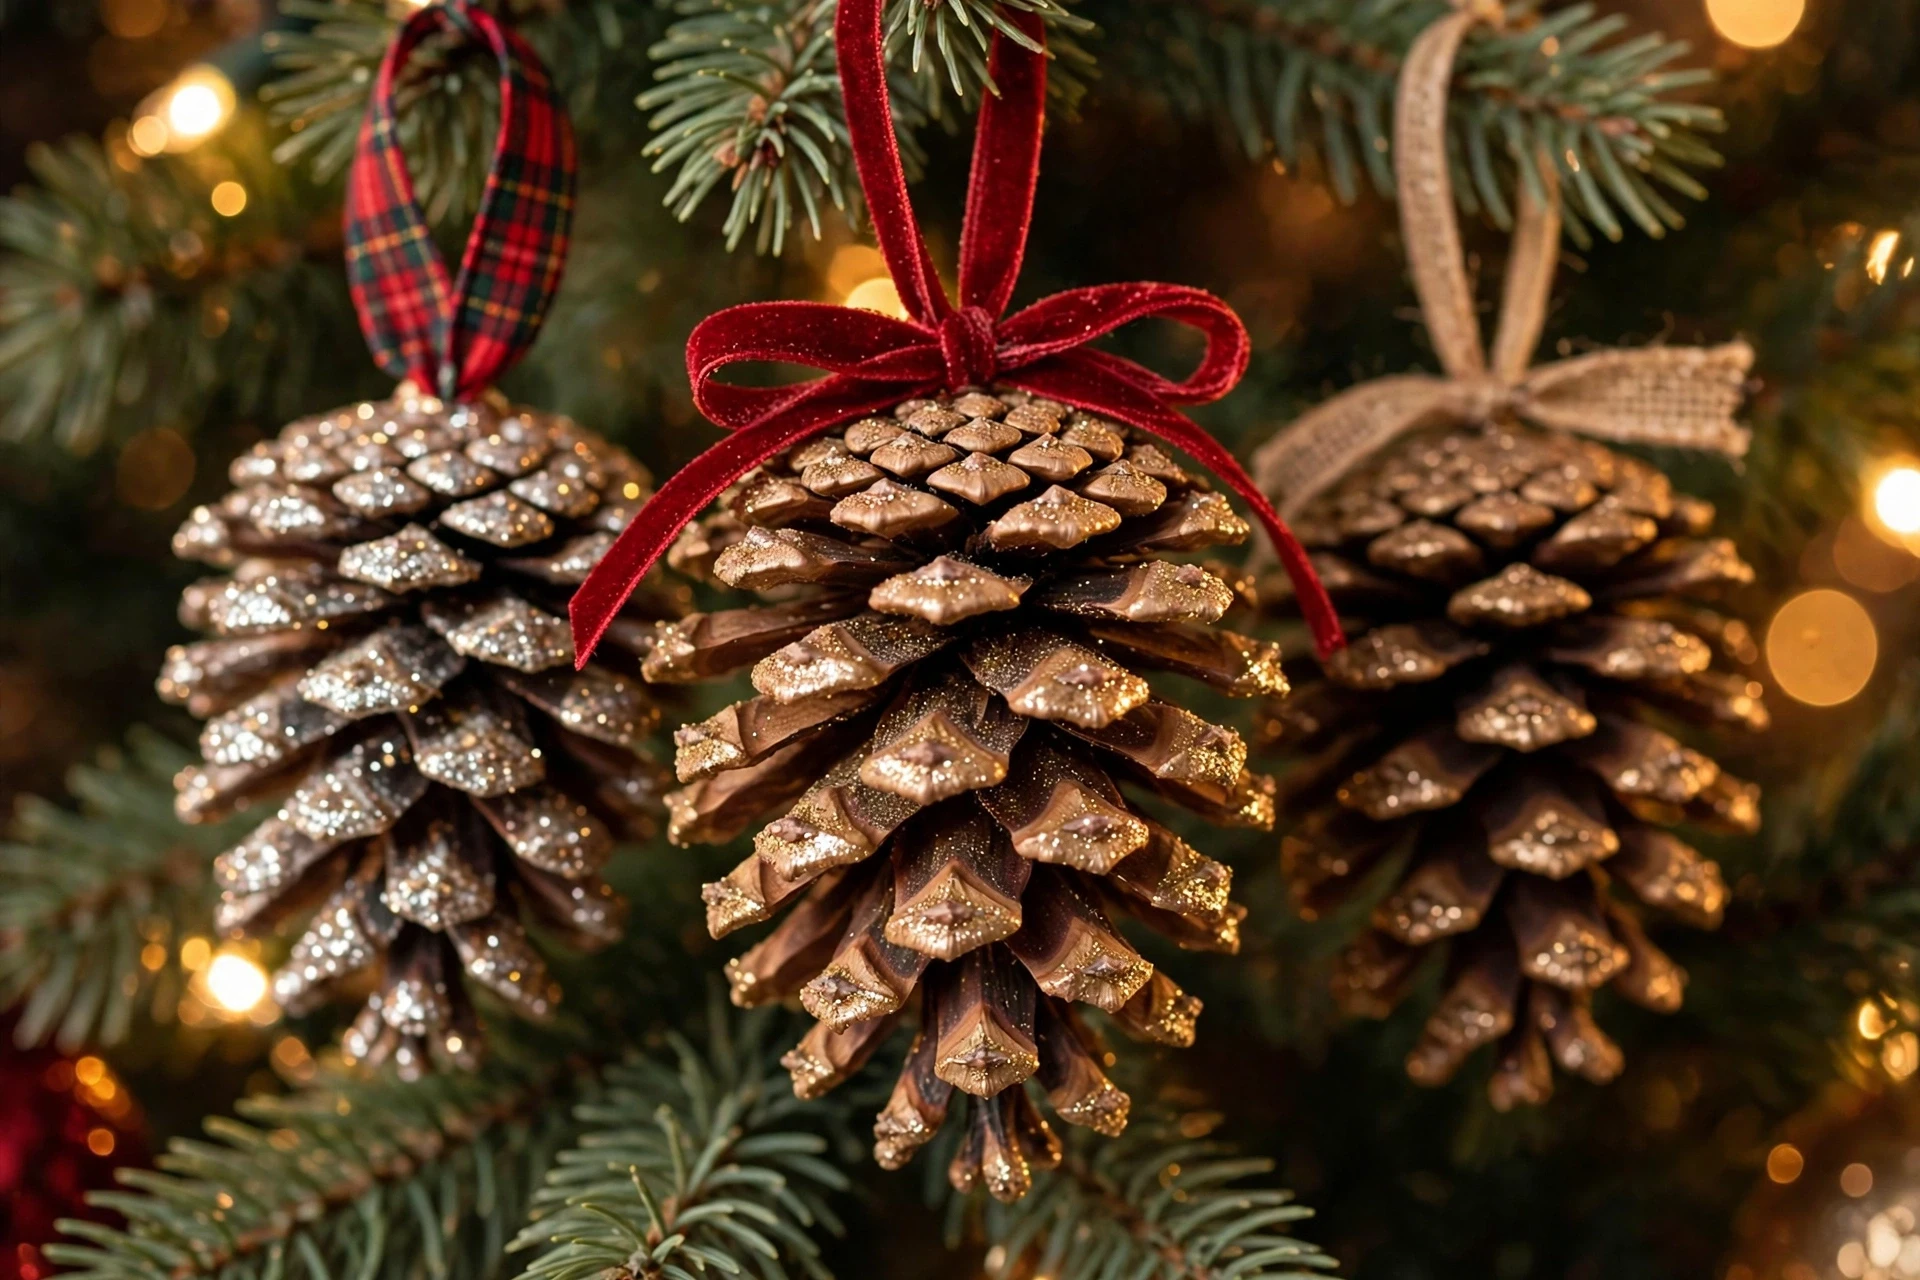
Pinecone ornaments bring the outdoors onto a collected tree, and a touch of glitter turns a humble forest find into something festive. Pinecones have a beautiful natural shape, they are free if you gather them yourself, and they look right at home beside wood, dried oranges, and handmade pieces. Their rustic texture adds depth to a tree full of smooth glass. Pinecone ornaments also look beautiful grouped in threes on a mantel or wreath after Christmas.
Clean and dry pinecones thoroughly, brush the tips with glue, and dust them with fine glitter in gold, silver, or white. Add a ribbon loop at the base, and hang them with the tip pointing down like a tiny tree. Bake gathered pinecones briefly at low heat first, to dry them and open their scales fully before decorating. Brush off loose glitter outdoors before hanging so it does not scatter over the tree.
- Dry pinecones completely before gluing, or glitter will not stick.
- Use fine glitter for a frosted look, not chunky craft glitter.
- Hang pinecones tip-down so they read as miniature trees.
9. Filled Glass Baubles with Keepsakes
Clear glass baubles are little display cases for a collected tree, because you can fill them with whatever tells your story: dried flowers, tiny notes, sand from a beach trip, or confetti from a celebration. They look elegant from a distance, then reward a closer look with a personal detail. That mix of beauty and meaning is exactly what makes a collected tree special. A filled bauble can also hold a tiny handwritten note that only the recipient will read.
Open a clear bauble, add a small keepsake and a pinch of filler like faux snow or gold confetti, then close it and add a ribbon. Keep fillings light so the bauble hangs evenly, and label the year on the cap if the keepsake marks a specific event. Group two or three filled baubles together for a display that invites a closer look. Hang filled baubles where light passes through them, since transparency is their best feature.
- Keep fillings light so baubles hang straight and do not strain branches.
- Use faux snow or confetti to cushion delicate keepsakes inside.
- Note the year on the cap for event-linked ornaments.

10. Embroidered Hoop Ornaments
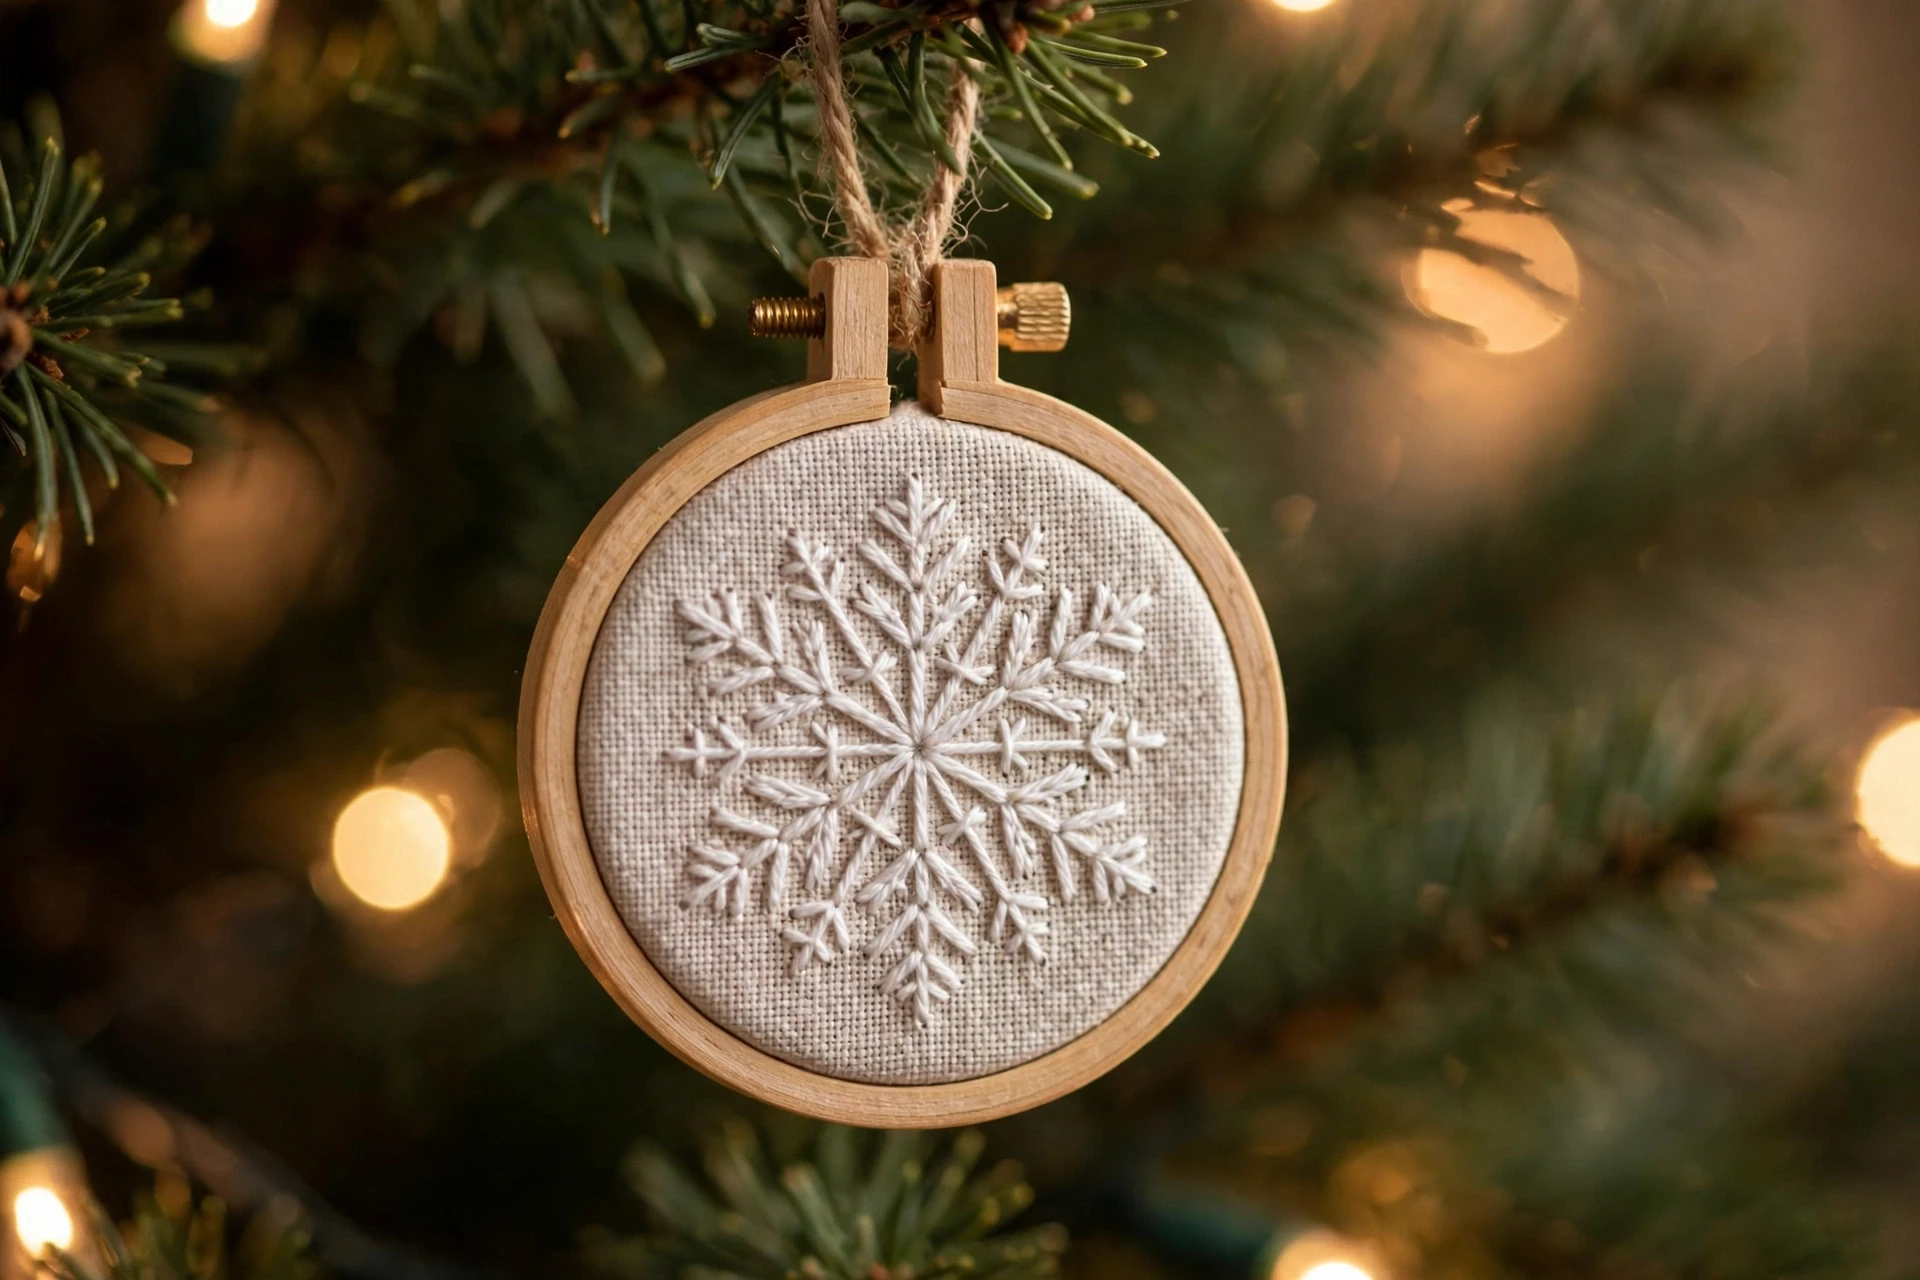
Embroidered hoop ornaments add a soft, handcrafted texture to a collected tree, and they showcase a skill that feels wonderfully old-fashioned. A tiny wooden hoop frames a stitched snowflake, initial, or woodland scene, and the fabric background can match your tree’s color scheme. They are light, flat, and easy to store, which makes them practical as well as pretty. Embroidered hoops also work beautifully as gift toppers or small wall decorations after the holidays.
Stretch linen or cotton in a small hoop, stitch a simple design with embroidery floss, and trim the excess fabric at the back. Add a ribbon loop for hanging, and keep designs simple, since small hoops suit bold shapes better than fine detail. Make a set in matching thread colors for a coordinated group, or vary each one for a more collected feel. Use a matching ribbon for the hanger so the hoop looks finished from every angle.
- Keep stitched designs bold and simple for small hoops.
- Use linen or cotton that will not stretch out of shape.
- Trim and glue the back fabric neatly for a finished look.
11. Air-Dry Clay Star Ornaments
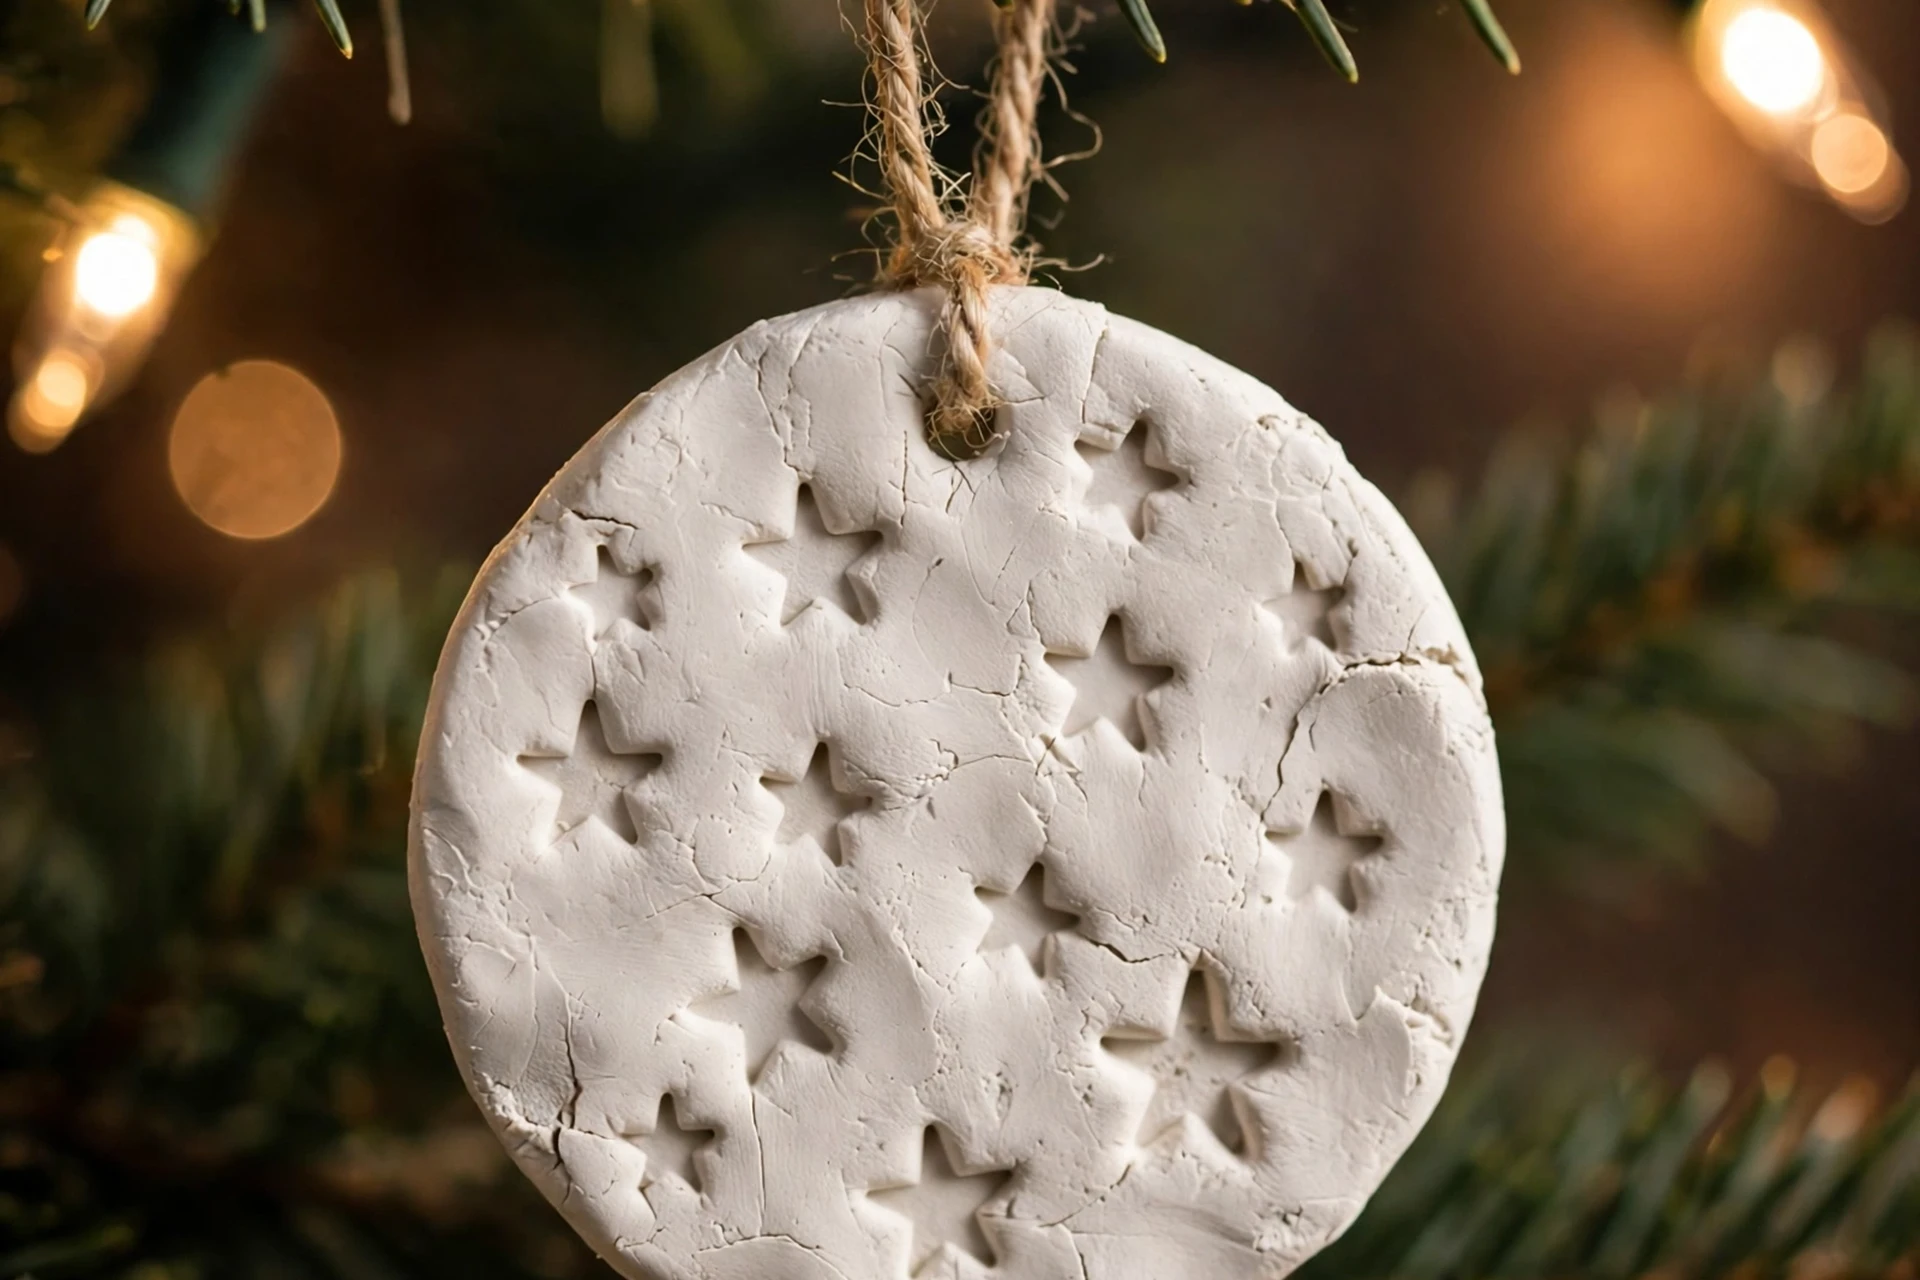
Air-dry clay ornaments are an easy, no-bake way to make elegant white decorations for a collected tree, with a clean, ceramic-like look. Stamped stars, trees, and snowflakes feel refined beside rustic wood and fabric pieces, and they take paint, gold leaf, or a simple matte finish beautifully. They are also forgiving for beginners, since mistakes can be smoothed and remade before drying. White clay ornaments also suit a minimalist tree, where their clean shapes stand out against green branches.
Roll air-dry clay evenly, cut shapes with cookie cutters, and stamp patterns with a fork, a leaf, or a rubber stamp. Poke a hanging hole before drying, let pieces dry fully on both sides, then paint or seal them. Handle dried ornaments gently, since air-dry clay is lighter and more fragile than fired ceramic, and store them padded between layers. Let ornaments dry slowly away from radiators, since fast drying can cause fine cracks.
- Roll clay to an even thickness so ornaments dry without warping.
- Poke hanging holes before drying, not after.
- Store clay ornaments padded, since they chip more easily than wood.
12. Felt Animal Ornaments
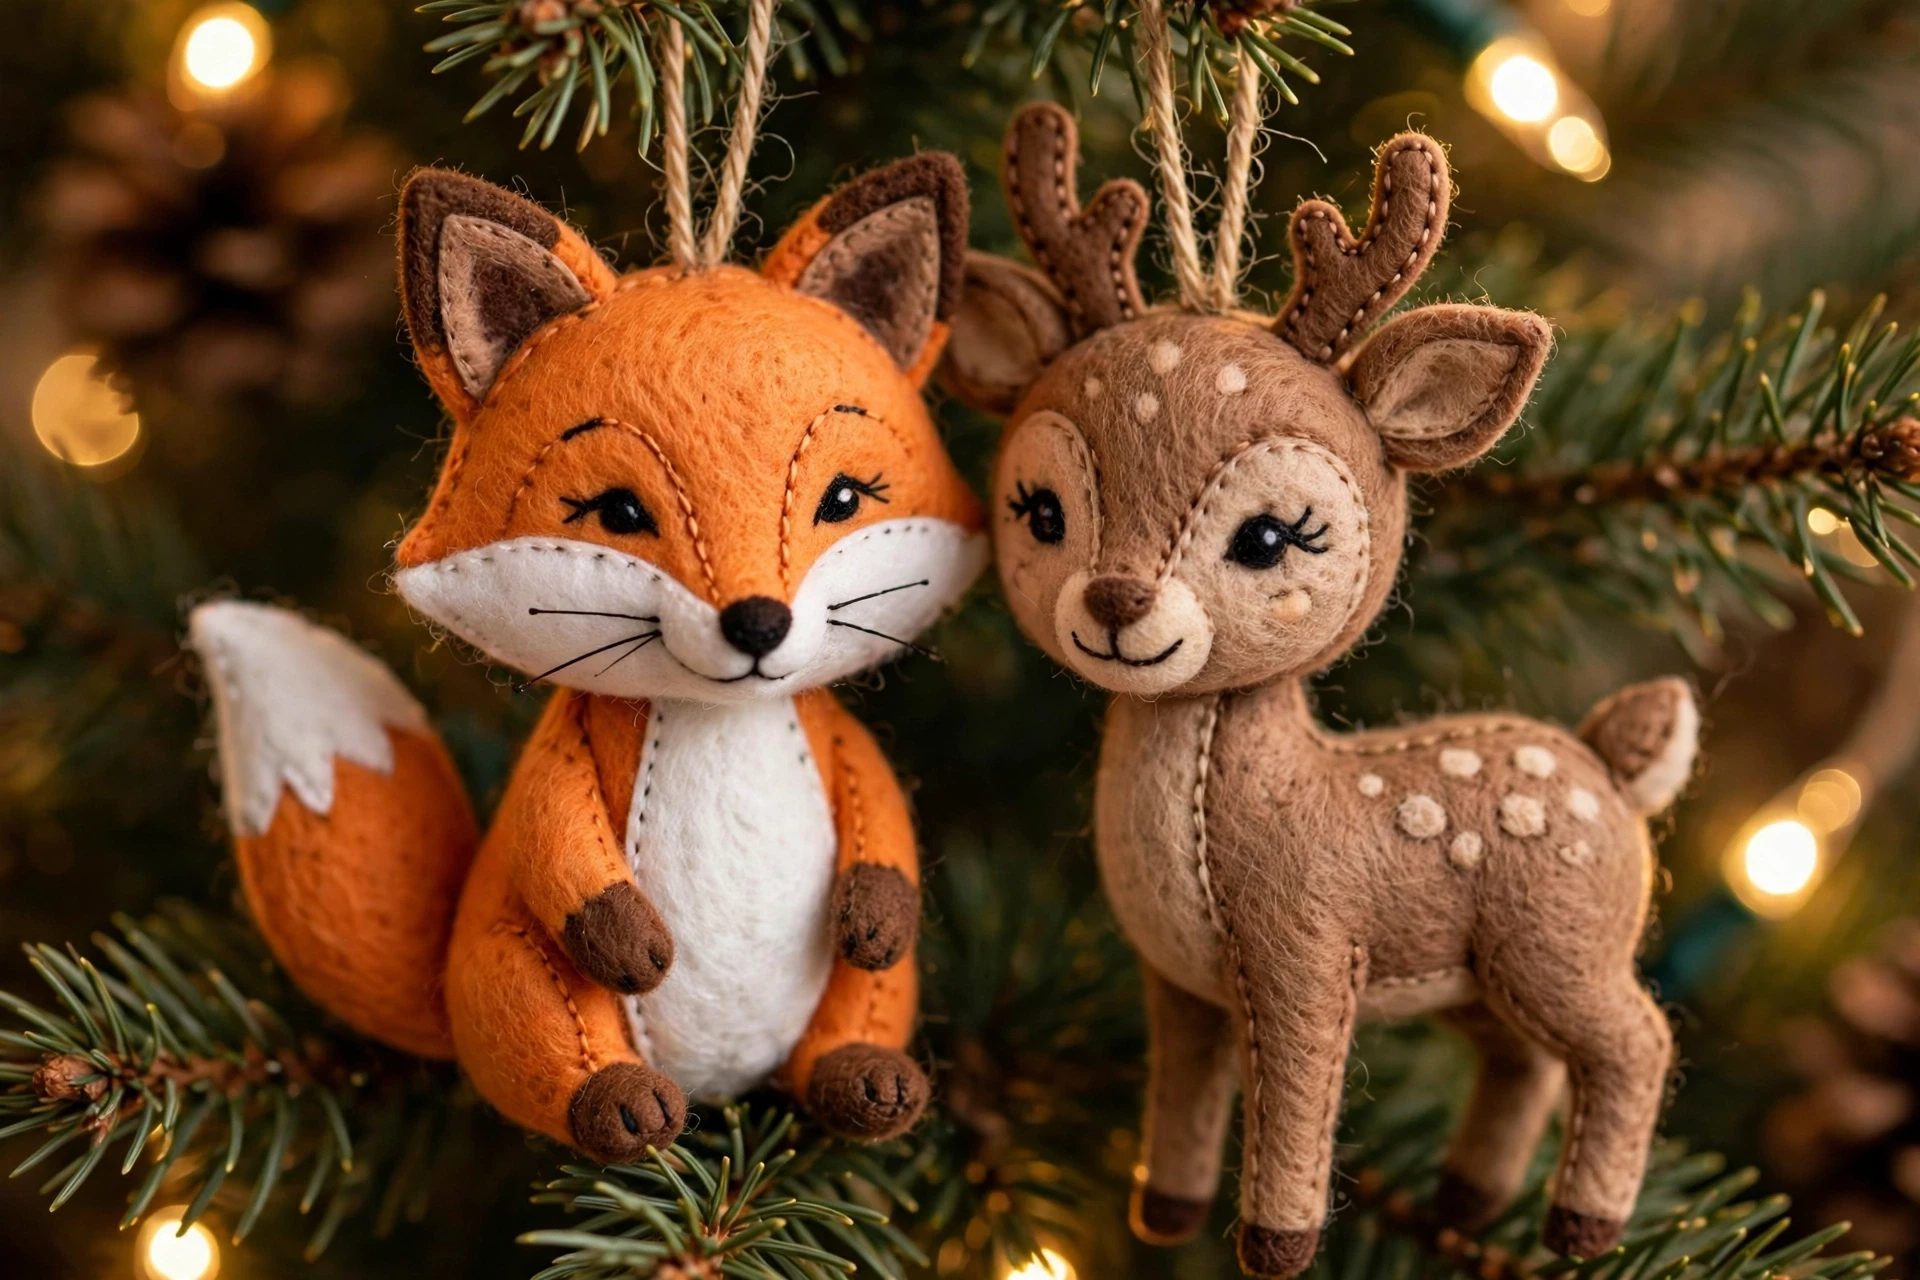
Felt animal ornaments are the playful heart of a collected tree, especially in homes with children, because a felt fox, deer, or bird feels like a little character living in the branches. Felt is soft, colorful, and forgiving to sew, and the ornaments survive drops that would shatter glass. They add warmth and whimsy without making the tree look childish. Felt animals also make sweet stocking fillers or table decorations when they are not on the tree.
Cut two matching felt shapes, sew them together with a simple blanket stitch, and stuff lightly with cotton before closing. Add tiny bead eyes and a ribbon loop, and keep the shapes simple for a clean, charming result. Make animals in your tree’s accent colors, and place them near the front of branches where their faces can be seen. Use contrasting thread for the stitching so the handmade detail becomes part of the design.
- Use a blanket stitch for a neat, decorative edge.
- Stuff lightly so animals keep their shape without bulging.
- Place felt animals near branch tips where they are visible.
13. Travel Souvenir Ornaments
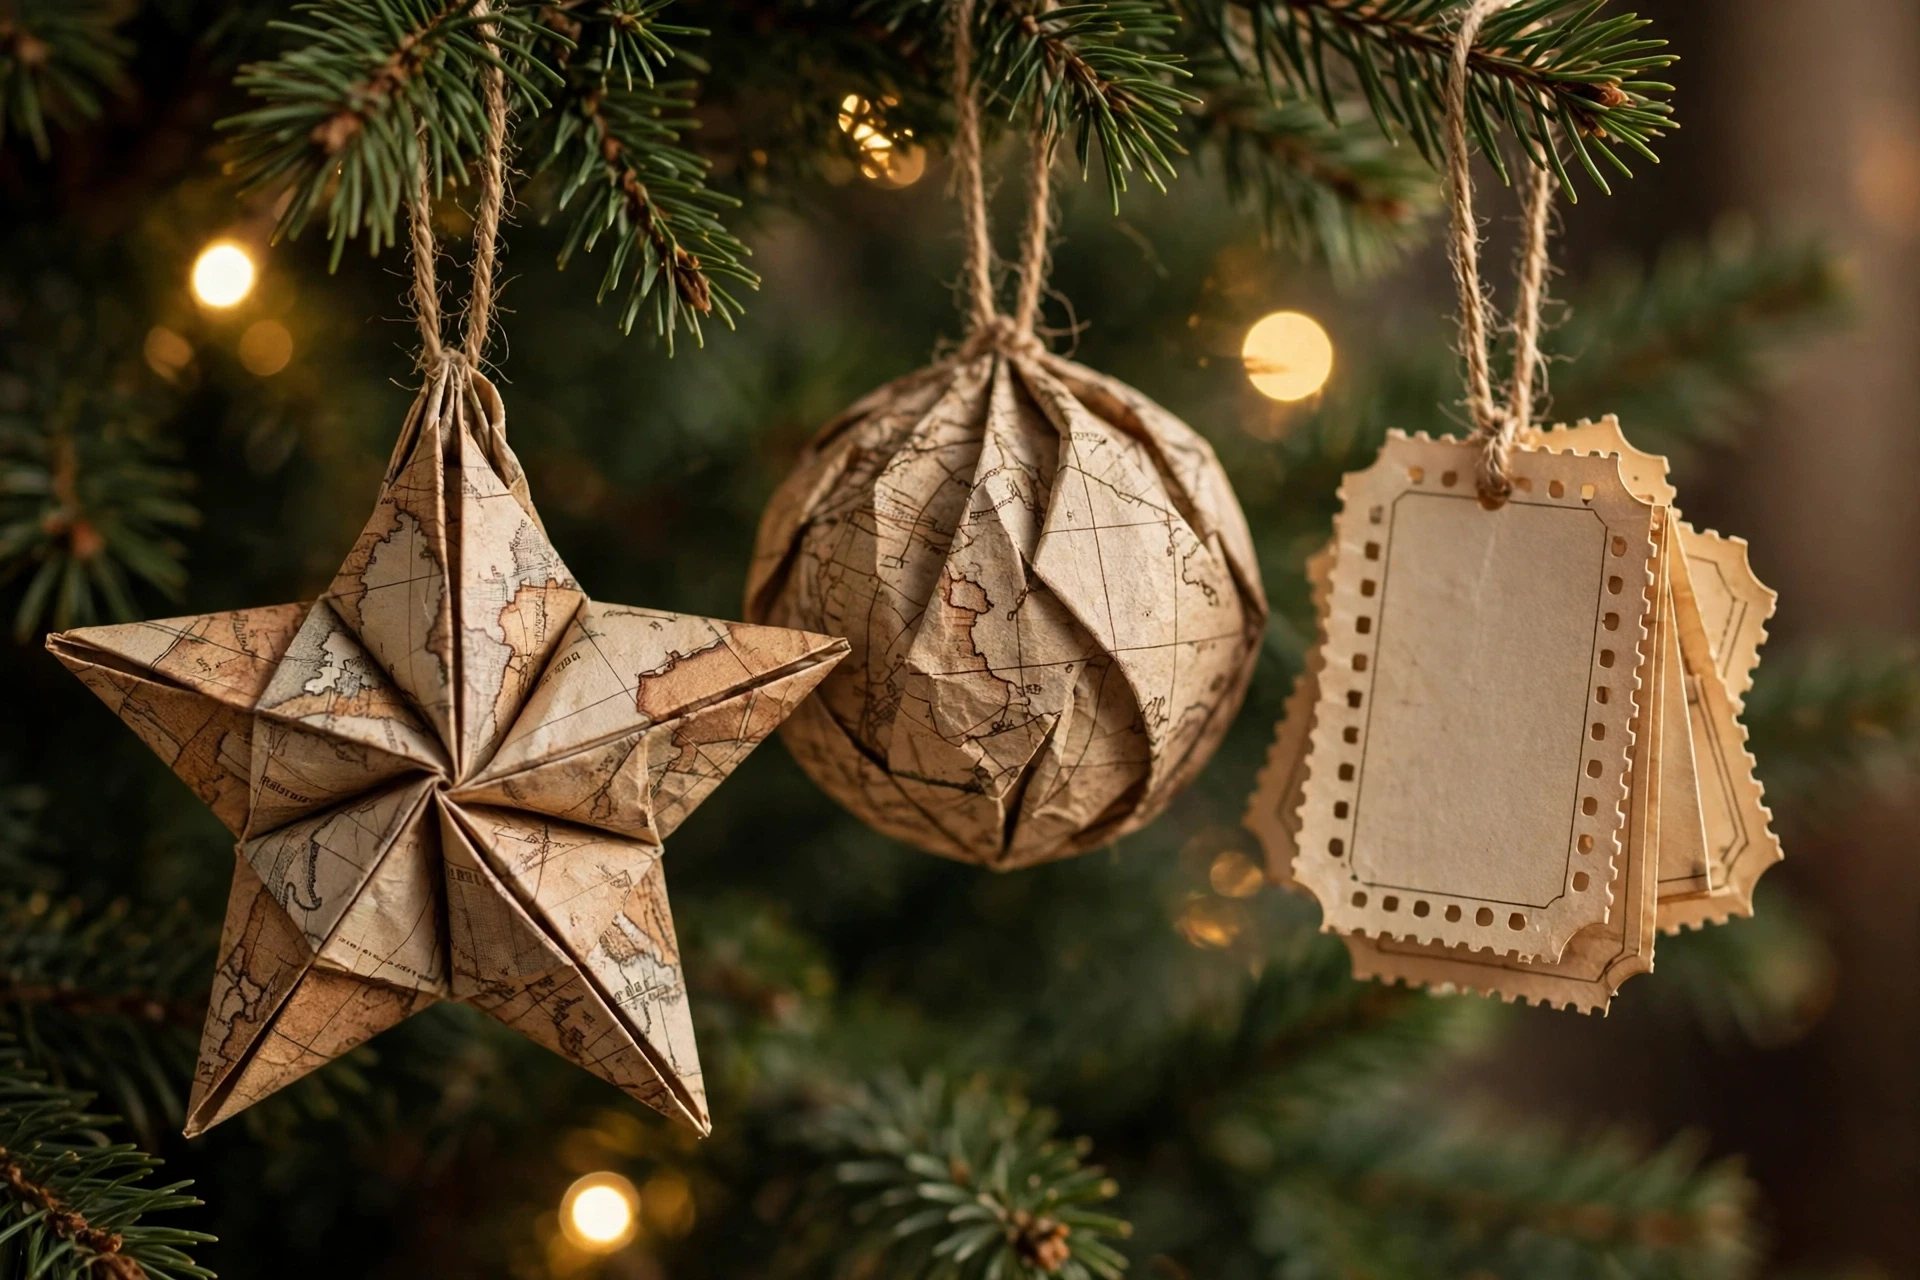
Travel souvenir ornaments are a wonderful way to remember trips on a collected tree, because each one marks a place you have been together. A map fragment, a ticket stub, or a postcard image, sealed inside a clear ornament or decoupaged onto wood, turns a holiday into a yearly tradition. Guests love asking about them, and children learn geography from the branches. A travel ornament can also spark stories at Christmas dinner, when guests ask where each piece came from.
Choose small, flat souvenirs, trim them to fit a clear bauble or a wooden disc, and seal them with decoupage glue to protect against fading. Add the place and year on the back, and group travel ornaments together on one section of the tree for a mini world tour. Avoid bulky items, since heavy ornaments pull branches down and hide the design. Keep travel ornaments together in a labeled box so the collection stays organized year after year.
- Seal paper souvenirs with decoupage glue to prevent fading.
- Write the place and year on the back of each ornament.
- Group travel pieces together for a storytelling section.
14. Handprint Keepsake Ornaments
Handprint ornaments are among the most treasured pieces on any collected tree, because a small hand captured in clay is a moment in time you can hold every Christmas. Parents unpack them with a rush of memory, and children love comparing their grown hands to the tiny print from years ago. They are simple to make, yet they become priceless with time. A handprint ornament also makes a moving gift for a grandparent marking a child’s first Christmas.
Press a clean, dry hand firmly into soft salt dough or air-dry clay, then trim around the print and poke a hanging hole. Bake or air-dry the piece fully, paint it in a soft color, and write the child’s name and year on the back. Make one each year, and keep the earliest ones in a safe box until children are old enough to handle them gently. Seal the print well, since fingers will want to touch it every year.
- Press hands firmly and evenly for a clear, complete print.
- Write the name and year on the back before sealing.
- Store early handprints padded until children handle them carefully.

15. Monogram Initial Ornaments
Monogram ornaments make a collected tree feel personal at a glance, because each family member has a letter of their own among the branches. Gold, wood, or felt initials look elegant and intentional, and children love finding their own letter, which makes decorating the tree a game. They also make thoughtful gifts, since a monogram is personal without needing a photograph. Monogram ornaments also work well as place markers at a Christmas dinner table setting.
Choose wooden letters, felt initials, or gold metal letters, and add a ribbon loop in your tree’s accent color. Hang each initial near that person’s favorite ornaments, or group all the initials together on one branch for a family display. Add a small date charm to mark the year, and keep the letter style consistent across the family for a polished look. Choose a ribbon length that lets each initial hang clear of neighboring ornaments.
- Keep the letter style consistent across family members.
- Use ribbon in one accent color for a unified display.
- Hang initials where children can find their own letter.

16. Wood Slice Ornaments with Burned Designs
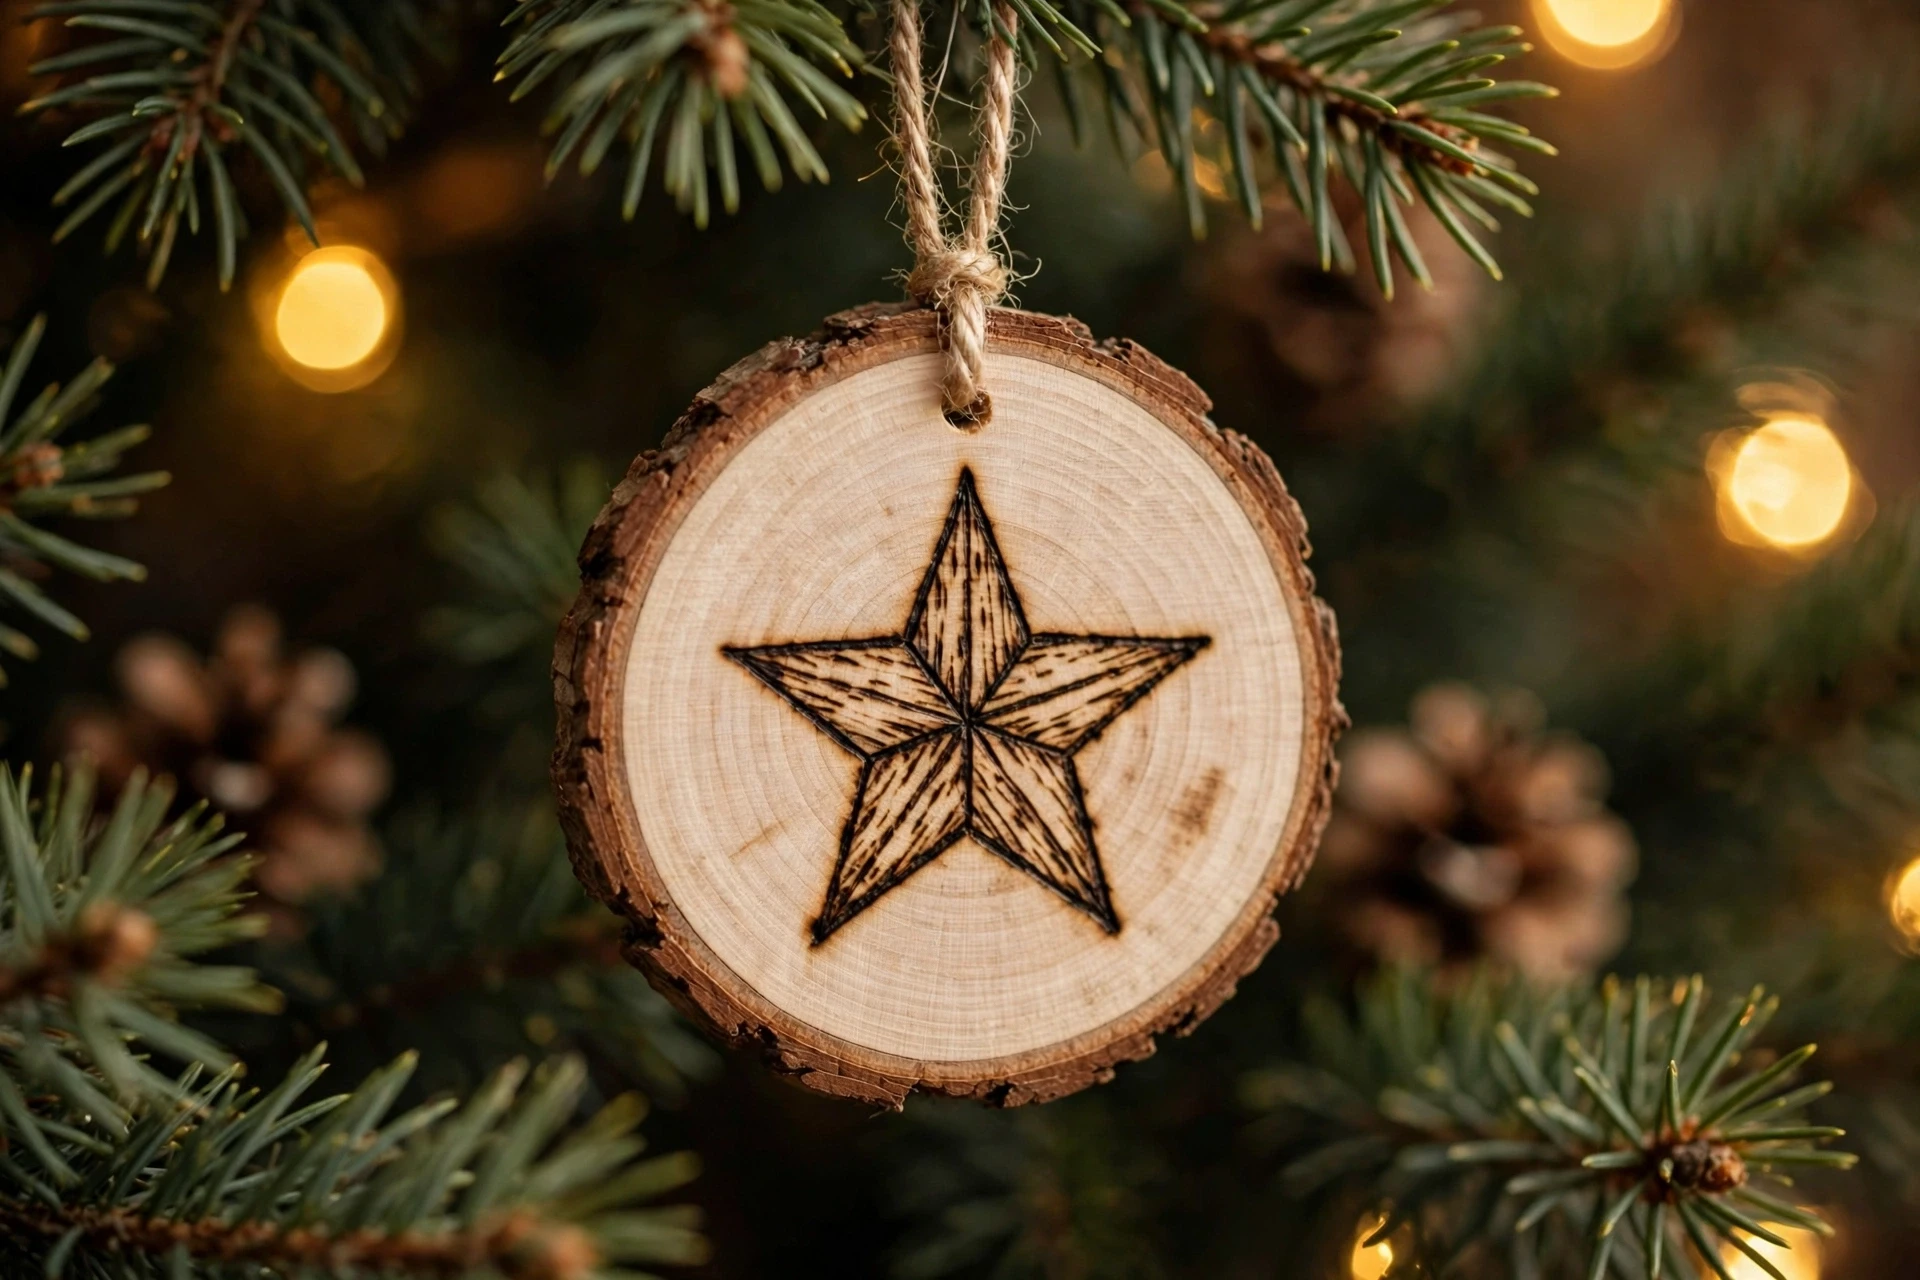
Wood slice ornaments have a rustic, cabin-like charm that suits a collected tree beautifully, especially when the design is burned into the wood rather than painted on. The natural bark edge, the grain, and the warm tone all feel honest and handmade, and burned stars, trees, and names will never fade or peel. They are sturdy, too, so they last for decades. Wood slice ornaments also suit a cabin-style tree, where bark edges and grain feel right at home.
Use a wood-burning tool on a light, dry wood slice, drawing simple stars, snowflakes, or names with slow, steady lines. Sand the surface first for a clean burn, seal the finished piece, and add a twine loop through a drilled hole. Work in a ventilated space, and practice on a spare slice before burning the ornament you plan to keep. Drill the hanging hole before burning, since drilling afterward can crack a finished design.
- Sand wood slices smooth before burning for clean lines.
- Practice on a spare slice before your final design.
- Seal burned ornaments to protect the design from handling.
17. Beaded Snowflake Ornaments
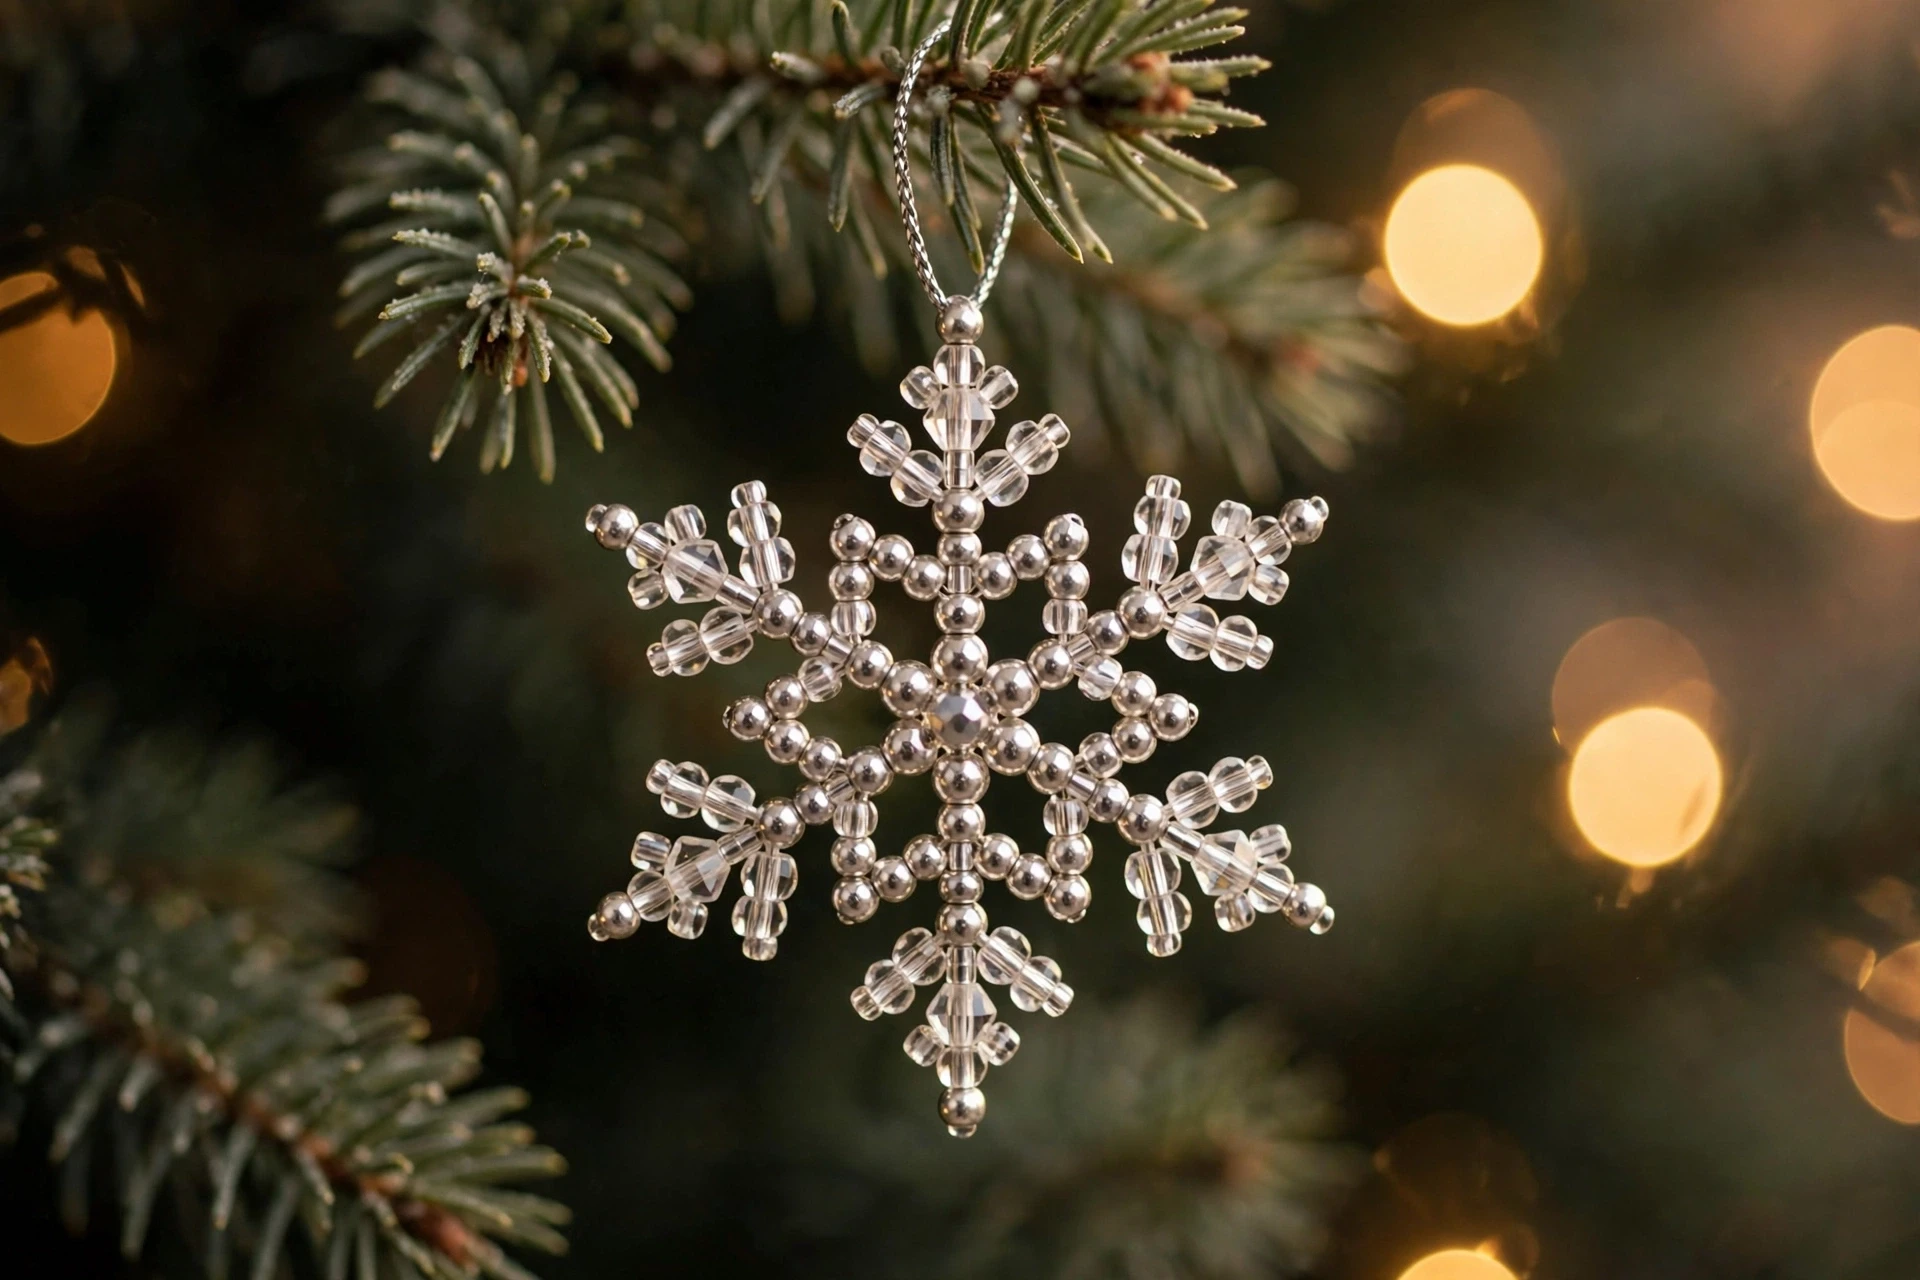
Beaded snowflakes are the sparkling jewels of a collected tree, catching light with every movement of the branches. Crystal, pearl, and silver beads arranged into six-pointed stars look delicate and expensive, yet they are made from simple wire and beads. They balance heavier handmade pieces beautifully, adding a touch of glamour without overwhelming the tree’s personal character. Beaded snowflakes also look stunning hanging in a window, where daylight catches the crystals.
Thread beads onto thin wire, forming six arms from a center bead, and twist the wire ends to lock each arm in place. Use a mix of bead sizes for dimension, and finish with a crystal drop at the center. Hang snowflakes near the lights, where they sparkle most, and store them in separate pouches so beads do not tangle or scratch each other. Use silver wire for cool-toned trees and gold wire for warmer, traditional color schemes.
- Mix bead sizes for snowflakes with depth and sparkle.
- Twist wire ends tightly so beads cannot slip off.
- Store beaded ornaments separately to prevent tangling.
18. Folded Paper Star Ornaments
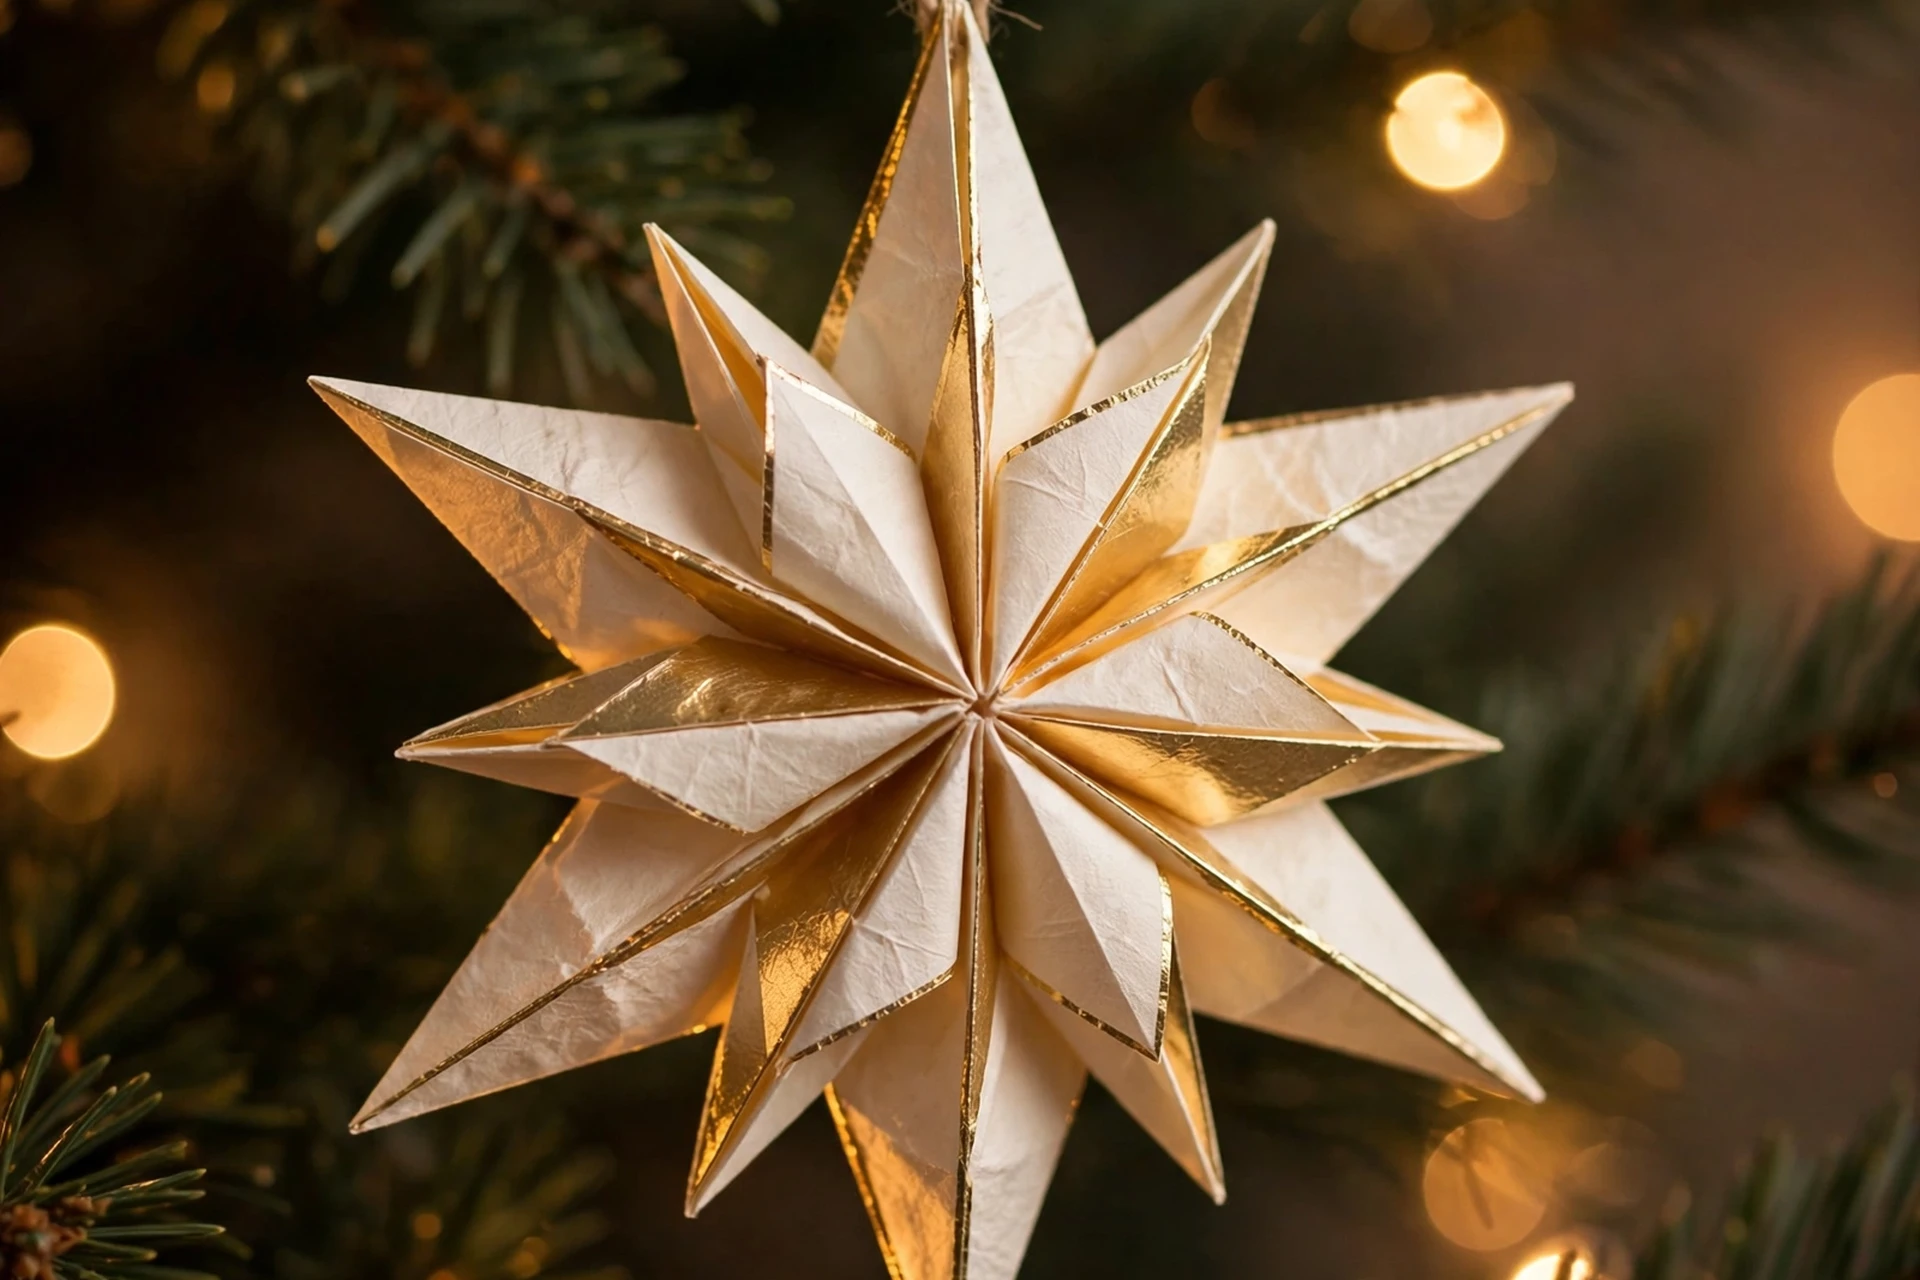
Folded paper stars are a beautiful, budget-friendly addition to a collected tree, and they bring a Scandinavian simplicity that suits modern and traditional trees alike. Cream, gold, and kraft paper stars look elegant in groups, and folding them is a relaxing evening craft that children can join. They are light, so they can hang on the finest branch tips. Paper stars also make lovely garlands when strung together along a mantel or doorway.
Fold paper strips or squares into stars using a simple tutorial, glue the points together, and add a thread loop for hanging. Use sturdy paper that holds a crease well, and make stars in two or three sizes for visual variety. Spray finished stars lightly with a clear sealer if you want to reuse them, since unsealed paper softens in humidity. Fold stars from the same paper as your gift wrap for a coordinated Christmas look.
- Use sturdy paper that holds crisp folds and points.
- Make stars in two or three sizes for variety.
- Seal finished stars lightly for reuse next year.
19. Velvet Ribbon-Wrapped Ornaments
Velvet ribbon transforms plain baubles into luxurious ornaments for a collected tree, adding softness and rich color without any painting or gluing skill. Burgundy, emerald, and navy velvet catch the light in a deep, matte way that flatters both vintage and modern trees. They are a quick way to refresh old, scratched baubles and make them look intentional again. Velvet-wrapped baubles also add a rich texture that balances the shine of glass and tinsel.
Wrap velvet ribbon around a plain bauble, securing it at the top and bottom with a small dot of glue, then add a bow at the cap. Choose ribbon wide enough to cover the bauble in a few wraps, and keep the color palette to two jewel tones for elegance. Mix wrapped baubles with glass and handmade pieces so the tree keeps its collected, layered feel. Store velvet ornaments away from direct sunlight so the deep colors do not fade.
- Choose wide velvet ribbon for quick, even coverage.
- Limit the palette to two jewel tones for elegance.
- Refresh old baubles instead of buying new ones.

20. Styled Heirloom Ornaments
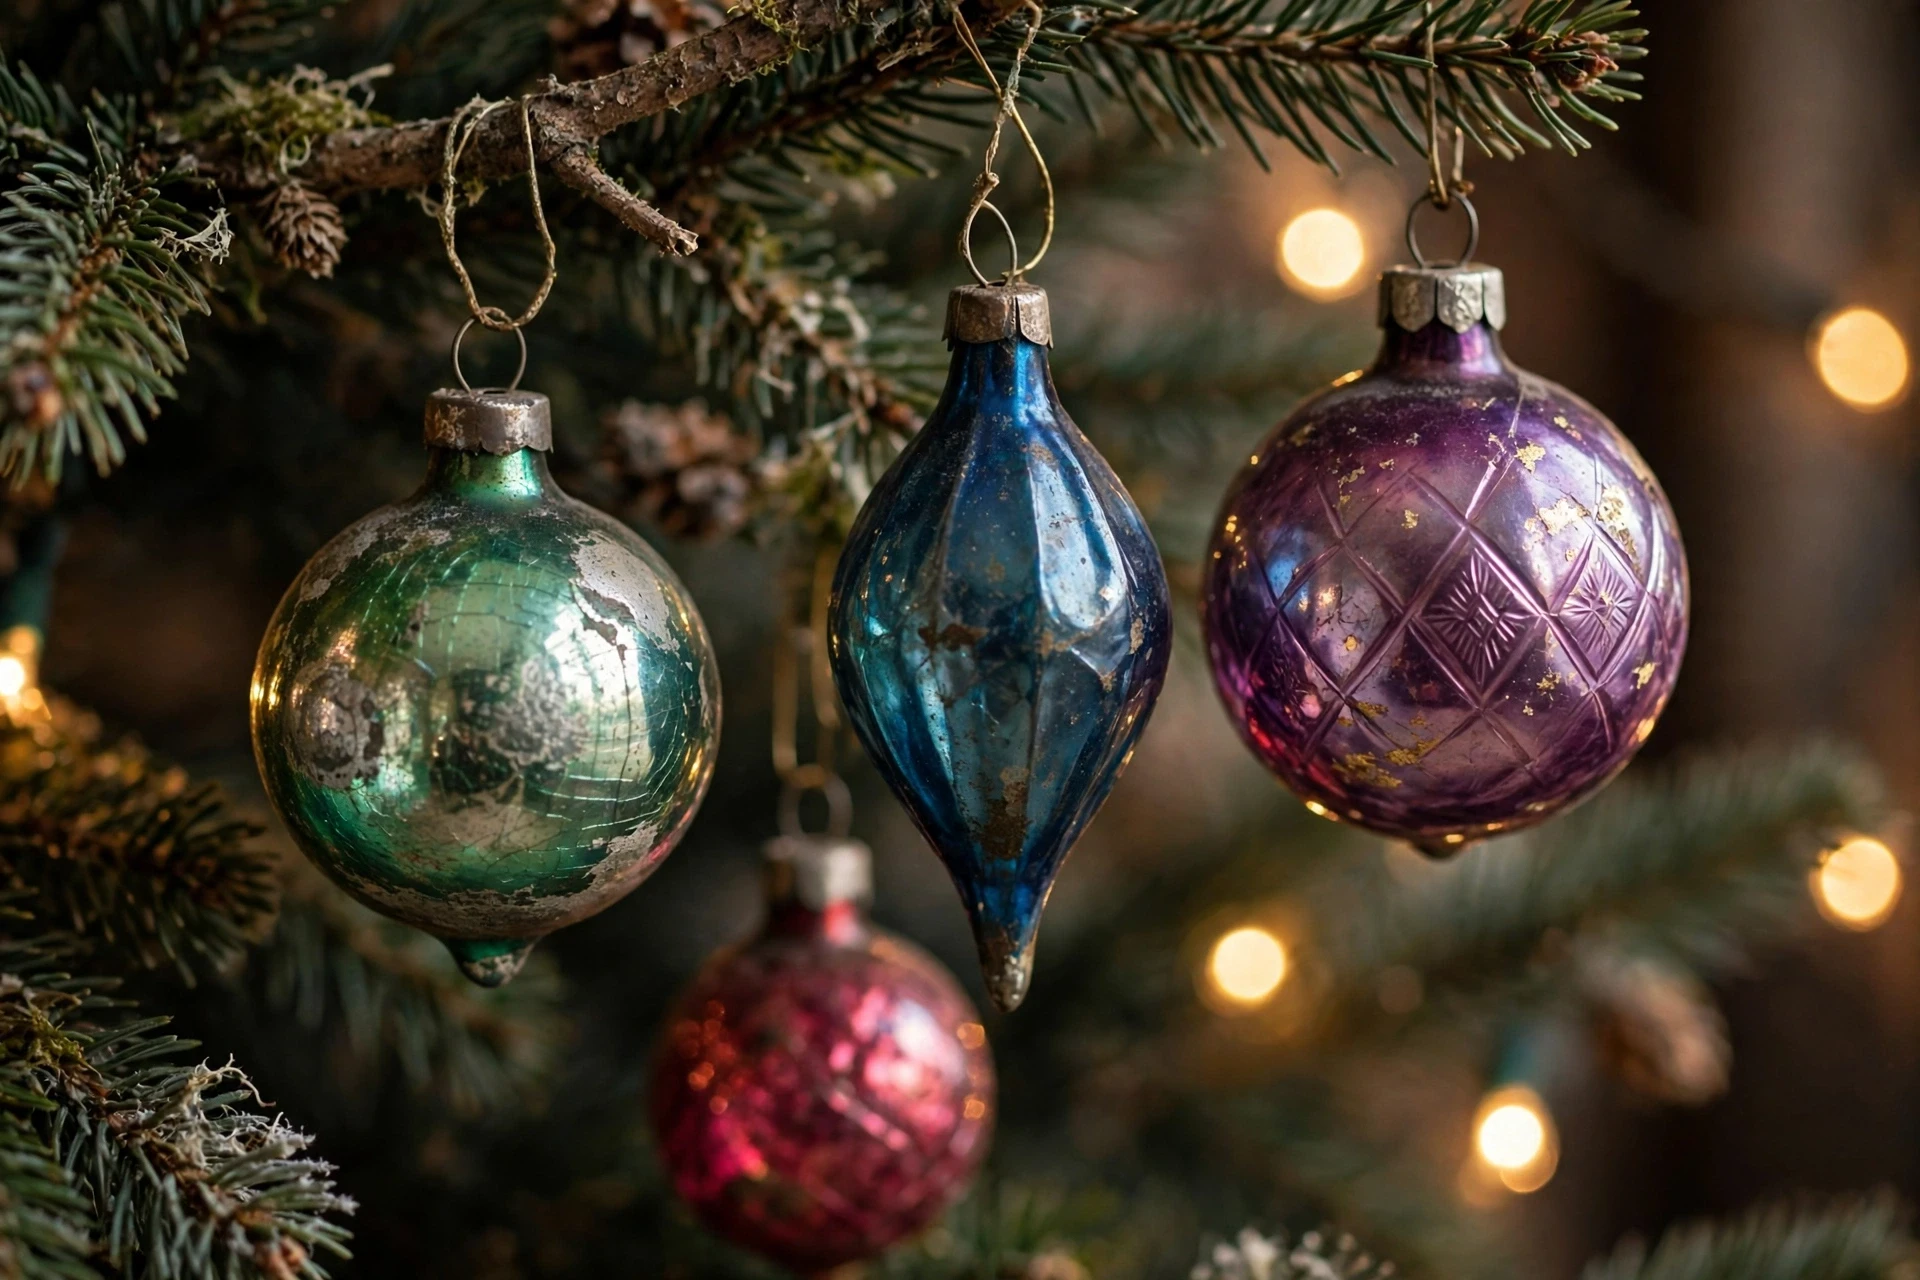
Heirloom ornaments are the soul of a collected tree, because they carry the hands and holidays of people who came before you. A grandmother’s glass bird, a father’s childhood bauble, or a box of vintage ornaments from a thrift shop all add history that cannot be bought new. Styling them well means honoring their age while keeping them safe for future Christmases. An heirloom ornament often becomes the piece children ask about first when the tree goes up.
Place heirlooms on sturdy inner branches where they will not be knocked, and balance them with handmade pieces in similar colors so they feel part of the tree, not separate from it. Photograph each heirloom and note its story, so the history travels with the ornament. Repair loose caps with care, and store heirlooms in individual compartments, never loose in a box. Handle heirlooms with clean, dry hands, since oils and moisture can damage old glass and paint.
- Hang heirlooms on sturdy inner branches, away from traffic.
- Photograph each piece and record its story for the family.
- Store heirlooms individually compartmented, never loose.
21. Annual Memory Ornaments
An annual memory ornament tradition is the simplest way to build a collected tree on purpose, because you add exactly one meaningful ornament every Christmas. Each year’s piece marks a milestone, a trip, a birth, or a joke, and over time the tree becomes a timeline you can read branch by branch. Children especially love retelling the story behind each year’s ornament. An annual ornament also gives children something to look forward to choosing each December.
Choose one ornament each December that captures the year’s biggest memory, and write the year on it before it goes on the tree. Keep a small notebook of the stories, or tuck a note inside the ornament box, so future years remember why each piece mattered. Let children choose their own annual ornament too, so the tradition belongs to the whole family. Keep the notebook with the ornament box so the stories are found when the tree is unpacked.
- Add exactly one meaningful ornament per year for a true timeline.
- Write the year on each annual ornament before hanging it.
- Keep a notebook of the stories behind each year’s piece.
Frequently Asked Questions
How do I start a collected Christmas tree from scratch?
Start with a few handmade ornaments you love, add one meaningful piece each year, and let the tree grow gradually. A collected tree does not need to be finished in one season; its charm comes from the mix of styles, years, and stories that accumulate over time.
How can I mix handmade and store-bought ornaments without a messy look?
Use a consistent color palette and one unifying element, like warm white lights or a single ribbon color, to tie different ornaments together. Group similar pieces in clusters, and balance shiny glass with softer handmade textures across the tree.
What is the best way to store handmade ornaments?
Wrap each ornament individually in tissue, store them in divided boxes, and keep the boxes in a cool, dry place. Label boxes by year or maker, and store fragile clay, glass, and beaded pieces in separate compartments so they do not chip or tangle.
Are salt dough and clay ornaments safe around children and pets?
Yes, when sealed and hung out of reach of small children and pets, since salt dough is not meant to be eaten and clay pieces can break. Hang fragile ornaments on higher branches, and choose fabric, felt, and wood ornaments for lower branches instead.
How many ornaments does a collected tree need?
There is no set number; a full look usually needs about ten ornaments per foot of tree height, but a collected tree can look beautiful with fewer, well-spaced pieces. Start with what you have, fill gaps with simple items like dried oranges and pinecones, and add more each year.
Conclusion
A personal, collected tree is not about matching ornaments or a perfect theme. It is about the pieces that mean something: the handprint from a tiny hand, the ornament from a favorite trip, the heirloom that survived another generation, and the new piece you make this year. Together, they turn decorating into remembering, and that is what makes the tree special.
Start with one idea from this guide, whether it is a painted wooden ornament, a salt dough keepsake, or your first annual memory piece, and let your collection grow one Christmas at a time. Before long, your tree will tell your family’s story better than any store-bought set ever could, and unpacking it will become a tradition in itself.







3 Comments