19 Cozy Winter Craft Room Ideas for Creative, Slow Days
19 Cozy Winter Craft Room Ideas for Creative, Slow Days
Winter is the season craft rooms were made for. Outside it is cold and dark by late afternoon, but inside, a warm room with a big table, good light, and every supply within reach invites you to slow down and make something. These cozy winter craft room ideas are about creating that kind of room: not a perfect studio, but a comfortable, organized space where sewing, painting, paper crafts, and quiet making all feel easy on long winter days.
In this guide, you will find 19 cozy winter craft room ideas, from a dedicated craft table and pegboard storage to task lighting, a sewing corner, and cozy winter touches that make the room inviting. This is a hobby and making space, distinct from a work office: if you need a productive workspace, our winter home office decor ideas cover that angle, while our cozy winter sunroom ideas offer another bright room for slow mornings. Pick the ideas that fit your crafts, your space, and your budget.
1. A Dedicated Craft Table You Can Leave Messy
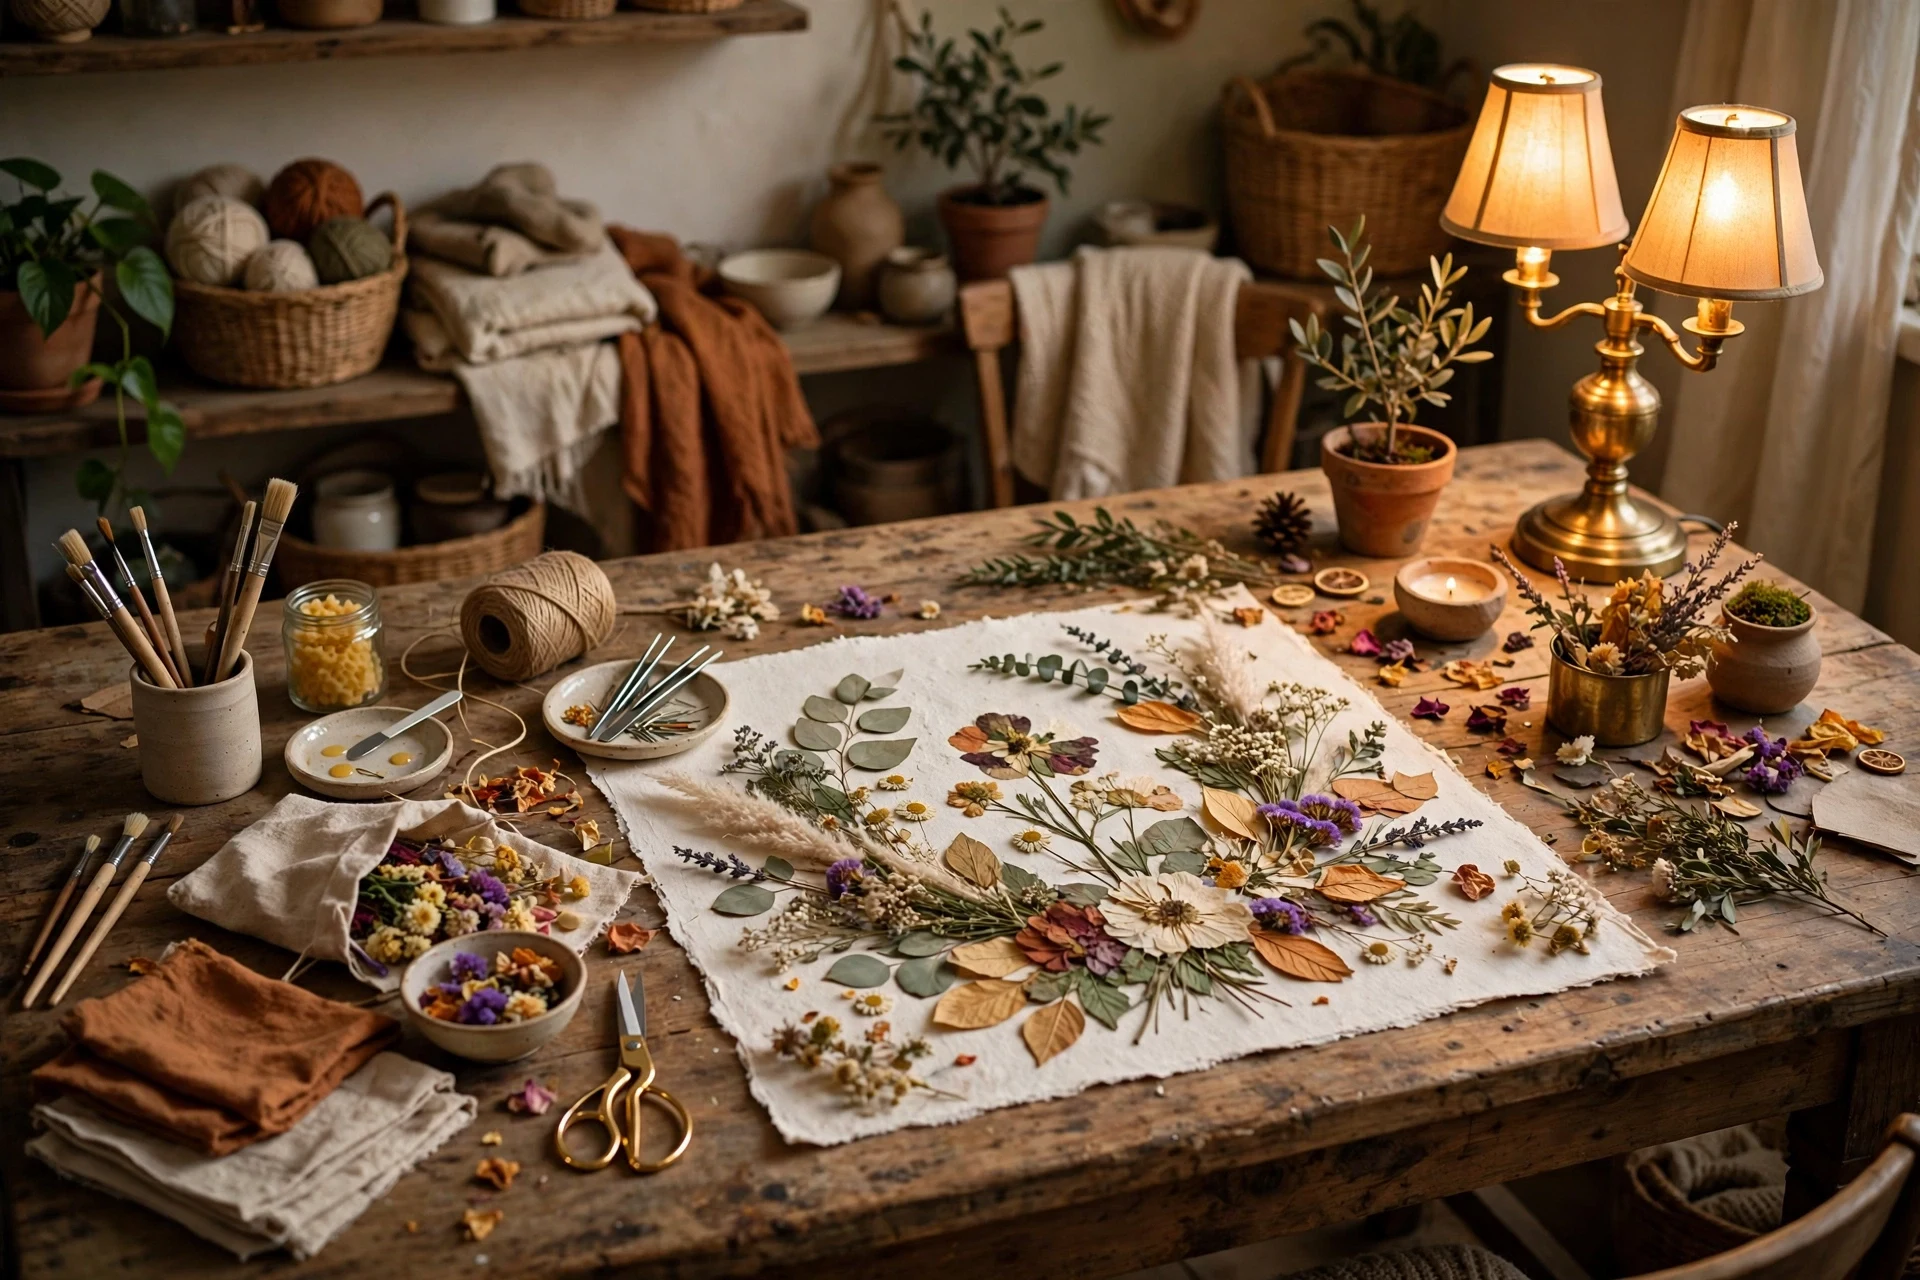
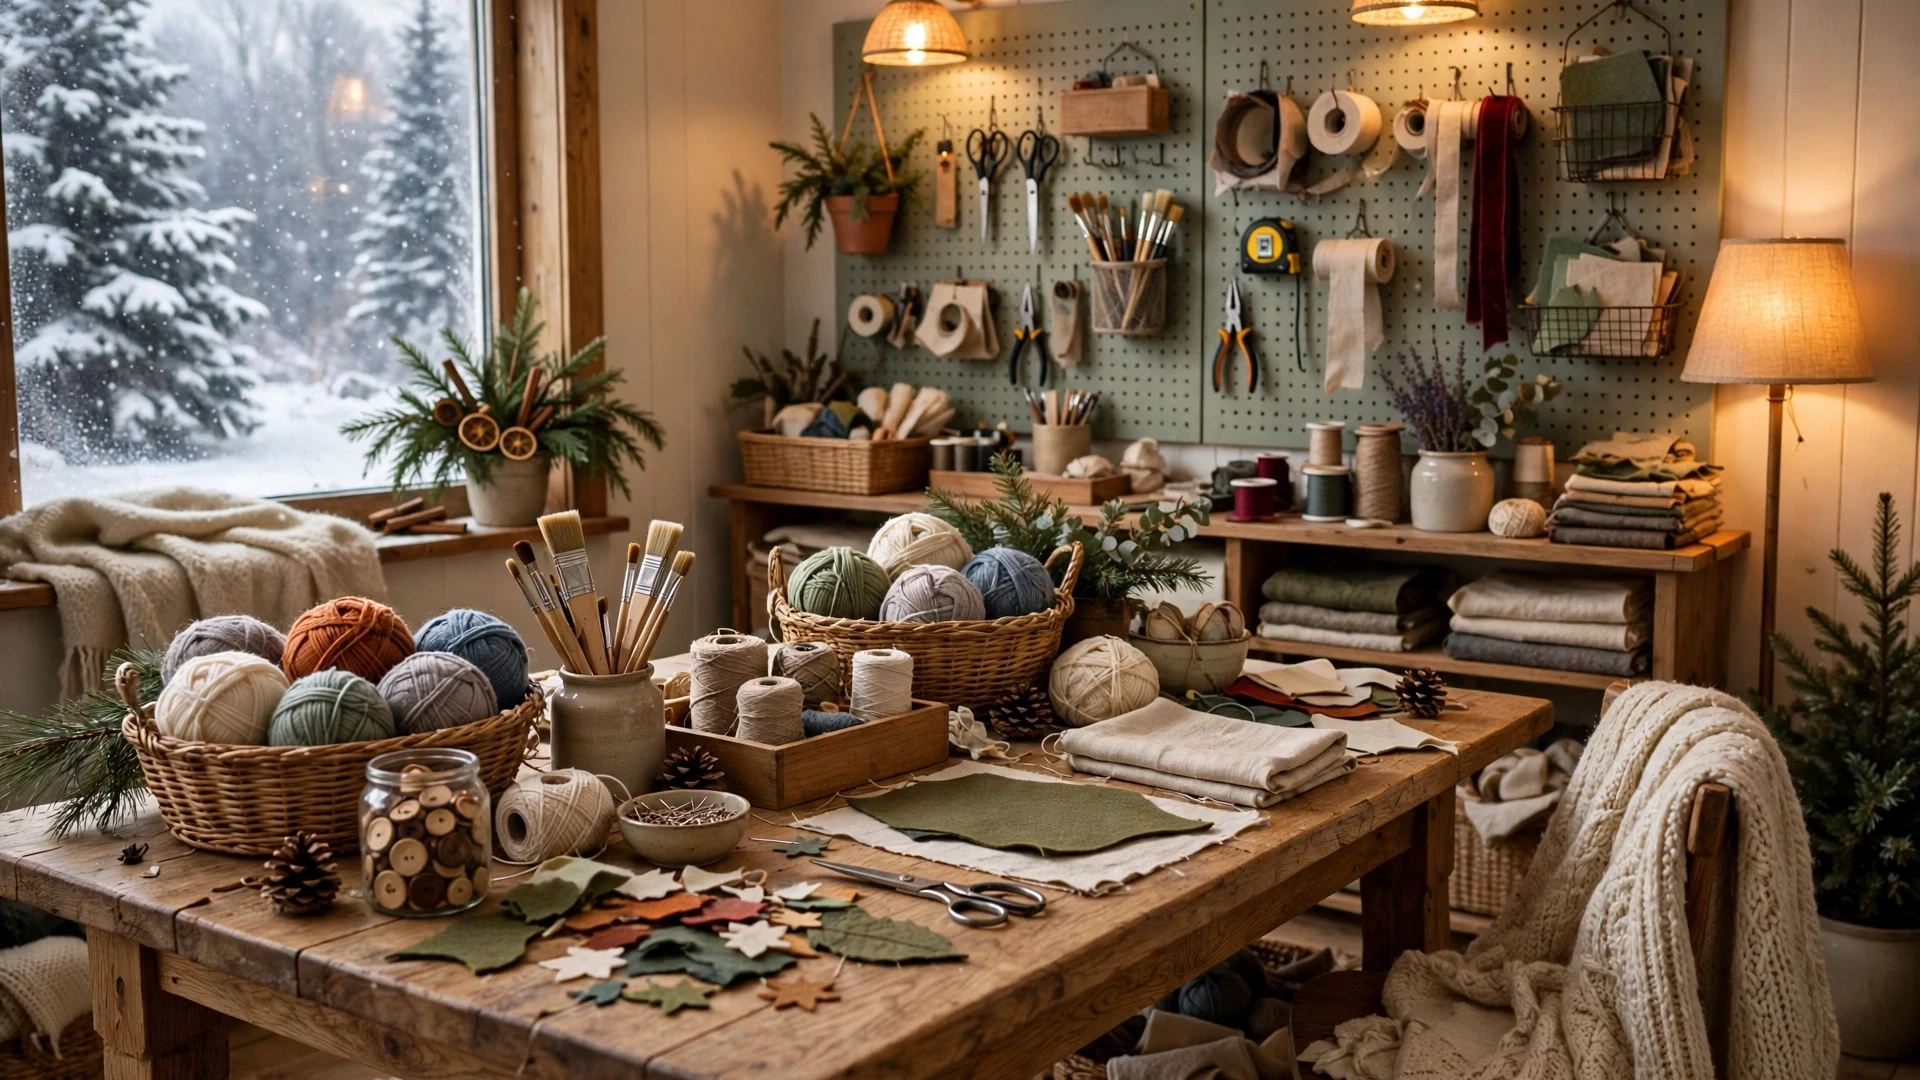
A dedicated craft table is the single most important piece of a craft room, because it lets a project stay out between sessions. When you must clear the dining table every night, crafts stop happening; when a project can wait on its own table, you pick it up in spare moments all winter. A large, sturdy table with a washable surface is ideal, even if it spends most of its life covered in fabric, paper, or paint.
Choose the largest table your room allows, with a height that suits sitting or standing, and protect the surface with a cutting mat or an old tablecloth. Keep the table near a window or a good lamp, and resist the urge to use it for storage: a clear corner of the table is where new projects start. If space is tight, a fold-down wall table, covered later in this guide, gives you a dedicated surface without a permanent footprint.
- Choose the largest sturdy table the room allows, with a washable surface.
- Protect the tabletop with a cutting mat or an old tablecloth.
- Keep one corner of the table clear, so new projects can start easily.
2. A Pegboard Wall for Tools and Supplies

A pegboard wall turns a blank wall into the hardest-working storage in the craft room, holding scissors, ribbons, tools, and small baskets where you can see them. Unlike drawers, where supplies disappear, a pegboard keeps everything visible, which means you actually use what you own instead of buying duplicates. It also frees the craft table, since tools move from the tabletop to the wall.
Mount a pegboard panel above or beside the craft table, using spacers so hooks sit properly, and arrange tools by craft: sewing tools together, painting tools together, and so on. Use a mix of hooks, small baskets, and shelves, and leave a little empty space for new tools. Outline tools with paint or tape if you like a tidy look, so everything has an obvious home when you put it away.
- Mount pegboard with spacers, so hooks fit securely behind the board.
- Group tools by craft, so each project station is easy to find.
- Leave empty hooks for new tools, rather than filling every inch.
3. Rolling Carts for Project Stations
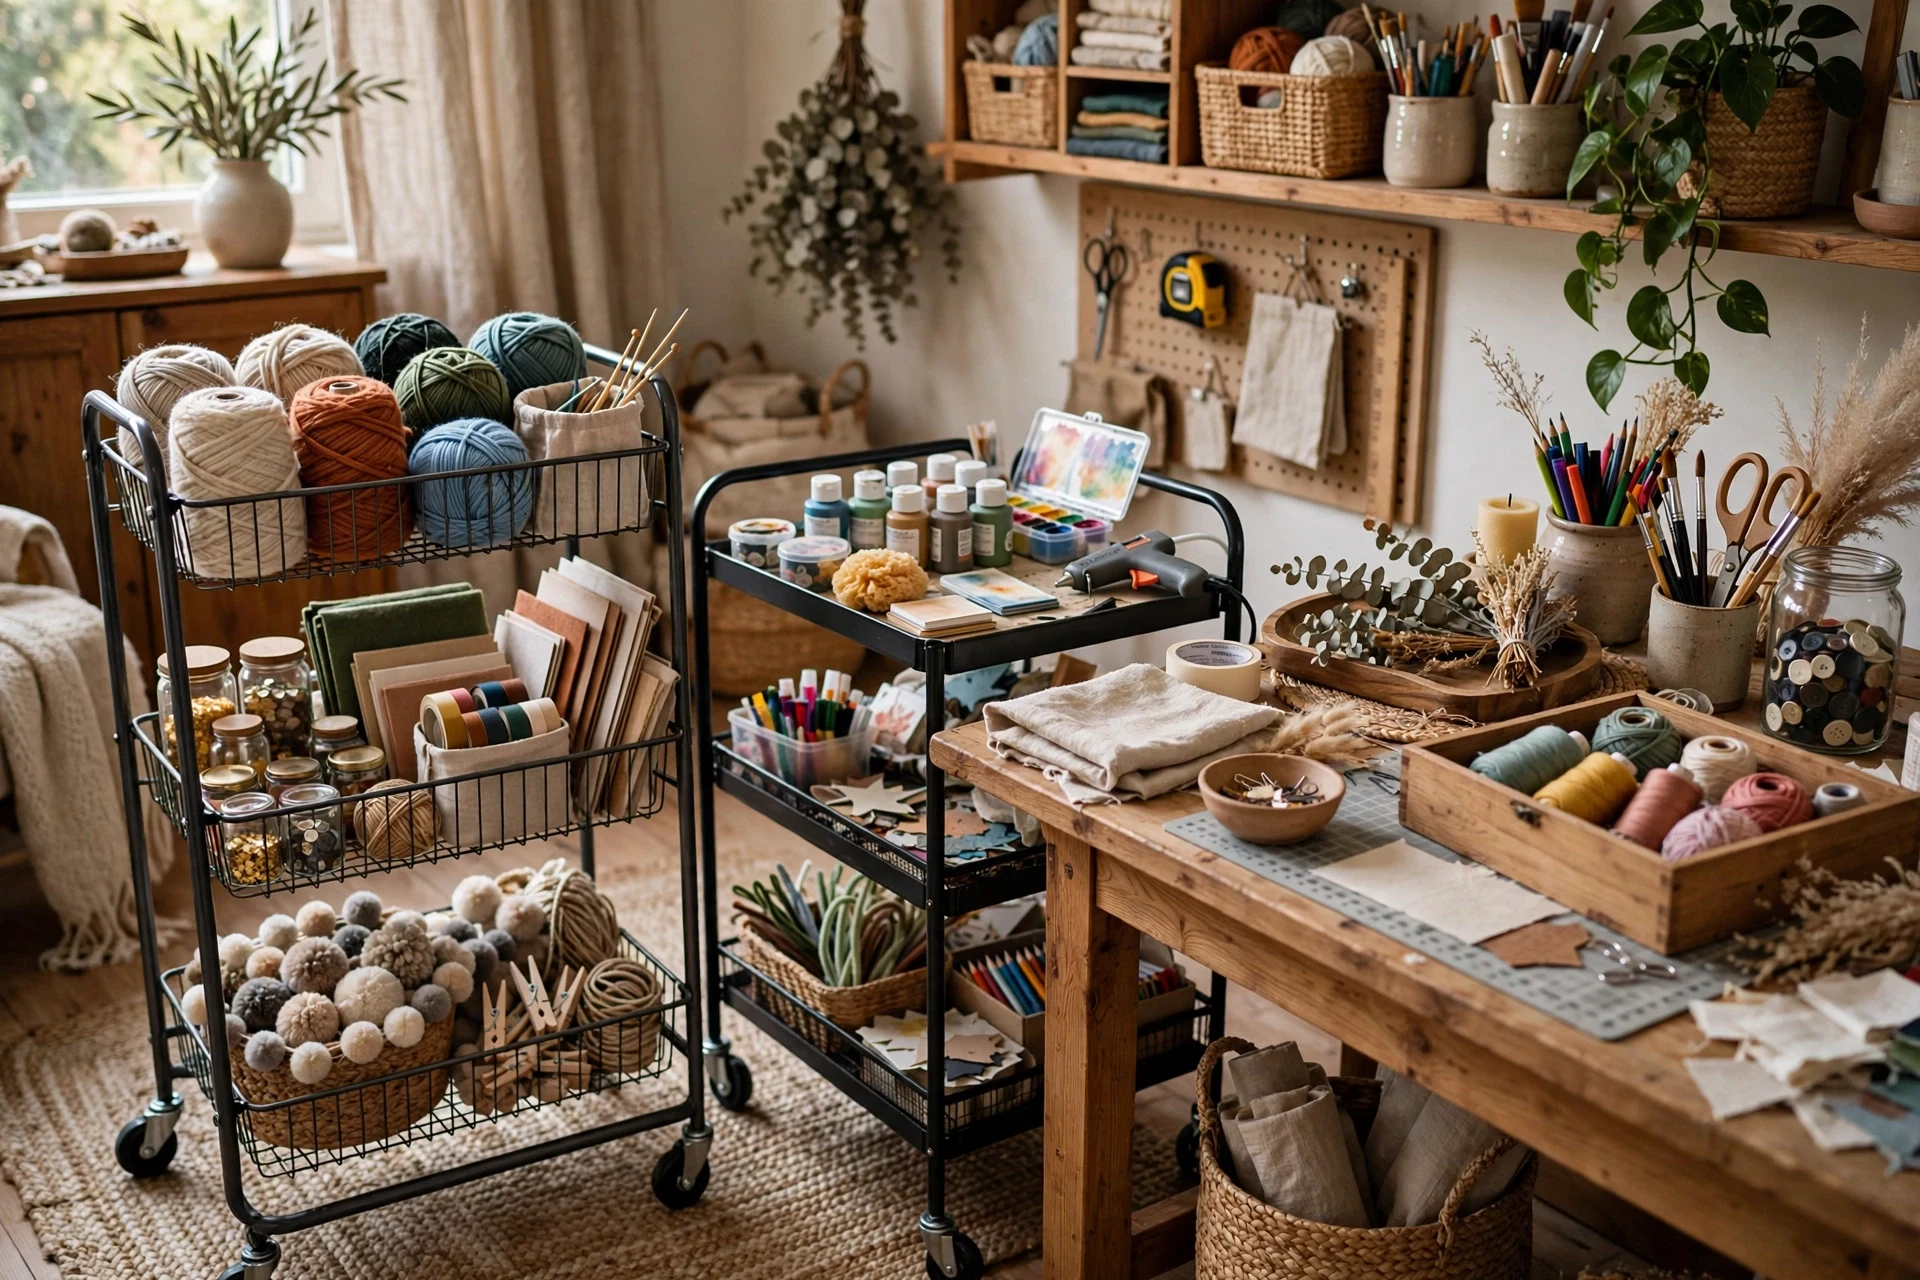
Rolling carts are the craft room’s best friend, because they let you build a project station, roll it to the table, and roll it away when you are done. A cart for sewing, one for painting, and one for paper crafts means you never have to unpack and repack a whole project, and small rooms stay usable because carts tuck into corners. They are also affordable, which makes them an easy first purchase for a new craft room.
Label each cart by project or craft, and keep only that craft’s essentials on it, so the cart stays light enough to roll easily. Choose carts with a top tray for works in progress and lower shelves for supplies, and lock the wheels when the cart is parked at the table. If you craft in different rooms, a rolling cart lets the project travel with you, from the craft room to the sunroom on a bright morning.
- Label carts by craft, so each project station is obvious at a glance.
- Keep carts light by storing only one craft’s essentials on each.
- Lock the wheels when a cart is parked at the table.
4. Clear Jars for Small Supplies
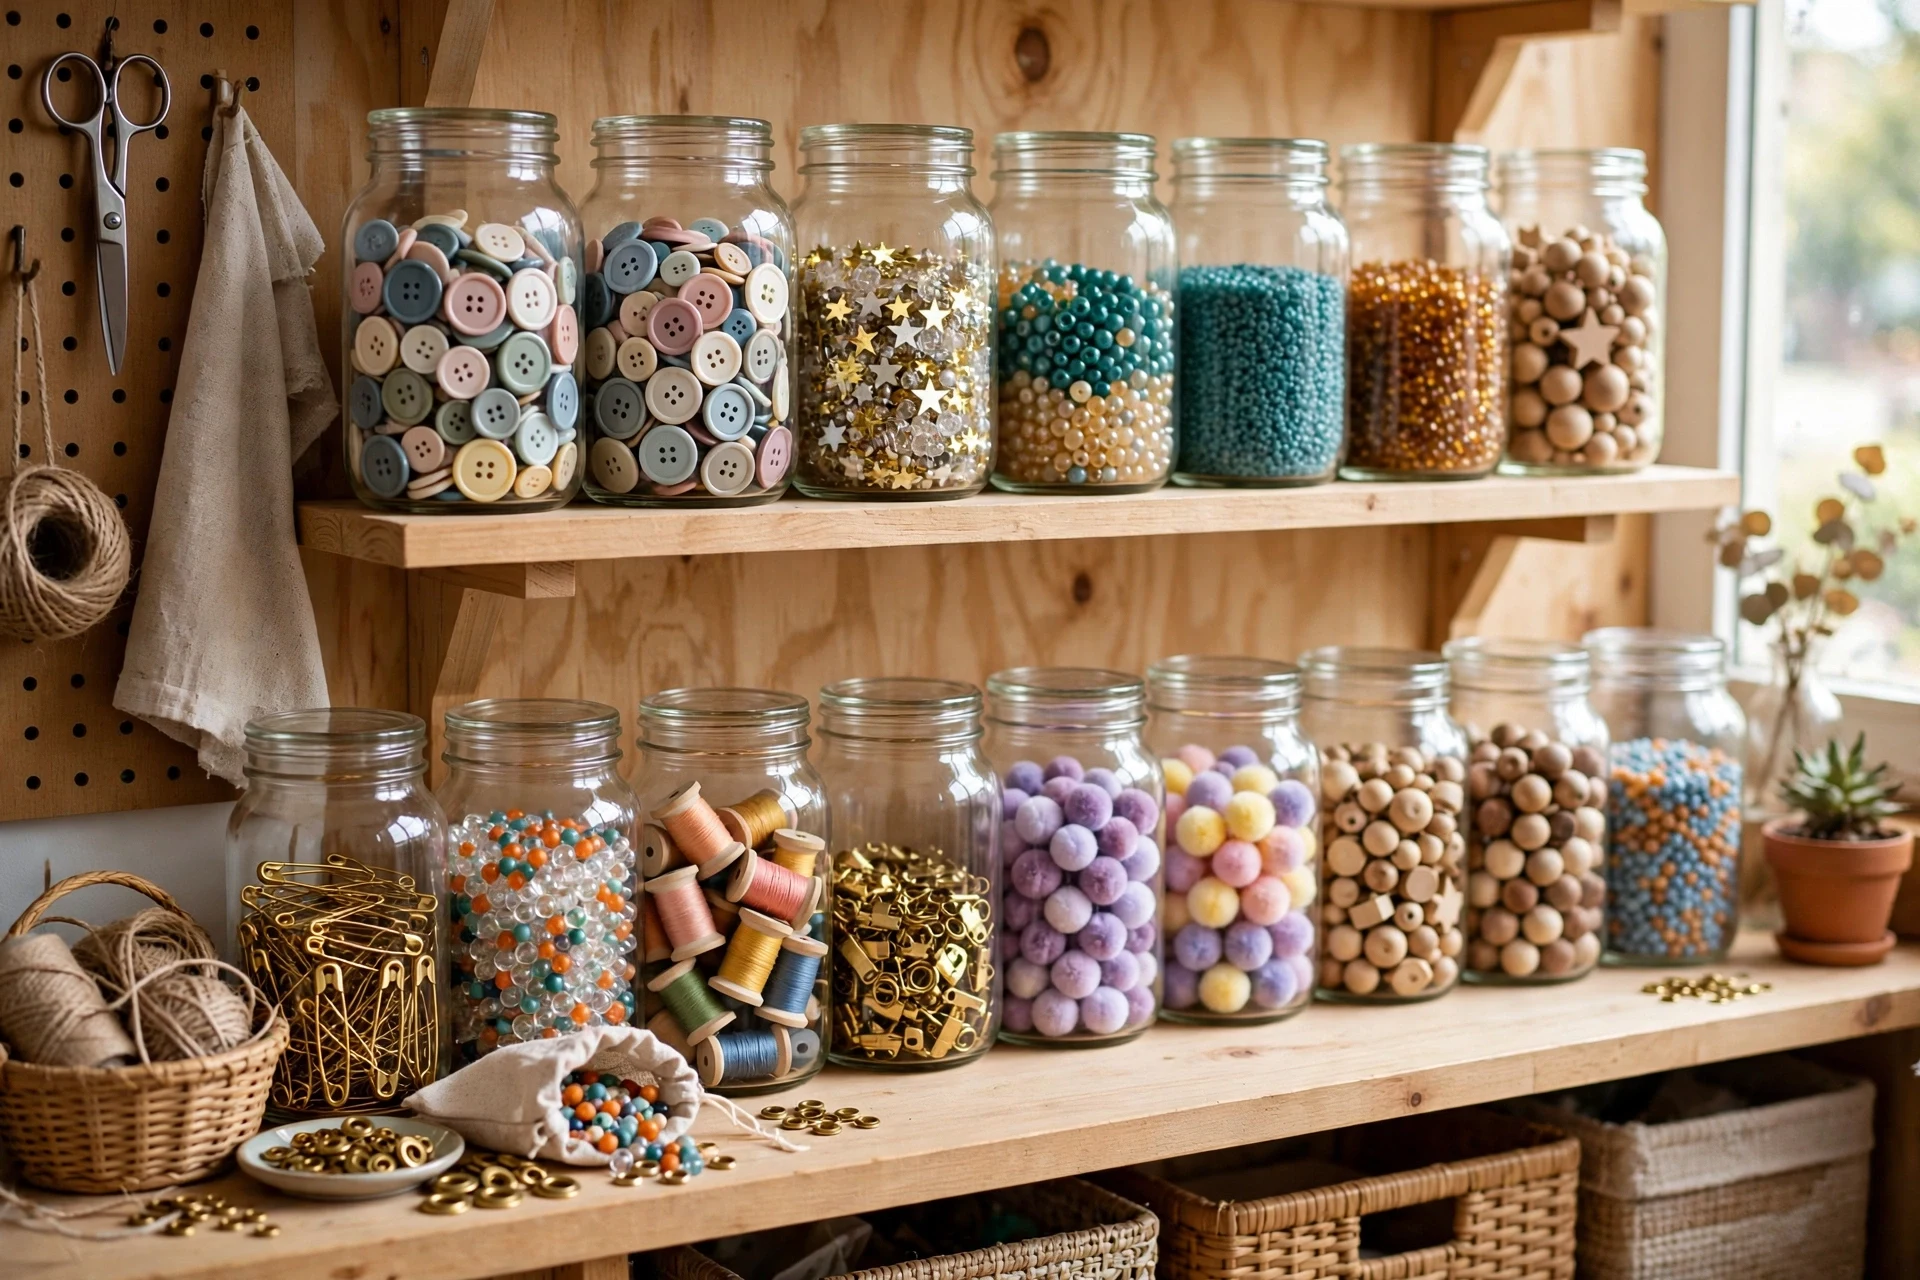
Clear jars solve the craft room’s most annoying problem: small supplies vanishing into drawers and bags. Buttons, beads, pins, and thread, sorted into glass jars on a shelf, are visible, countable, and easy to reach, which means you stop buying a third pack of the same beads. The jars also look beautiful, turning supplies into decoration, especially when grouped by color on an open shelf.
Use jars with wide mouths, so hands and small scoops fit easily, and label each jar with its contents, especially for similar items like seed beads in different sizes. Keep frequently used jars at eye level and refill jars higher up, and wash jars before refilling so colors stay true. A row of matching jars looks tidier than mixed containers, but any clean jar works if the contents are visible.
- Use wide-mouth jars, so hands and scoops fit easily.
- Label jars clearly, especially for similar supplies in different sizes.
- Keep everyday jars at eye level, and refills higher up.
5. Daylight Task Lighting for Winter Afternoons
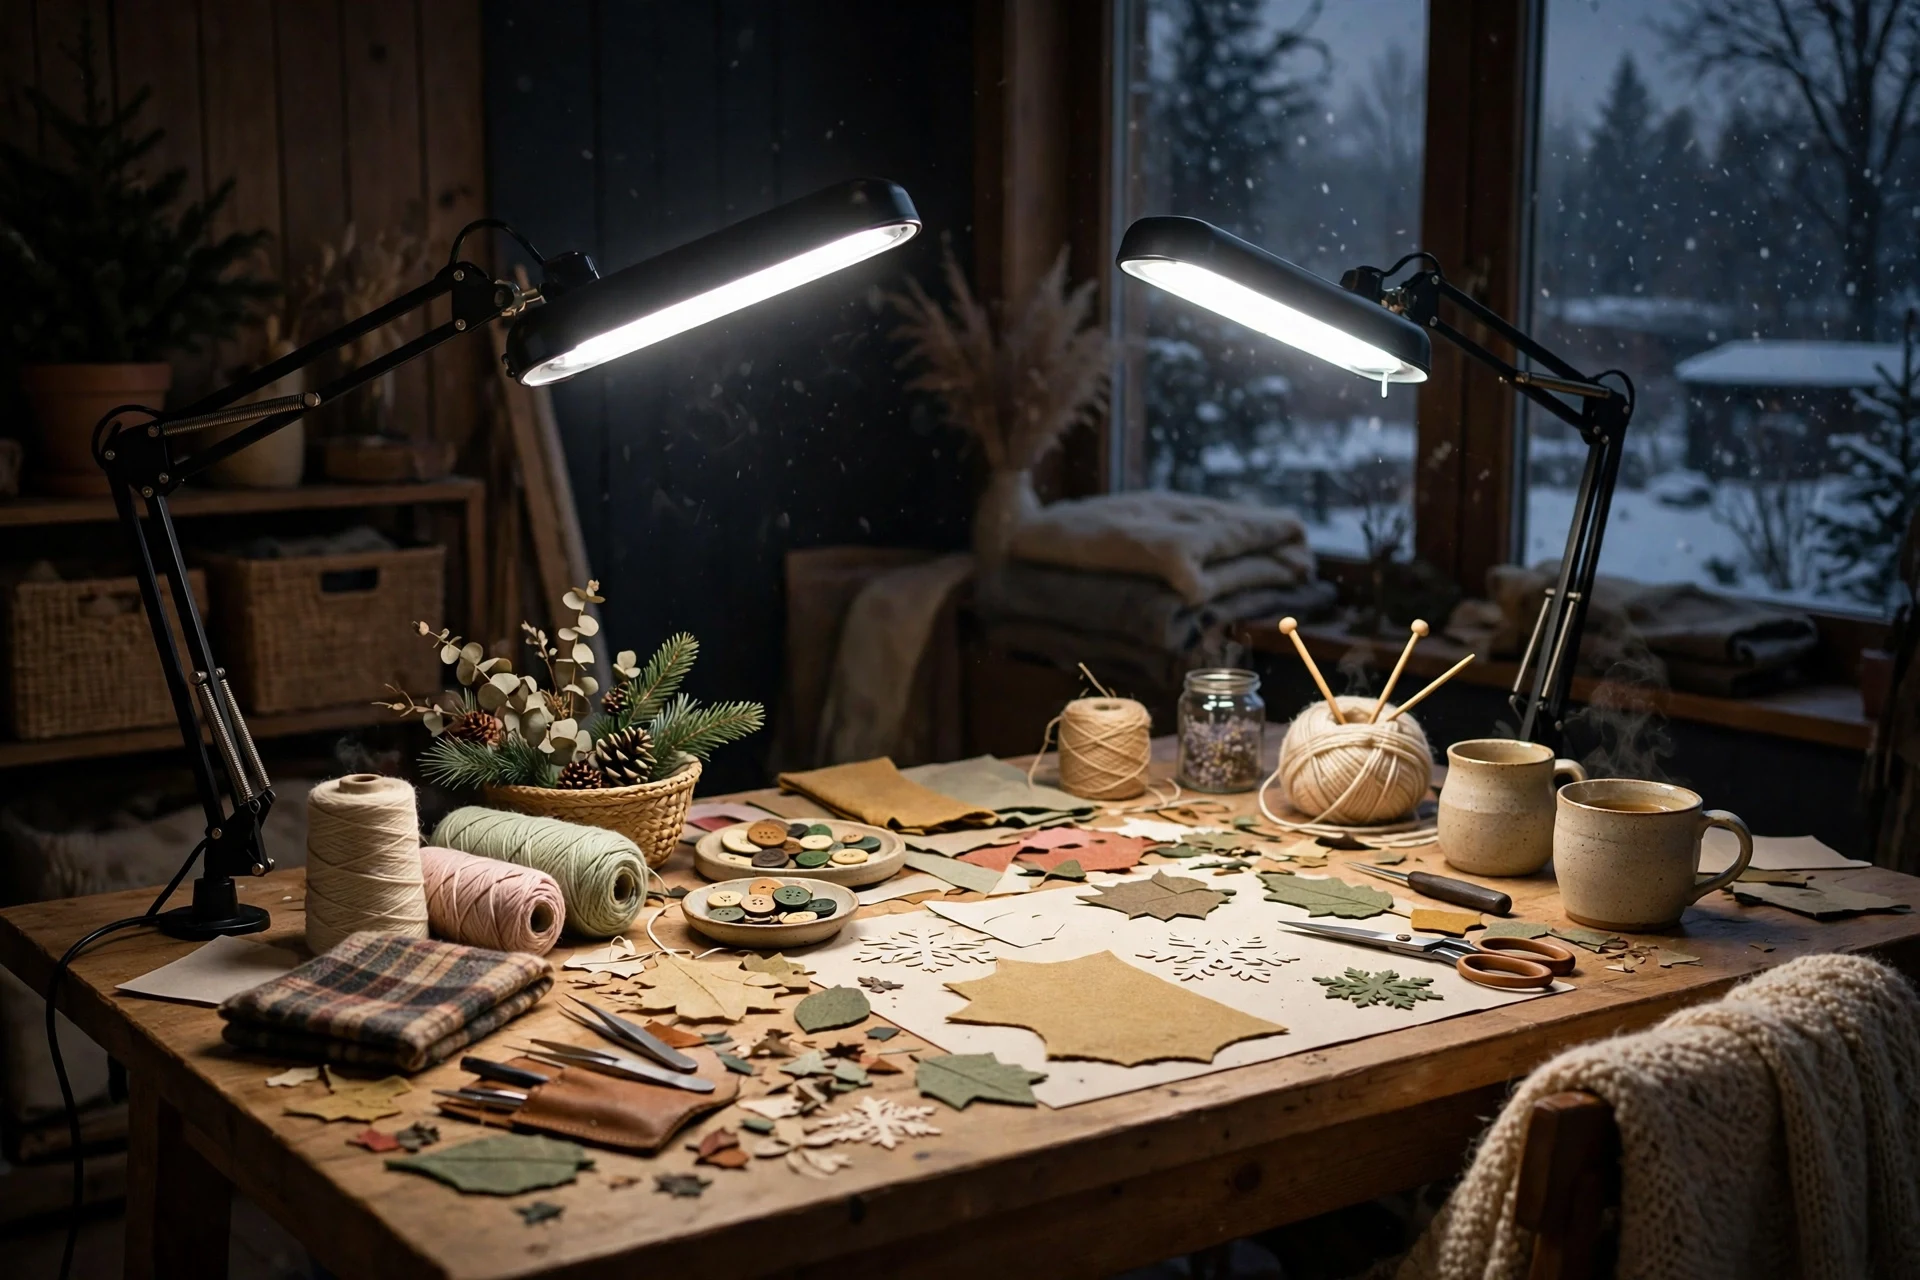
Winter afternoons get dark early, and poor light is the fastest way to ruin a craft session, especially for sewing, painting, and detailed work. Daylight task lamps, which mimic natural light, show true colors, reduce eye strain, and make a craft room feel bright even at four in the afternoon. Good lighting is not a luxury in a winter craft room; it is what makes winter crafting possible at all.
Place one adjustable lamp at each work station, aimed at the work rather than at your eyes, and supplement it with warm overhead light for general coziness. Choose lamps with adjustable brightness and color temperature, so you can switch from bright daylight for detailed work to warm light for relaxed evening crafting. Keep cords tidy with clips, so they do not snag projects or trip anyone.
- Aim task lamps at the work surface, not at your eyes.
- Choose adjustable brightness, so light suits both detailed and relaxed work.
- Keep lamp cords clipped tidily, away from projects and walkways.
6. A Comfortable Craft Chair

Craft sessions last for hours, and an uncomfortable chair will end them early, no matter how good the project is. A supportive chair with a cushion, good back support, and a height that lets your feet rest flat makes long winter afternoons enjoyable instead of achy. It does not need to be an expensive office chair; a sturdy dining chair with a thick cushion and a small footrest works beautifully.
Set the chair height so your elbows rest comfortably at table height, and add a cushion that supports your lower back without pushing you forward. A footrest helps if your feet do not reach the floor, which is common at taller craft tables. Keep a throw over the chair back for chilly afternoons, and choose a chair you can slide easily, since crafters move between the table, the storage wall, and the sewing corner all session.
- Set chair height so elbows rest comfortably at table level.
- Add lower-back support, and a footrest if feet do not reach the floor.
- Keep a throw on the chair back for cold winter afternoons.
7. Fabric Storage in Cubes and Baskets
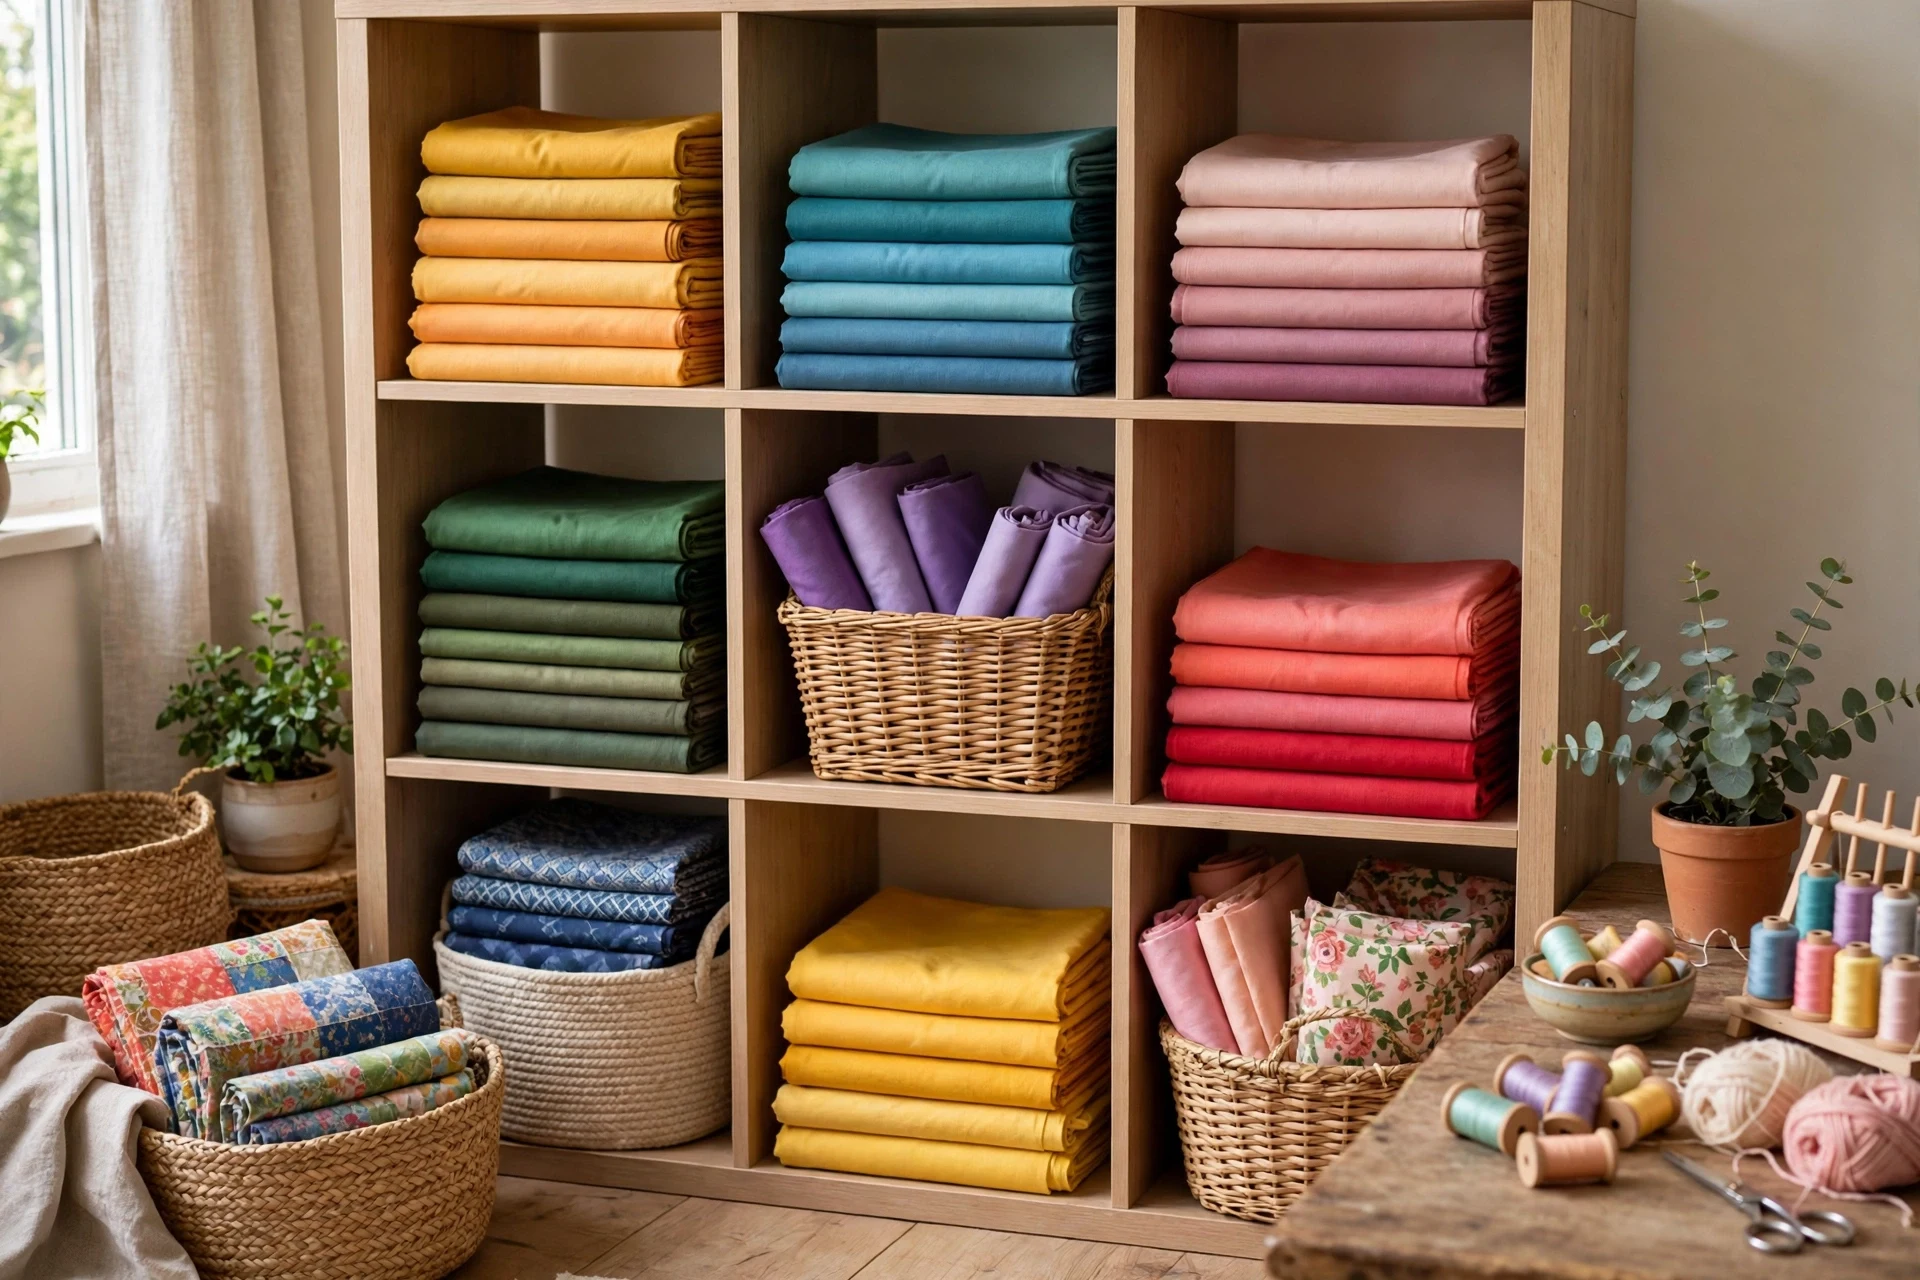
Fabric collections grow quickly, and without a system they become a single tangled pile that nobody wants to dig through. Cubes and baskets, sorted by color or project, keep fabric visible, accessible, and protected from dust, which means you actually sew with the fabric you own. A cube shelf with folded fabric also looks wonderful, turning a stash into a colorful wall display.
Fold fabric into uniform rectangles that fit your cubes, and sort by color family or by project, whichever you search by most often. Use baskets for scraps and small pieces, and keep delicate fabrics in closed bins to protect them from dust and light. Label the cubes if your collection is large, and refold fabric every few months, since long-stored folds can crease permanently.
- Fold fabric into uniform sizes that fit your cubes neatly.
- Sort by color or project, whichever you search by most often.
- Store delicate fabrics in closed bins, away from dust and light.
8. A Paper Station With a Cutting Mat
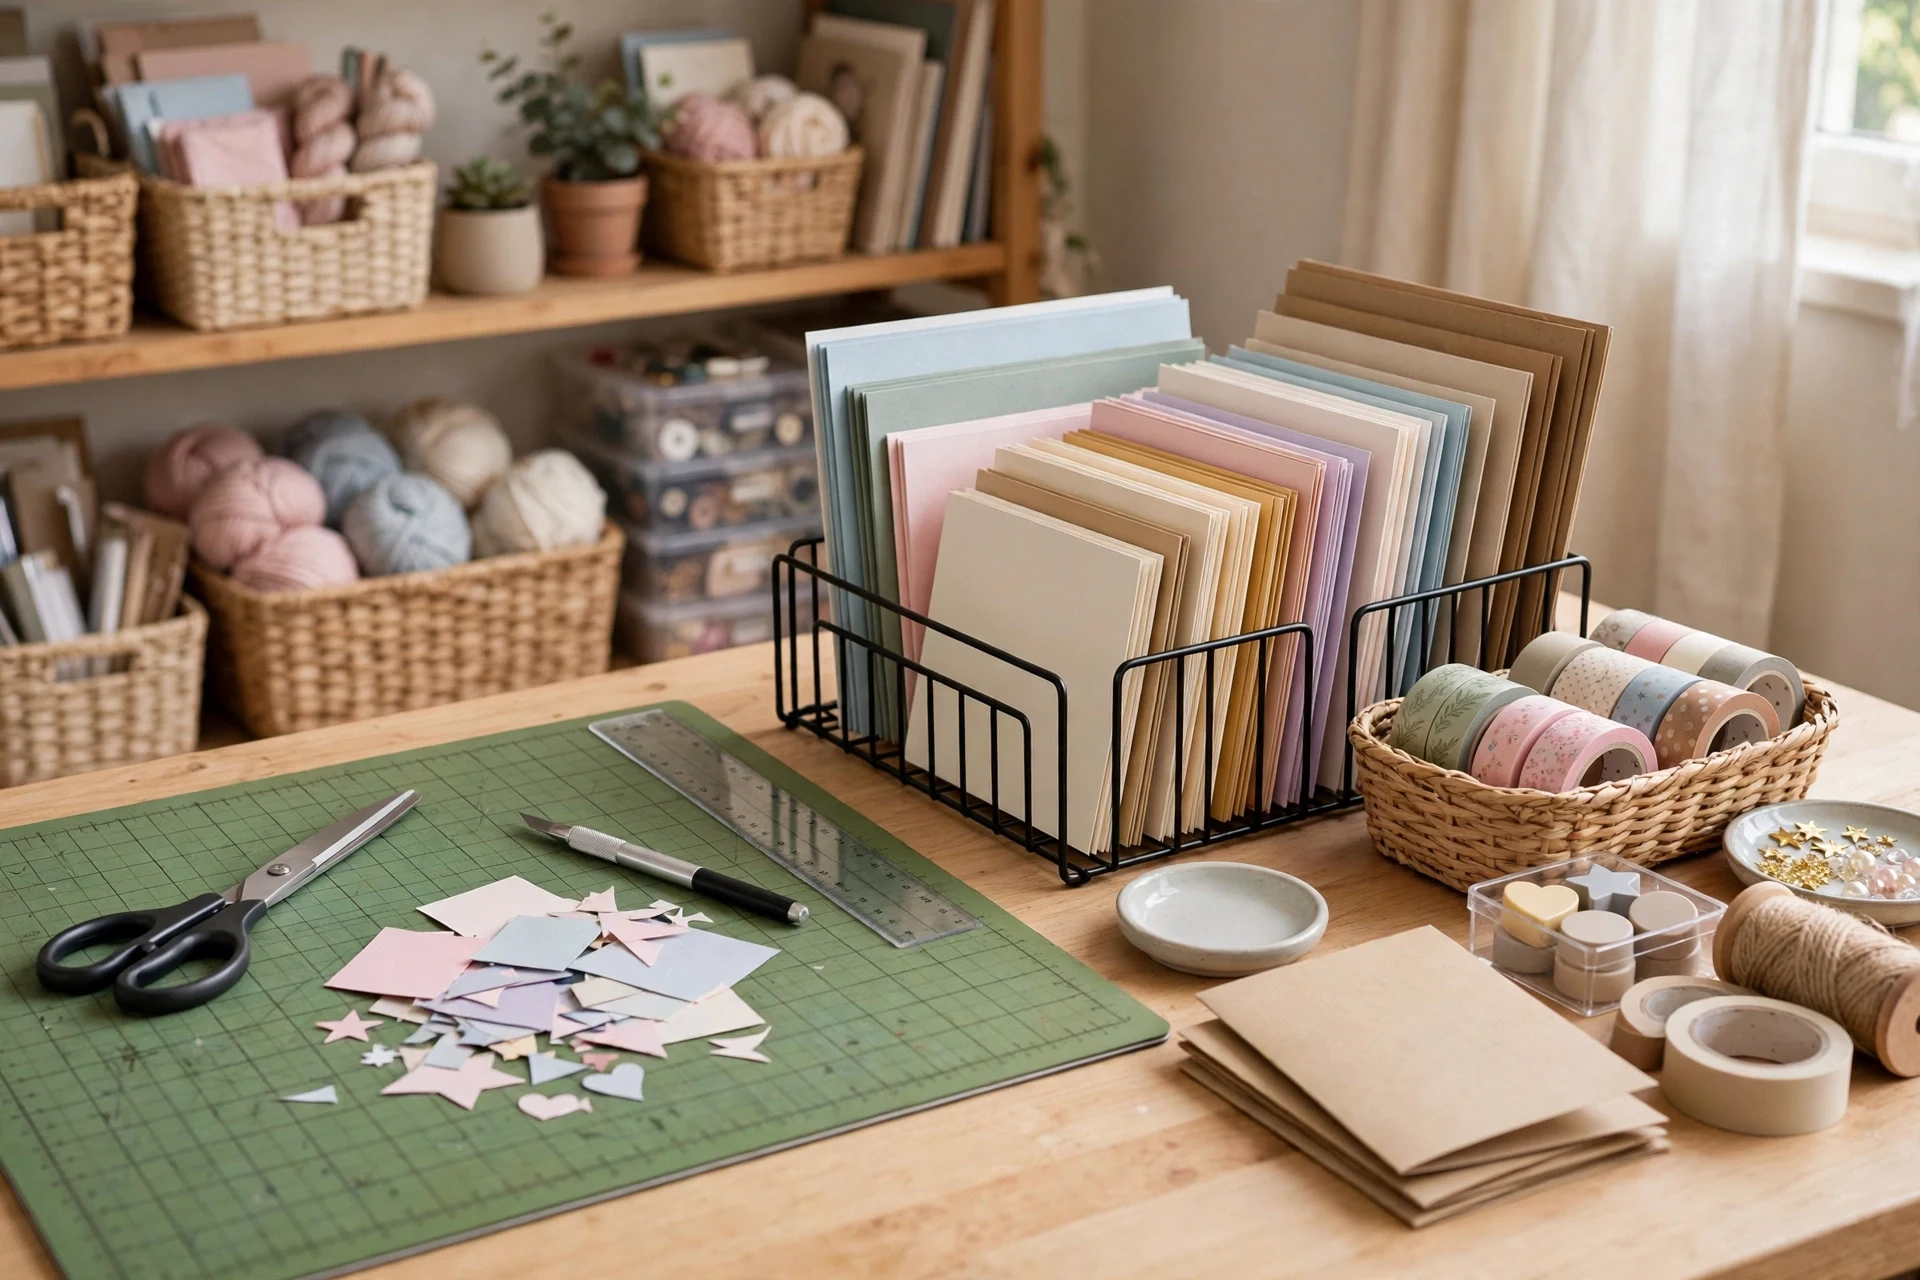
Paper crafts need a different setup from sewing or painting, with a flat cutting surface, a paper rack, and tools that stay sharp and clean. A dedicated paper station, even a corner of the main table with a large cutting mat, keeps paper projects from spreading across the whole room and protects the table from knife marks. It also makes card-making, scrapbooking, and gift wrapping faster, since everything is in one place.
Place a self-healing cutting mat on the table, store paper upright in a rack or magazine holders sorted by color, and keep scissors, rulers, and adhesives in a small tray beside the mat. Replace cutting blades regularly, since a dull blade tears paper and is more dangerous than a sharp one. Keep finished cards in a separate box, so they do not get mixed into the paper supply and damaged.
- Use a self-healing cutting mat to protect the table and your blades.
- Store paper upright by color, so sheets are easy to find and stay flat.
- Replace cutting blades regularly, since dull blades tear paper.
9. A Paint Station With a Washable Surface
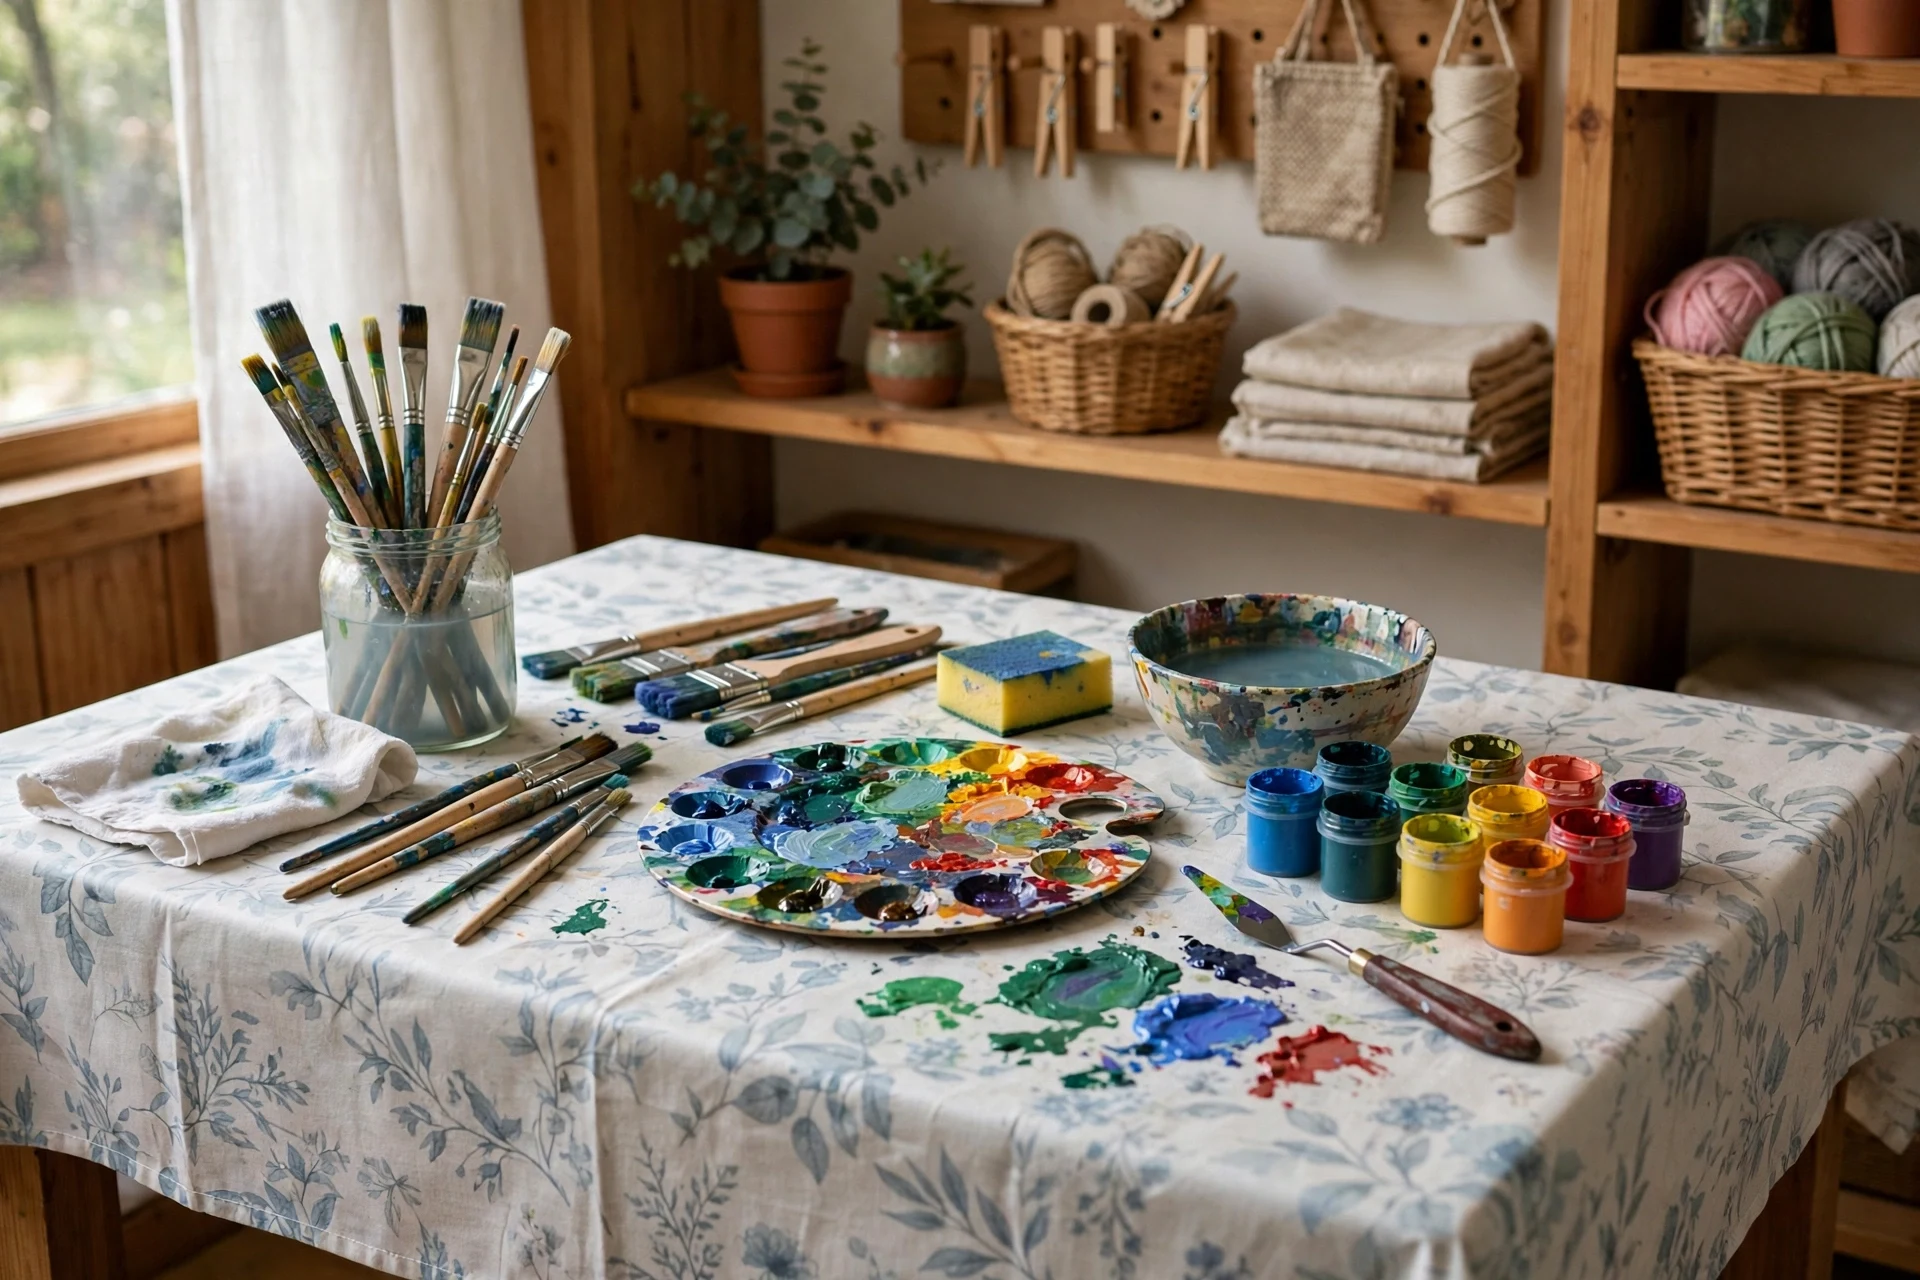
Painting in a craft room only works if the surface can get messy, because worry about spills kills creativity faster than any other obstacle. A paint station with a washable cover, a water jar, and brushes within reach lets you paint freely, whether you are working on canvas, wood, or holiday decorations. It also keeps paint away from fabric and paper projects, which is essential in a shared craft room.
Cover the paint area with a silicone mat or an old shower curtain, keep water jars in a stable tray, and store paints upright in a small crate sorted by color. Use one brush jar for clean brushes and another for brushes waiting to be washed, so you never grab a dirty brush by mistake. At the end of a session, wash brushes right away, since dried acrylic ruins brushes quickly, especially in dry winter air.
- Cover the paint area with a washable mat or old shower curtain.
- Store paints upright by color, in a small crate or box.
- Wash brushes right away, since dried paint ruins them fast.
10. A Sewing Corner With Good Light
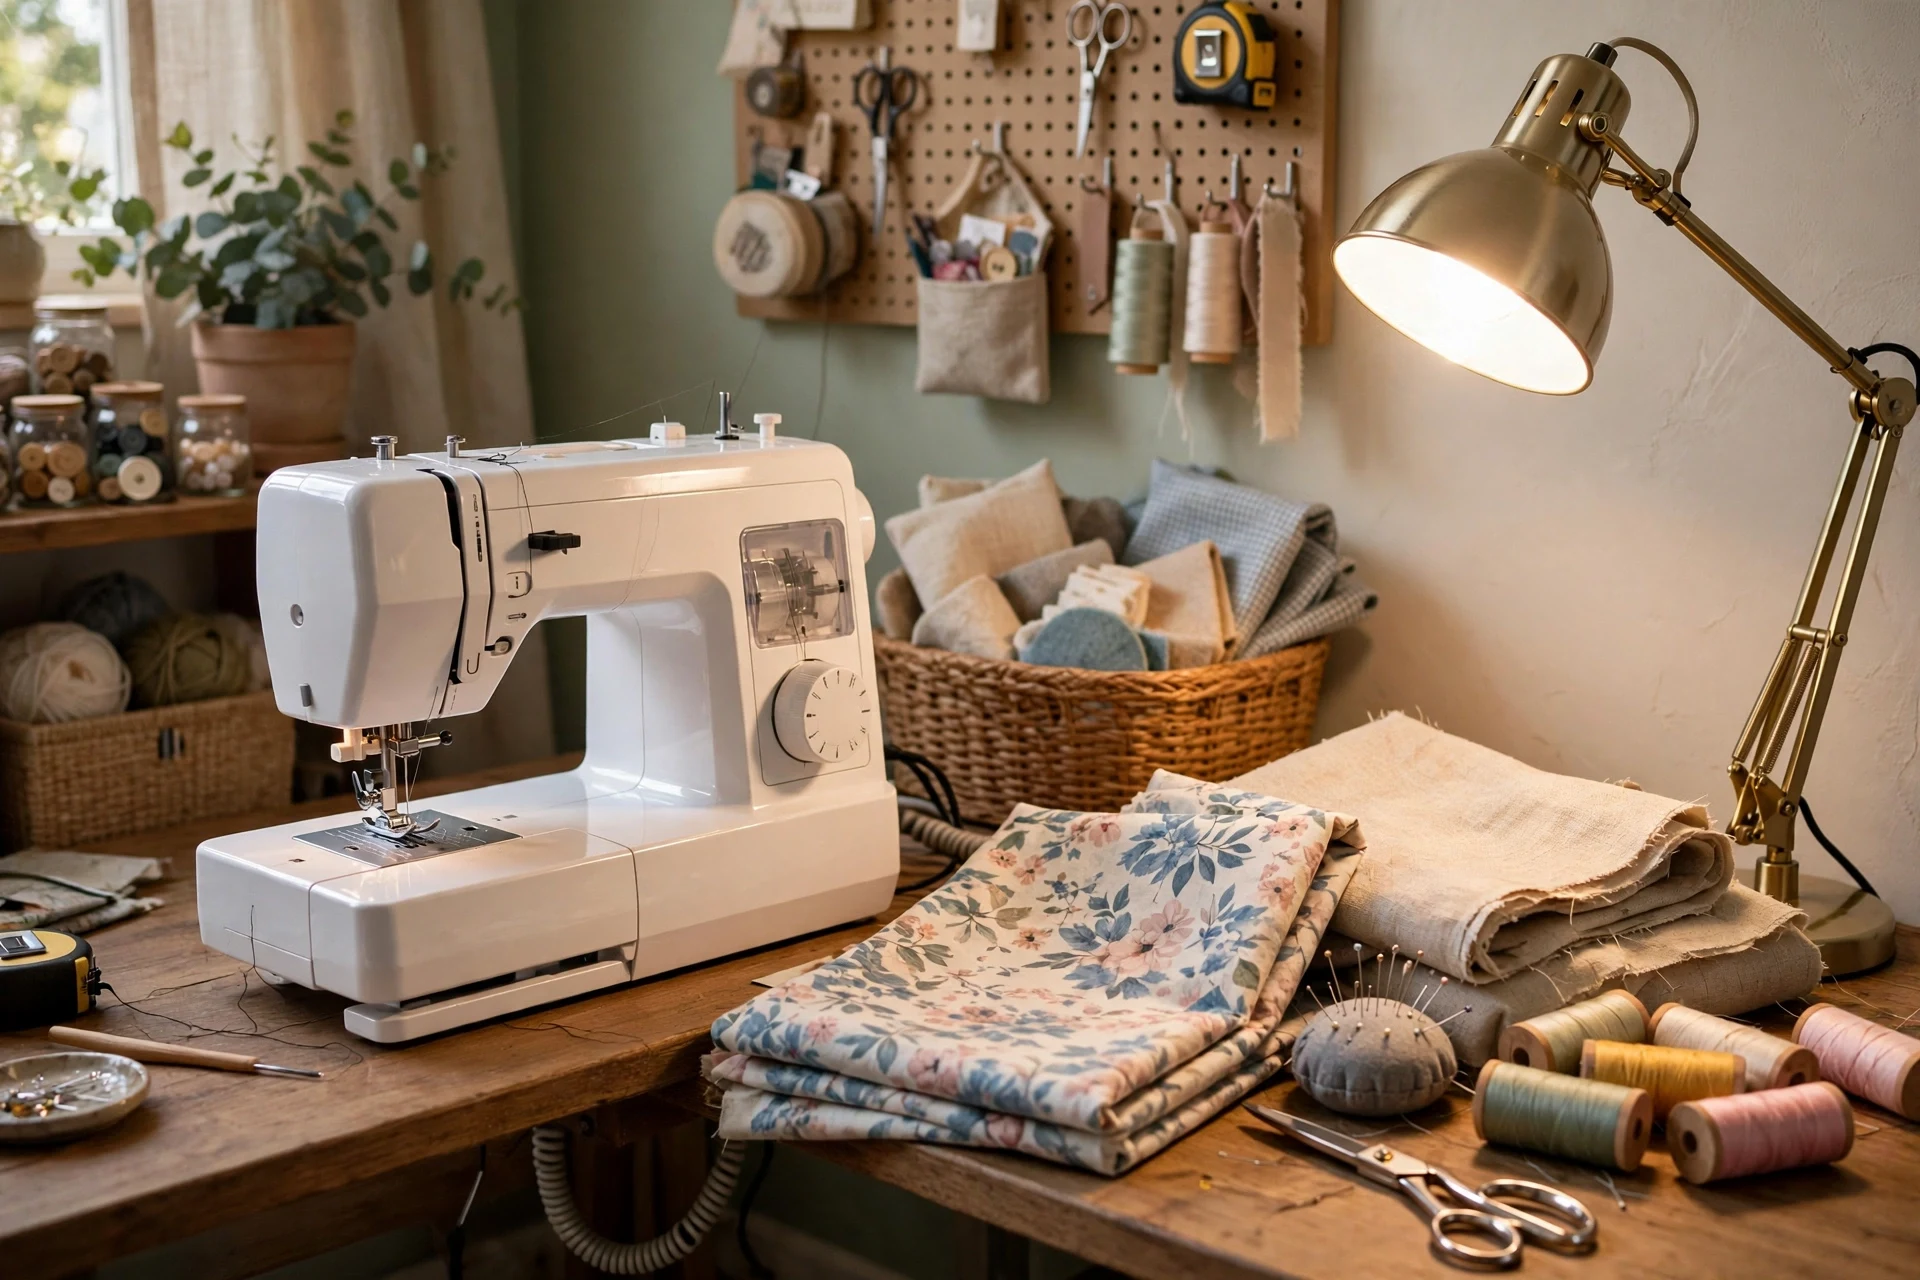
A sewing corner deserves its own spot in the craft room, with the machine on a stable table, fabric within reach, and a bright lamp aimed at the needle. Sewing needs steady light and a flat surface more than any other craft, and a dedicated corner means you can leave a half-finished seam in place overnight. It also keeps pins and needles away from paper and paint projects, which is safer for everyone.
Place the machine on a table that does not wobble, and keep a small tray for pins, a pincushion, and scissors beside it. Add a daylight lamp behind or beside the machine, aimed at the needle area, and store current projects in a basket under the table. Keep a magnetic pin dish nearby, since dropped pins on a craft room floor are a hazard, especially in a room where people walk in socks.
- Use a stable, non-wobbling table for the sewing machine.
- Aim a daylight lamp at the needle area for accurate stitching.
- Keep a magnetic pin dish nearby, to catch dropped pins safely.
11. A Yarn Wall or Basket Collection
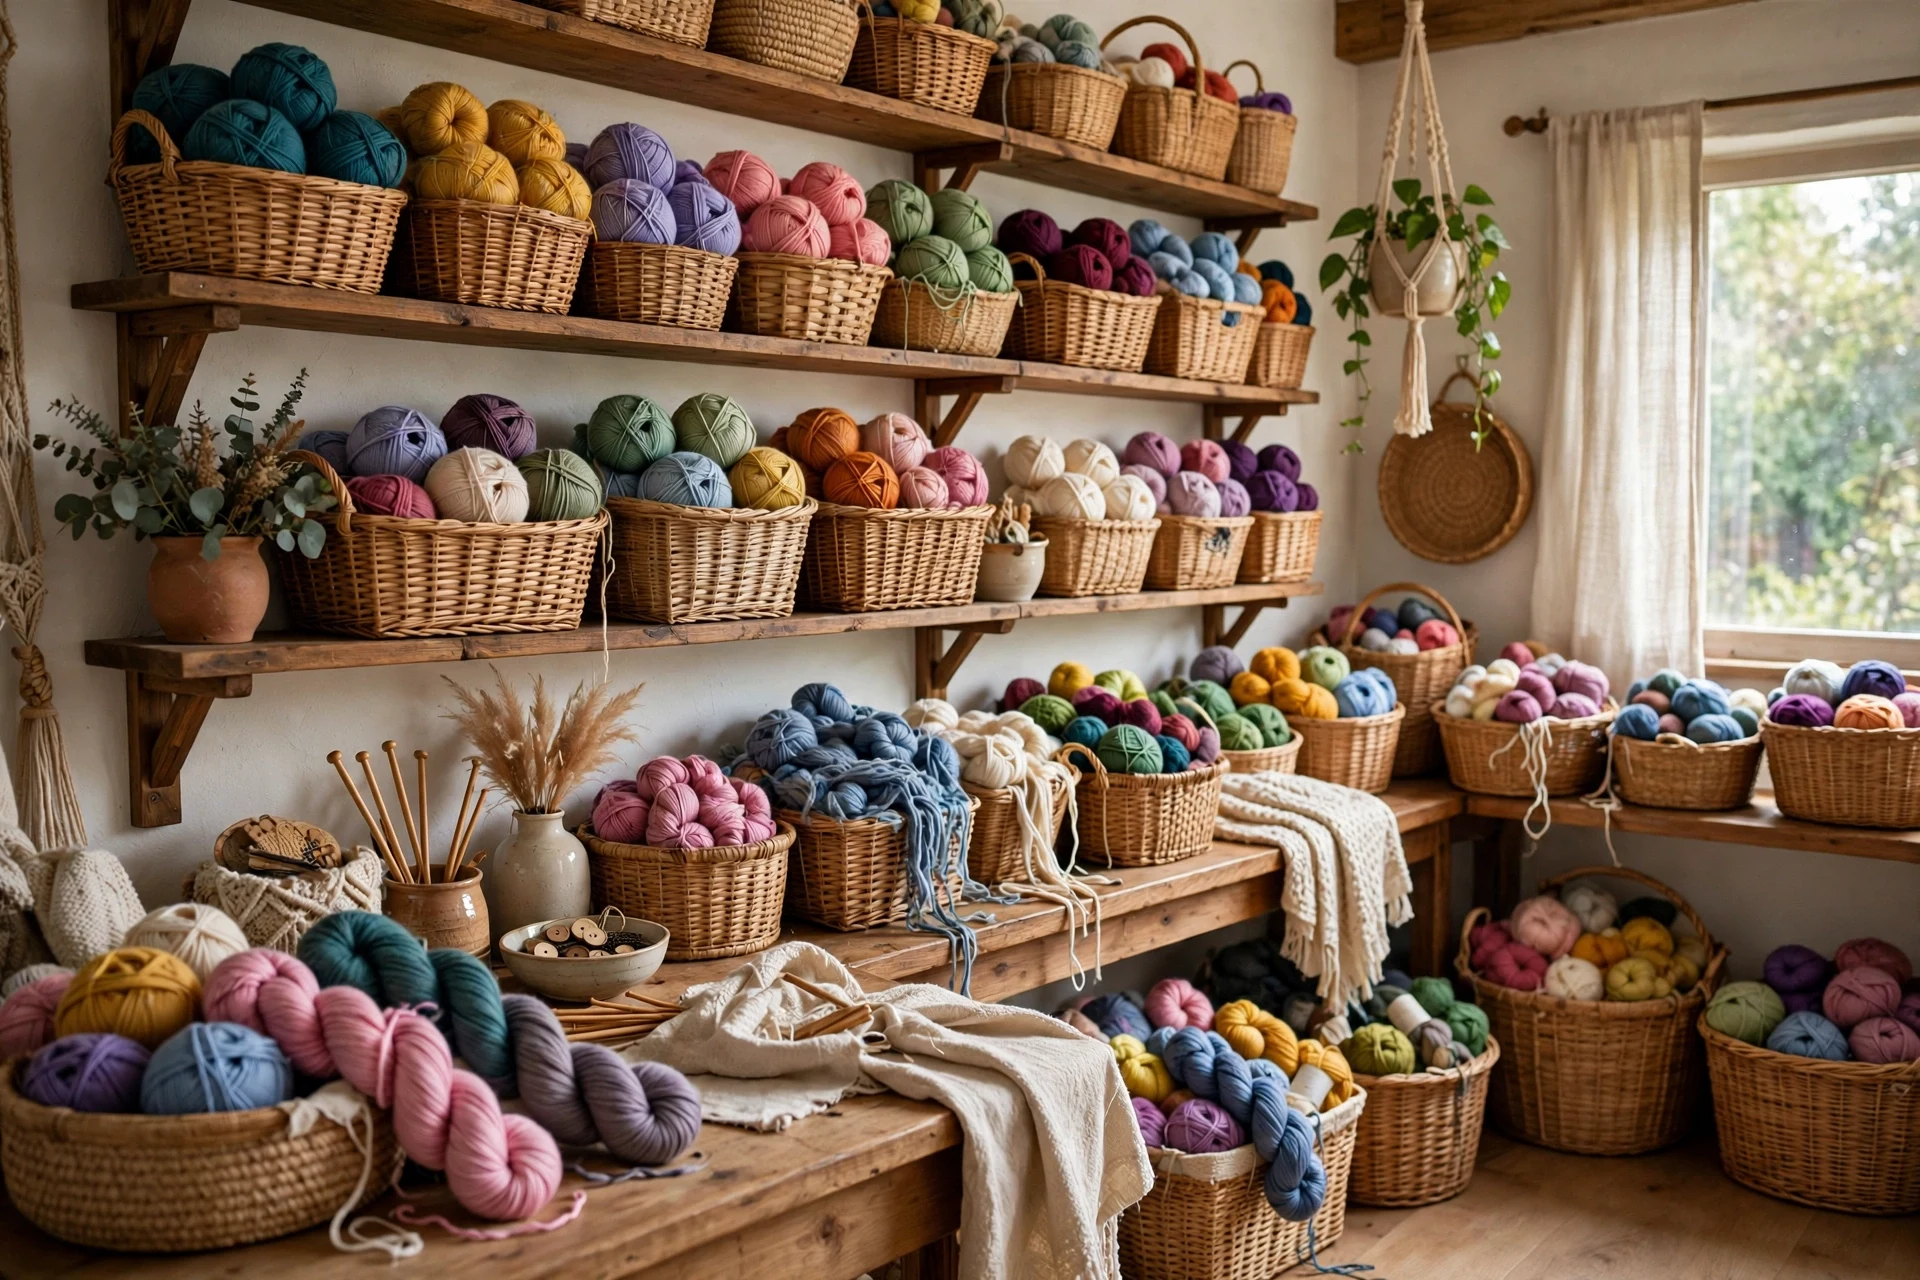
Yarn is one of the prettiest craft supplies to display, and a wall of shelves or a collection of baskets turns a stash into decoration. Seeing your yarn also helps you choose projects, since color combinations suggest themselves when skeins sit side by side. Whether you knit, crochet, or weave, a visible yarn collection keeps the craft room inspiring through the grayest winter weeks.
Store yarn in open baskets sorted by weight or color, and keep it away from direct sunlight, which fades dyes over time. Use wall shelves for display yarn and closed baskets for yarn you are saving, and keep a small basket of current-project yarn beside your favorite chair. If moths are a concern in your area, add cedar blocks to closed storage, and check stored yarn every few months.
- Sort yarn by weight or color, in open baskets for visibility.
- Keep yarn away from direct sunlight, which fades dyes.
- Add cedar blocks to closed yarn storage to deter moths.
12. An Inspiration Board for Ideas
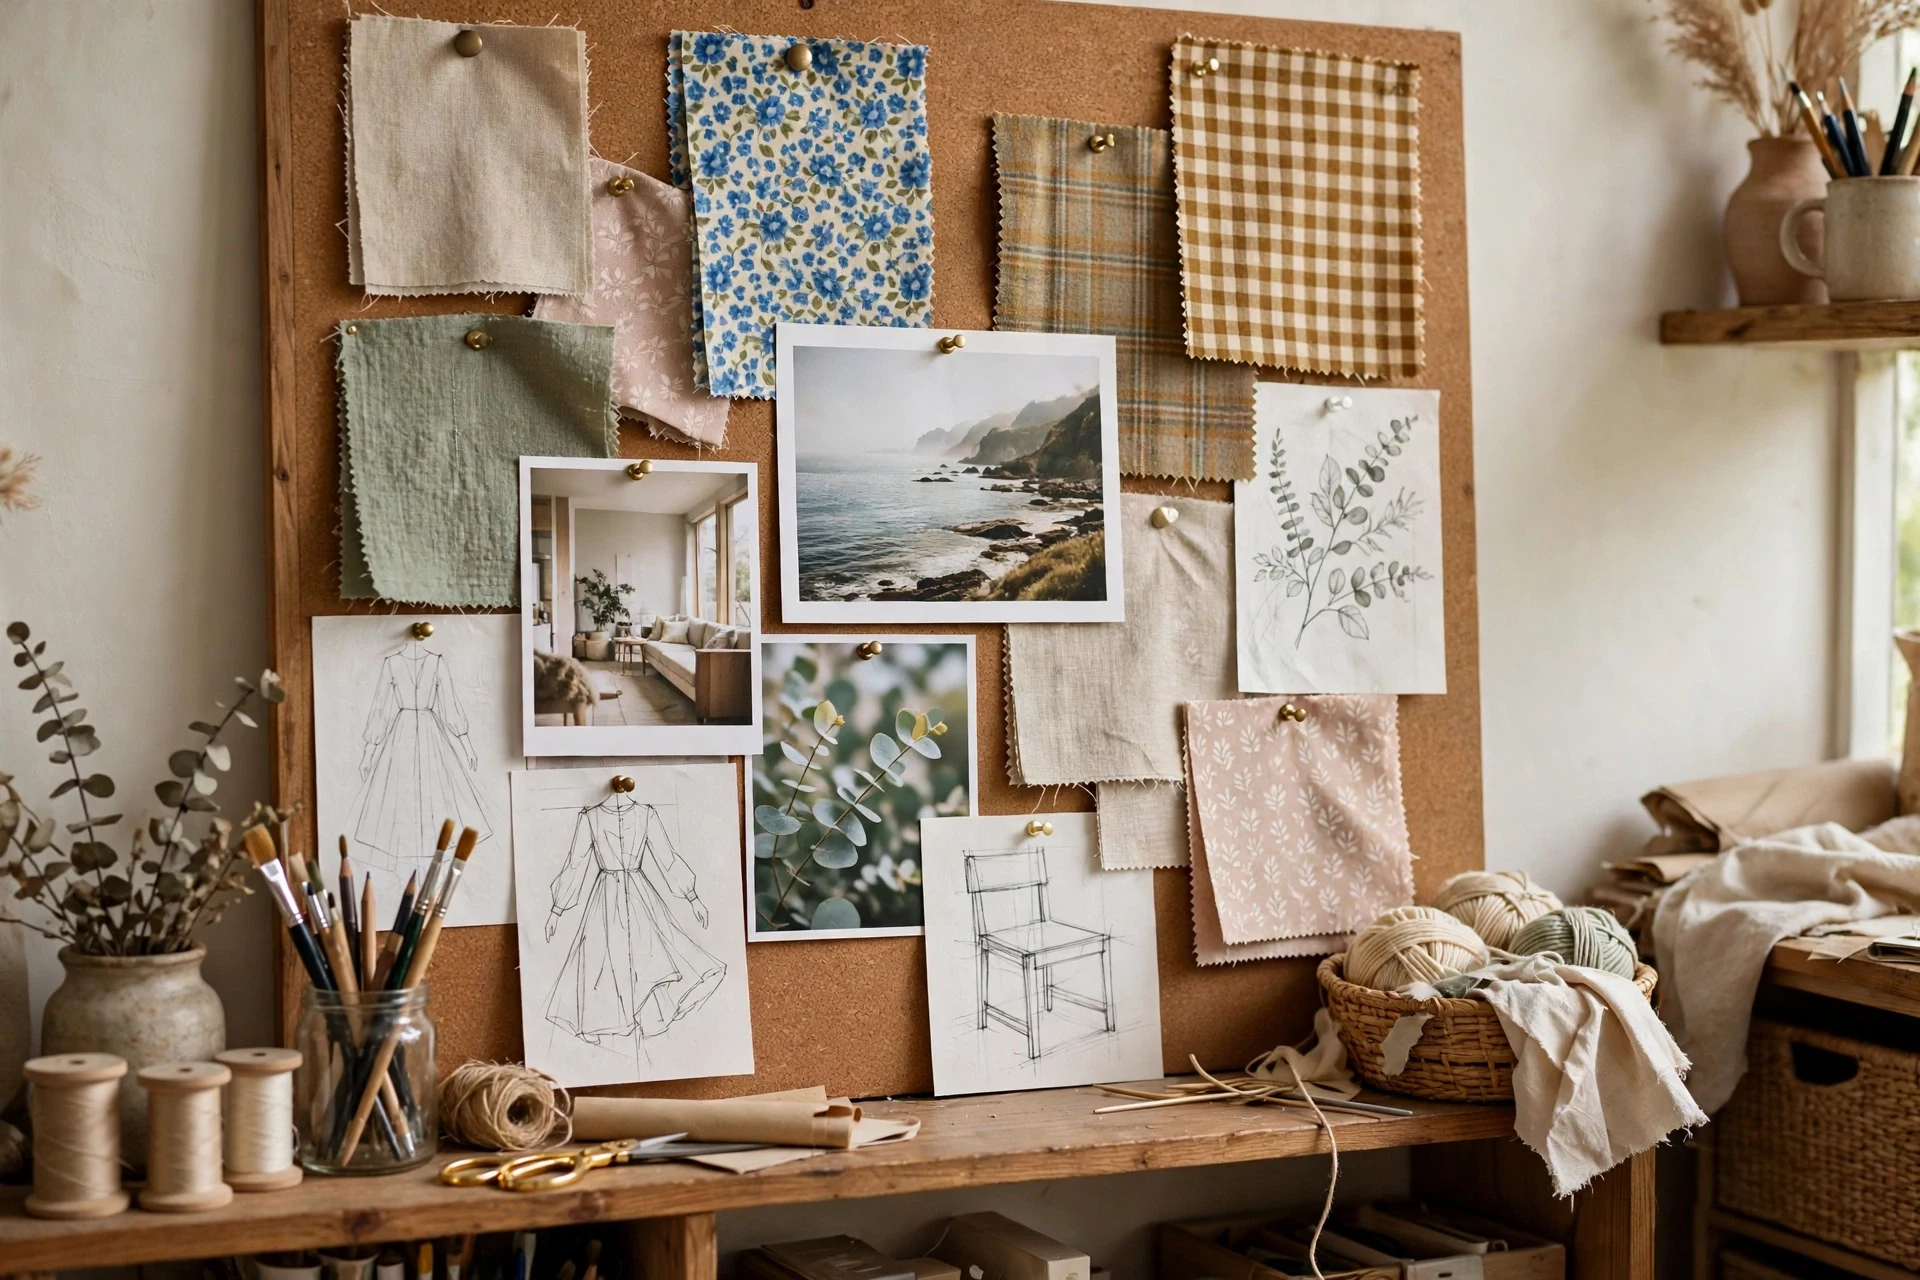
An inspiration board is where craft room ideas start, with fabric swatches, photos, sketches, and color palettes pinned where you can see them while you work. It keeps a project moving when motivation dips, since a glance at the board reminds you what you were excited about. It also stops good ideas from vanishing into phone photos, since the board holds them in physical form right beside the table.
Use a corkboard, a magnetic board, or a simple wire grid above or beside the craft table, and pin items with clips so they are easy to swap. Include a color palette for your current project, a photo of the finished look you want, and any swatches or samples you are choosing between. Clear the board when a project finishes, and start fresh, so old ideas do not clutter the next project.
- Pin items with clips, so the board is easy to update.
- Include a color palette and a finished-look photo for each project.
- Clear the board when a project ends, for a fresh start.
13. A Labelled Bin System
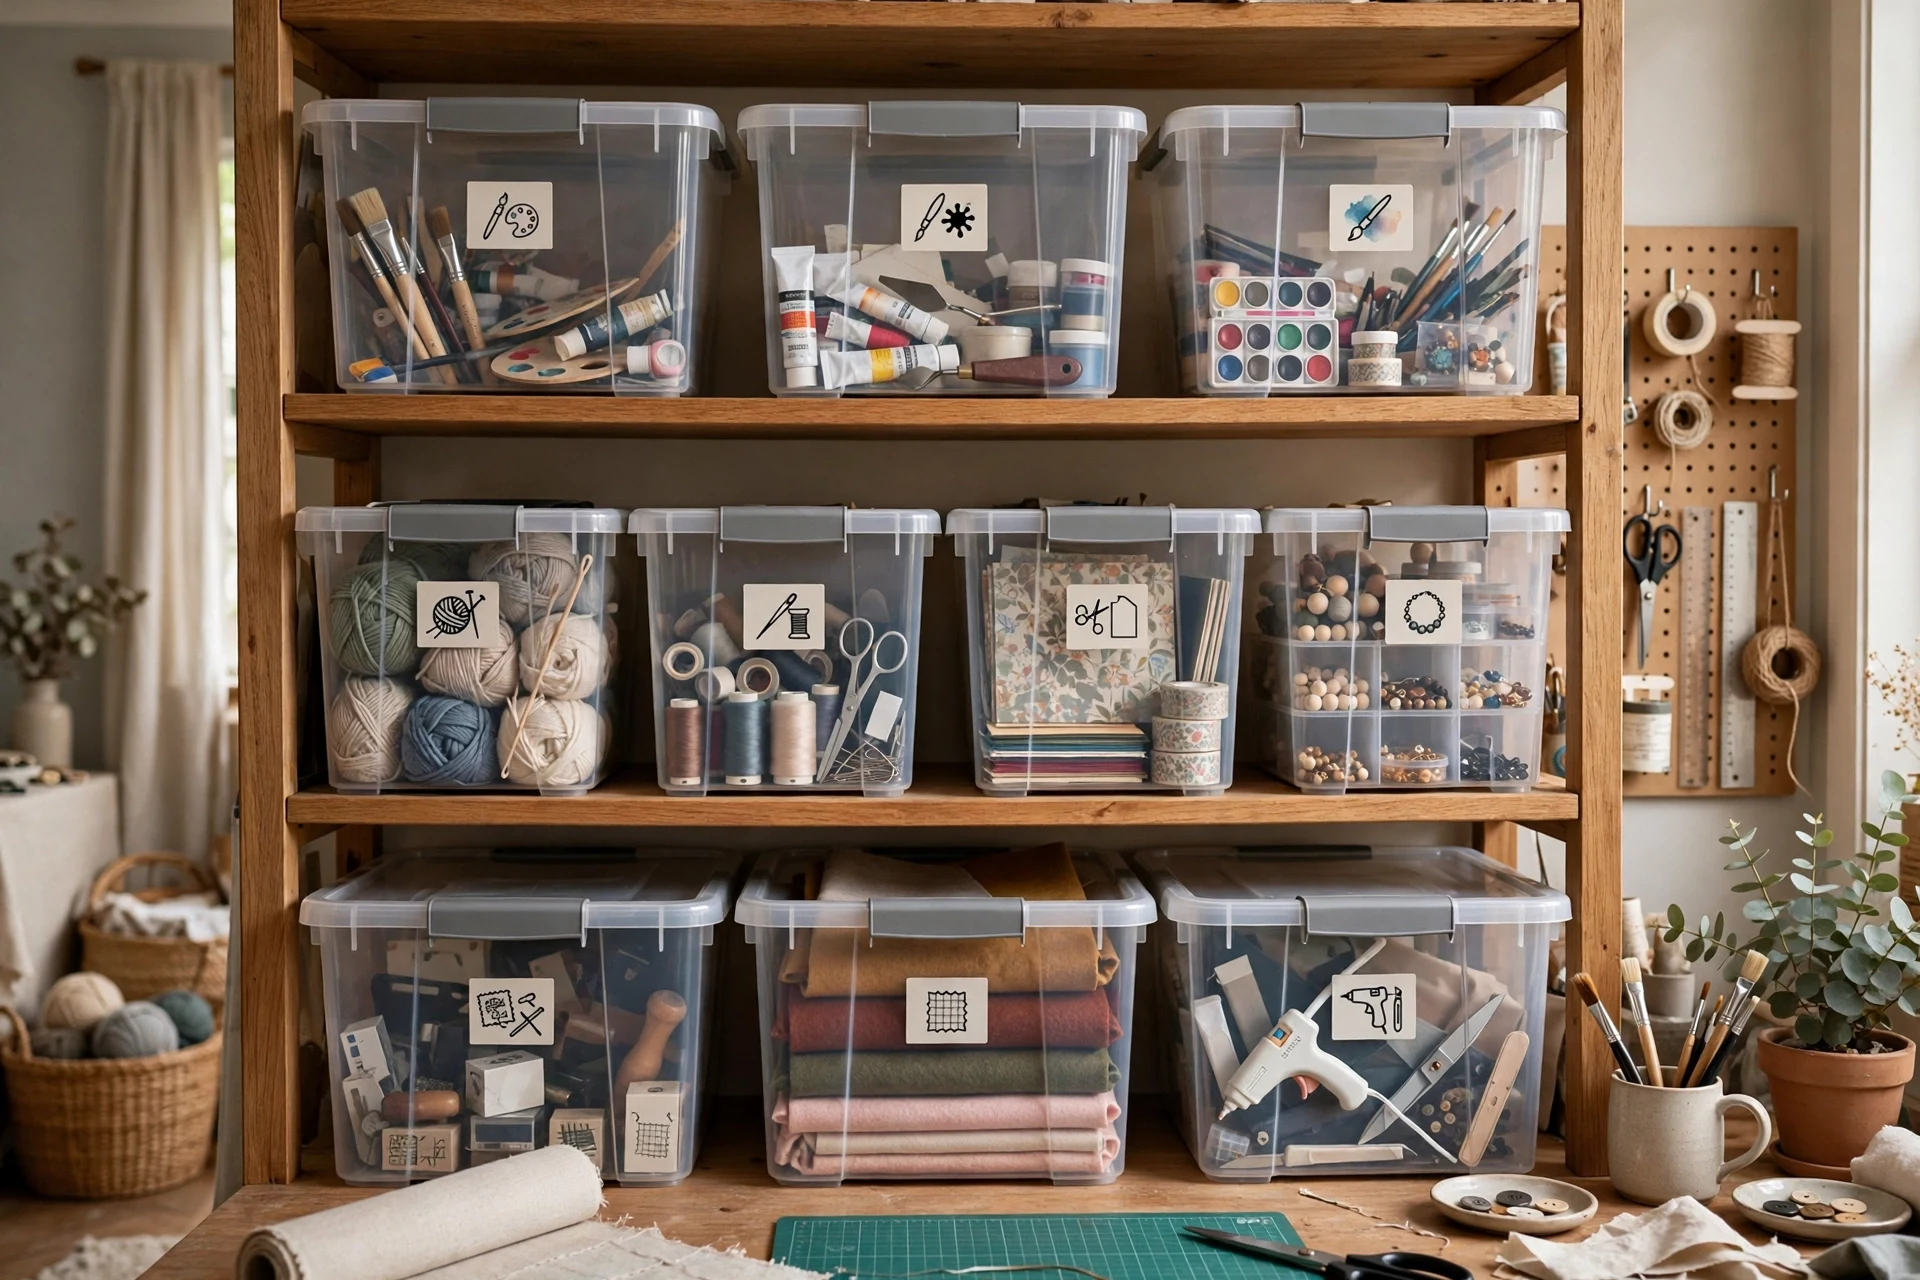
Labels are the difference between a craft room that stays organized and one that drifts back into chaos within a month. When every bin says what it holds, putting supplies away takes seconds, and anyone else in the household can find things without asking. A labelled bin system also makes winter cleanup satisfying, since the whole room can be reset in an afternoon.
Choose bins that fit your shelves, label them by craft or supply type, and keep the labels facing outward at eye level. Use large, clear lettering, and include both the craft and the supply, such as “Sewing: Thread” rather than just “Thread,” since similar supplies exist for several crafts. Review labels once a season, and relabel bins whose contents have changed, so the system stays trustworthy.
- Label bins by craft and supply, such as “Sewing: Thread.”
- Keep labels facing outward at eye level for quick finding.
- Review and relabel bins once a season, as contents change.
14. A Fold-Down Wall Table for Small Rooms
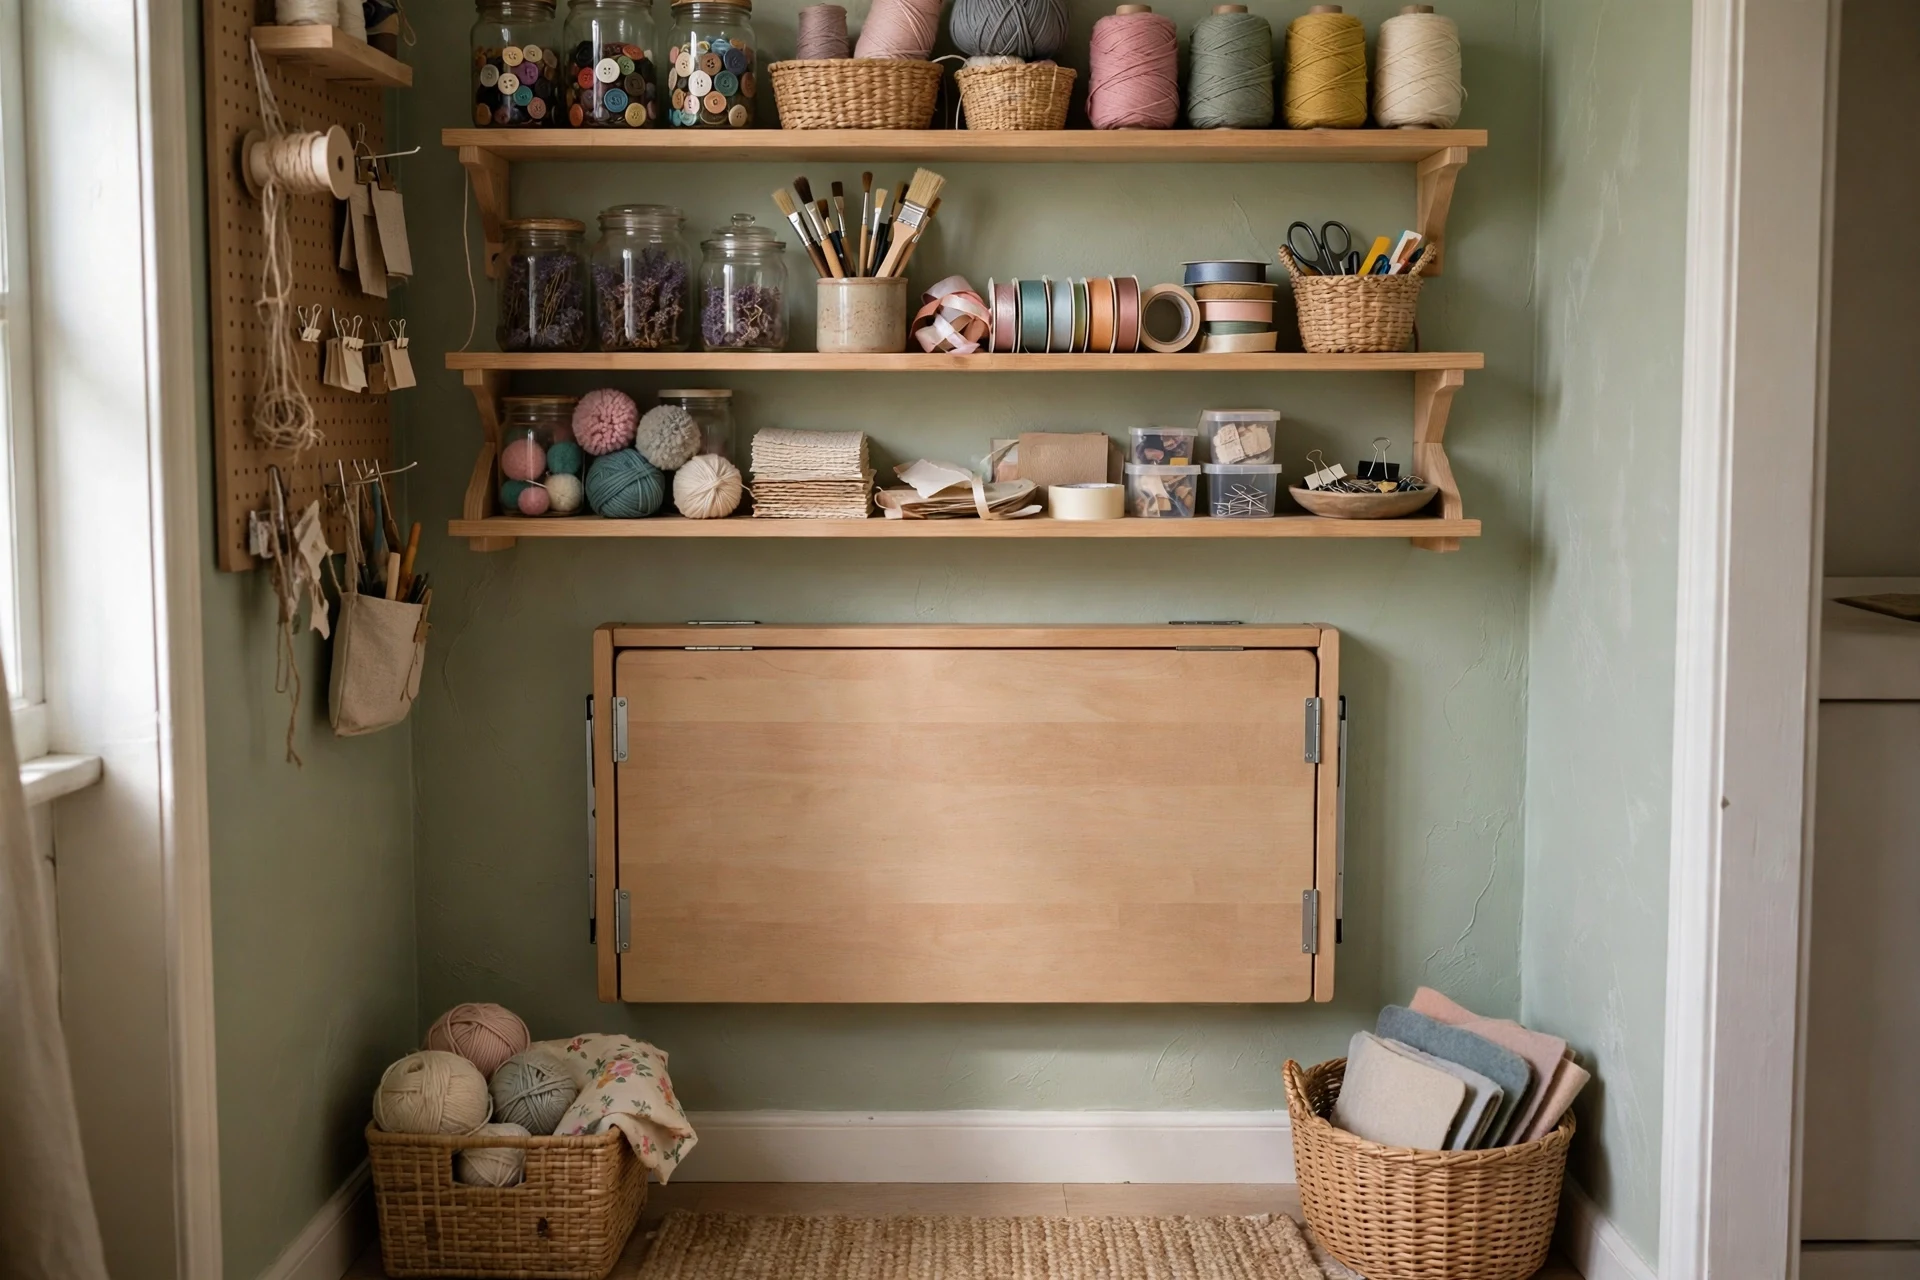
A fold-down wall table is the small-room answer to a dedicated craft table, giving you a full work surface that folds away when you need the floor back. It is perfect for apartments, spare corners, and rooms that double as guest rooms, since the table disappears in seconds. When folded down, it holds a sewing machine, a cutting mat, or a painting project just like a regular table.
Mount the table at a comfortable working height, with sturdy wall brackets rated for your projects, and add wall shelves above it for supplies that stay put when the table folds up. Keep the tabletop clear when folding it away, or the mechanism will jam, and choose a depth of about twenty inches, which suits most crafts without overwhelming a small room. For overnight guests, our cozy winter guest room ideas help the space work for both purposes.
- Mount at a comfortable height, with brackets rated for project weight.
- Add wall shelves above, for supplies that stay put when folded.
- Keep the tabletop clear before folding it away, to avoid jams.
15. A Window Seat Workspace for Natural Light

A window seat workspace is the craft room’s brightest spot, with natural light that no lamp can fully replace and a view that makes long sessions feel peaceful. Even a small cushion, a lap desk, and a basket of supplies turn a window seat into a favorite crafting spot, especially for hand sewing, knitting, and sketching. In winter, when daylight is precious, a window seat helps you use every bright hour.
Add a thick cushion and a warm throw to the seat, and keep a small basket of the current project beside it, so the spot is always ready. Use the seat for hand crafts rather than messy painting, since window seats are hard to clean, and keep supplies in a tray so nothing falls behind the cushions. On gray days, supplement the window light with a small clip-on lamp, so the seat stays usable after sunset.
- Add a thick cushion and a throw, so the seat stays comfortable for hours.
- Keep a project basket beside the seat, so it is always ready to use.
- Use the seat for hand crafts, and save messy painting for the table.
16. A Drying Rack for Painted Pieces
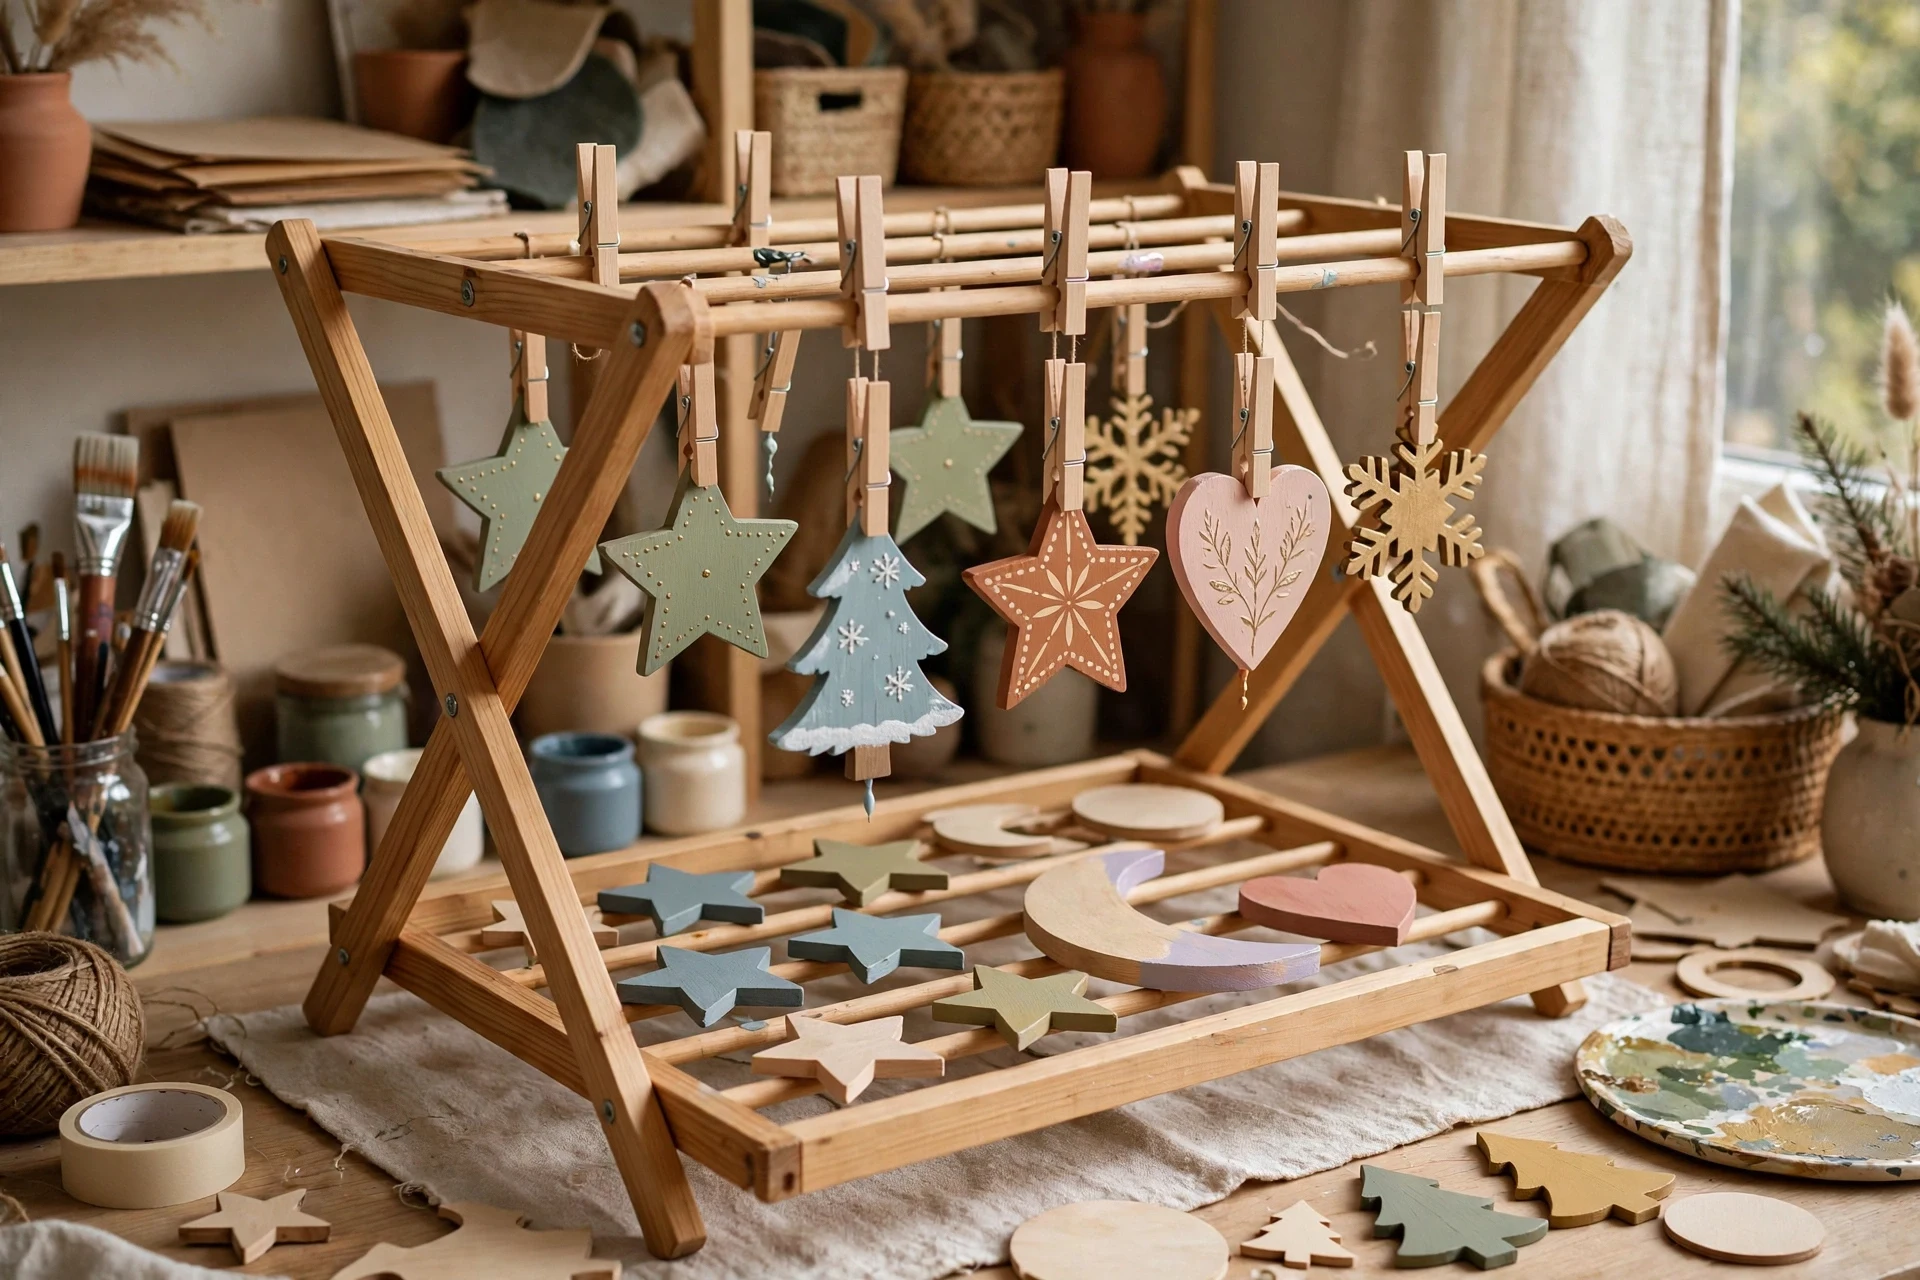
Painted pieces need somewhere safe to dry, and a drying rack keeps them off the craft table, where they get bumped, smudged, or stuck to other projects. A simple rack, whether a tiered drying rack, a line with clips, or a shelf lined with wax paper, gives each piece space and air, which means fewer ruined finishes. It is a small addition that saves a surprising amount of frustration.
Place the rack near, but not on, the paint station, where it will not be knocked, and line shelves with wax paper for easy cleanup. For small items like ornaments, a line with clips works well and takes almost no space. Label the rack with drying times if several people share the room, and keep the rack away from heaters, since fast, uneven drying can crack paint.
- Give each painted piece its own space, so finishes do not smudge.
- Line rack shelves with wax paper for easy cleanup.
- Keep the rack away from heaters, to avoid cracked paint.
17. A Shared Craft Table for Two

A shared craft table turns crafting into a social activity, with two people working side by side on different projects, chatting, and sharing tools. It suits couples, friends, and parents crafting with older children, and it makes a large table feel purposeful rather than empty. A shared table also encourages regular crafting, since a standing craft date is harder to skip than a solo session.
Choose a table at least six feet long, so each person has room to spread out, and agree on a simple rule: each side keeps its own supplies, and shared tools live in the middle. Use a small divider, such as a tray or a low shelf, if projects tend to migrate across the table. Keep two good lamps, one per side, so neither crafter works in the other’s shadow.
- Use a table at least six feet long, for two comfortable work areas.
- Keep each person’s supplies on their own side, with shared tools in the middle.
- Provide one good lamp per side, so neither crafter works in shadow.
18. Cozy Winter Touches for the Craft Room
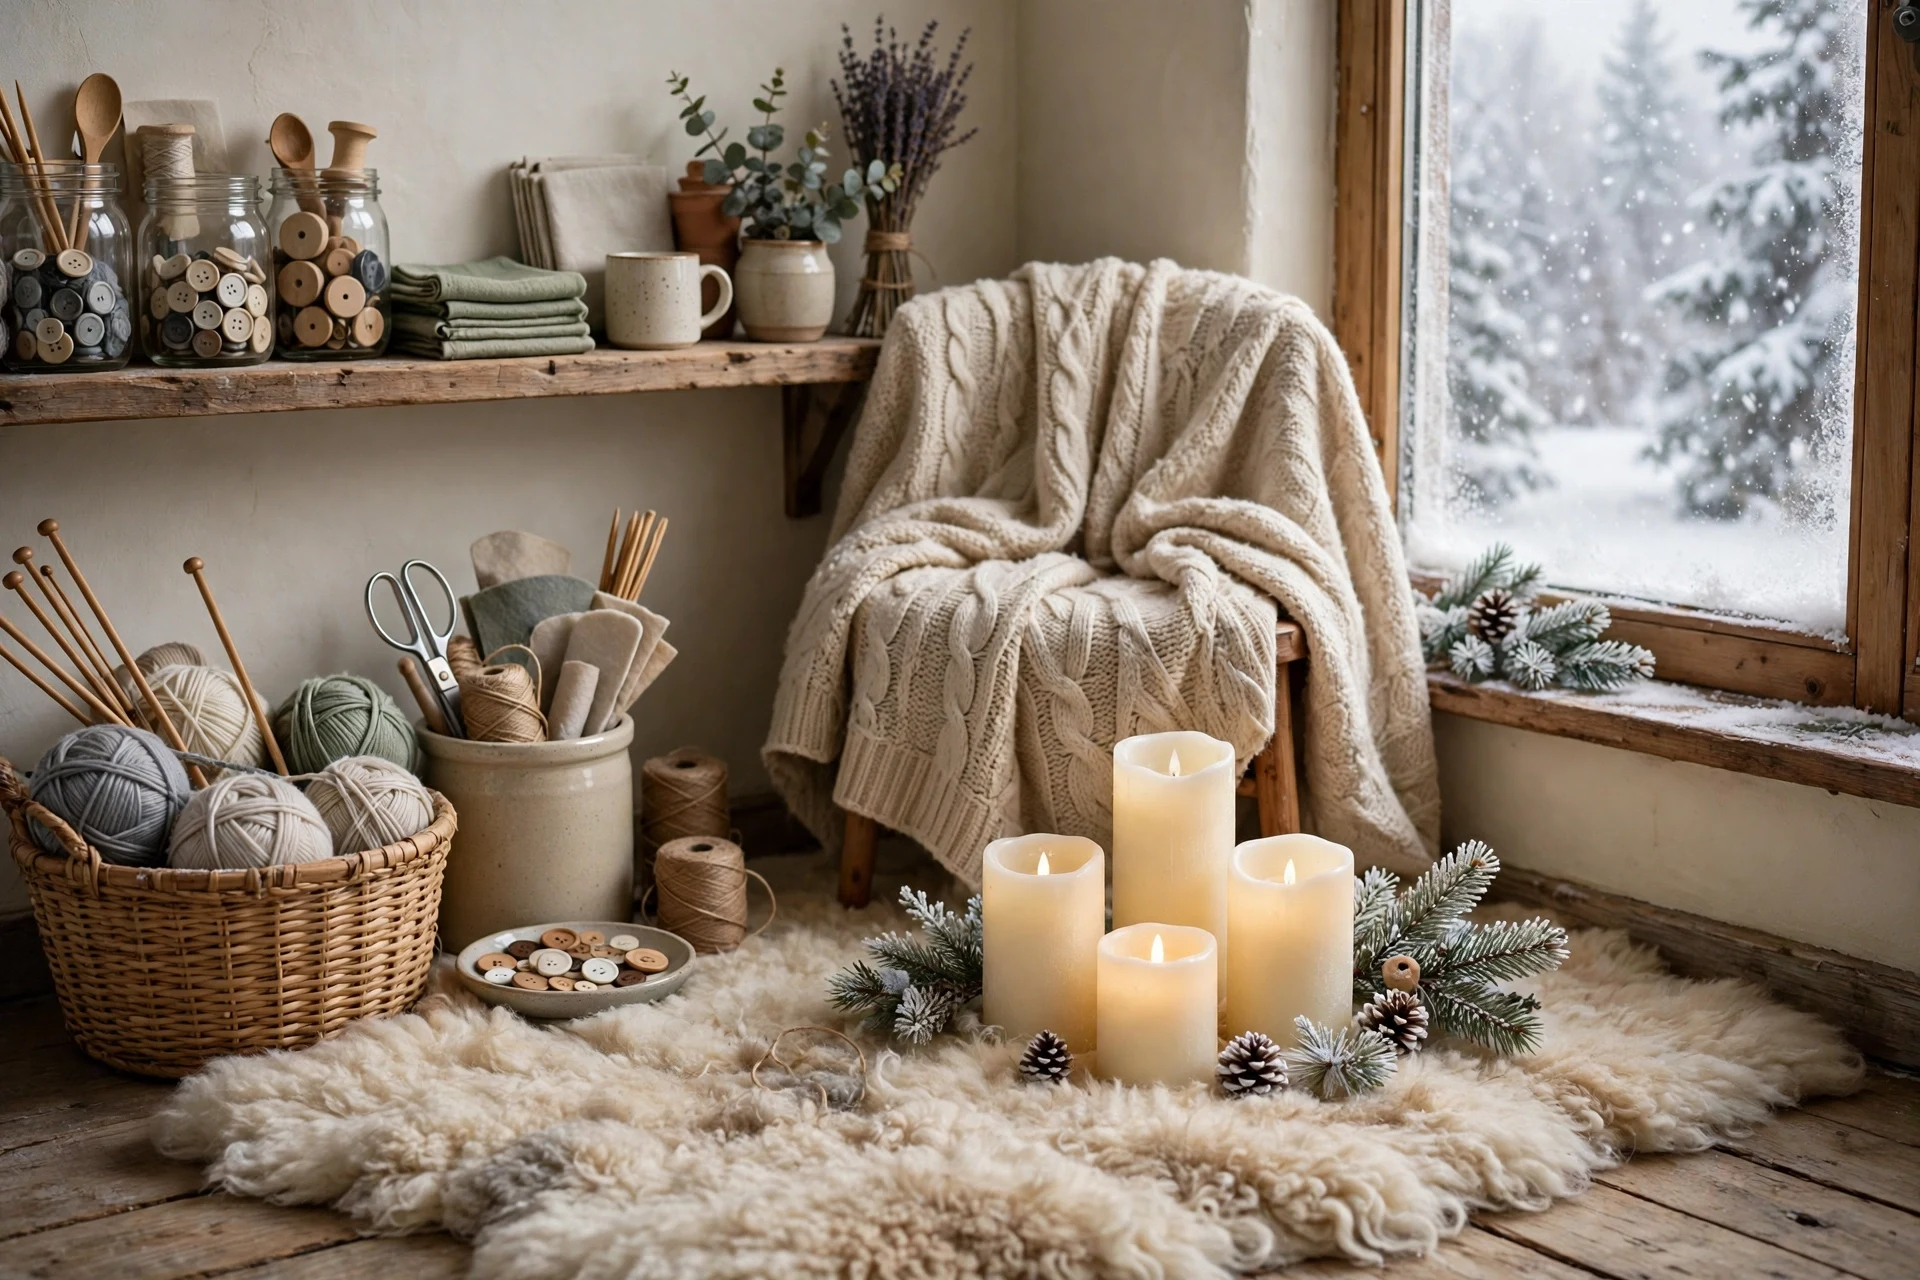
Cozy touches are what turn a storage room with a table into a room you actually want to spend winter afternoons in. A soft rug underfoot, a throw over the chair, warm lamps instead of harsh overhead light, and a flameless candle or two make the craft room feel like a retreat. These details cost little, but they change how the room feels, especially on dark, cold days when motivation is low.
Start with warmth underfoot, since craft room floors are often cold, and add a rug that is easy to clean, since craft rooms get dusty. Use warm-toned lamps rather than cool white ones for general lighting, and add one personal touch, such as a favorite mug for tea or a small plant, to make the room yours. Keep candles flameless near fabric and paper, and enjoy the glow without the fire risk.
- Use an easy-to-clean rug, since craft floors collect dust and scraps.
- Choose warm-toned lamps for general light, and daylight lamps for tasks.
- Use flameless candles near fabric and paper, for safe coziness.
19. A Cleanup Station for End-of-Day Resets
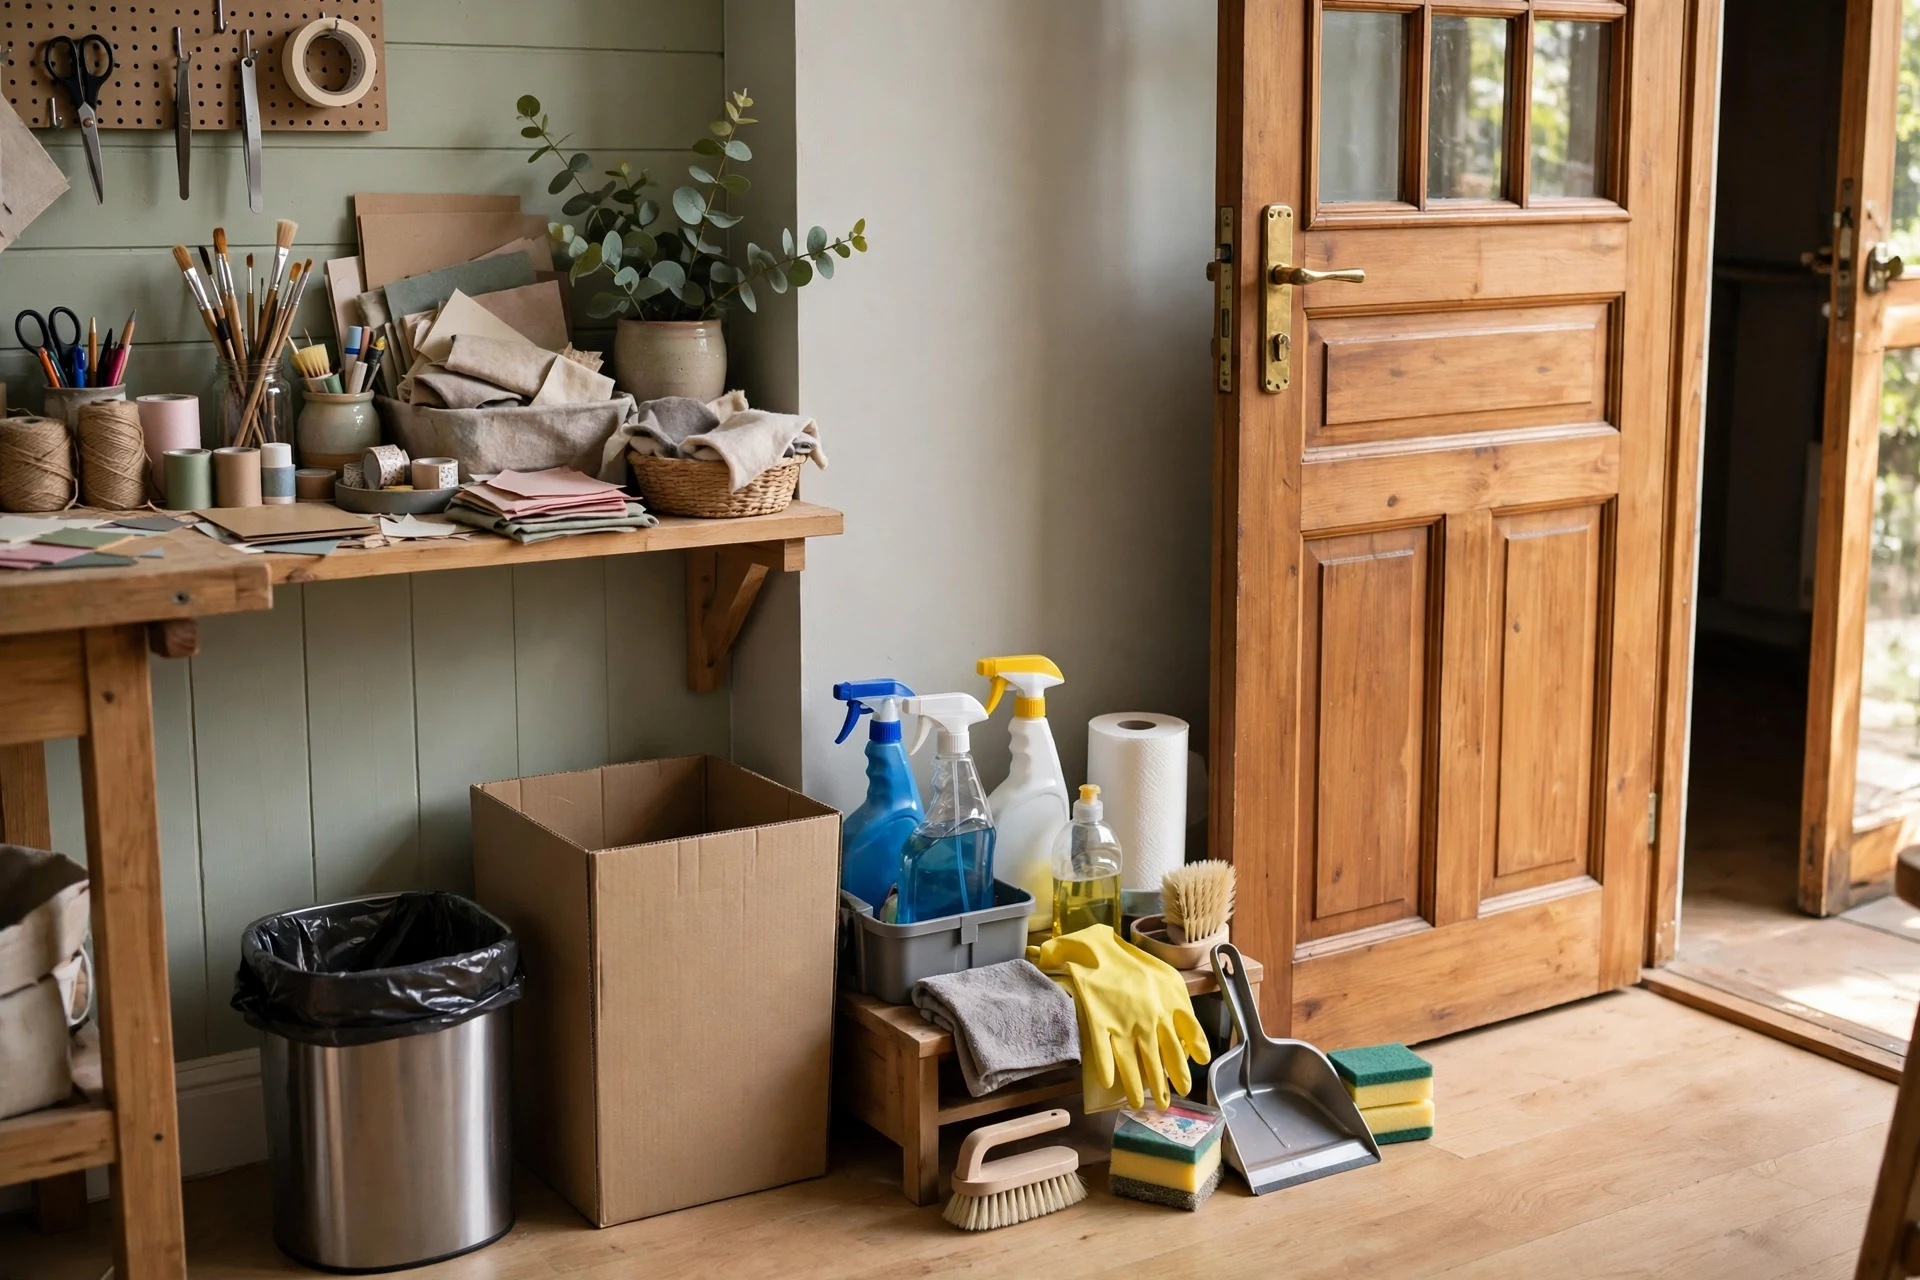
A cleanup station is the unglamorous idea that makes every other craft room idea work, because a room that is hard to reset slowly stops being used. A small trash bin, a recycling box, a lint roller, and a damp cloth, kept together near the door, let you reset the room in five minutes at the end of a session. That five-minute reset is what keeps the craft room inviting tomorrow, instead of a mess you avoid.
Place the station where you pass on the way out, and empty it regularly, since a full bin defeats the purpose. Keep a brush and dustpan for scraps, and a box for items that belong elsewhere. Make the reset a habit, not a deep clean: clear the table, return tools to the pegboard, and toss scraps, so the room is ready for the next slow, creative day. For slow mornings, see our cozy winter breakfast nook ideas.
- Place the cleanup station near the door, on your natural way out.
- Empty bins regularly, so the station itself stays usable.
- Reset in five minutes: clear the table, return tools, toss scraps.
Frequently Asked Questions
How much space do I need for a craft room?
A craft room can work in as little as a corner with a fold-down table, though a spare room is ideal if you have one. The essentials are a work surface, good light, and storage you can reach, and those fit in a closet-sized nook with wall shelves. Start with one table and one storage wall, and expand only when a specific craft demands more room.
How do I keep a craft room organized long-term?
Label every bin, return tools to the pegboard after each session, and do a five-minute reset at the end of the day. Review your storage once a season, and move supplies for crafts you no longer do into closed boxes. The system that lasts is the simplest one you will actually use, not the most elaborate one you can build.
What lighting is best for a winter craft room?
Combine natural window light with daylight task lamps at each work station and warm overhead light for general coziness. Daylight lamps show true colors for sewing and painting, while warm light keeps the room feeling inviting in the evening. Avoid relying on a single overhead light, which creates shadows exactly where you are working.
Can a craft room share space with a guest room?
Yes, with a fold-down table, closed storage, and a cleanup habit, a craft room can share space with a guest room successfully. Keep craft supplies in closed bins when guests stay, and use the fold-down table so the room converts quickly. Clear personal projects before guests arrive, and the room will feel welcoming rather than like a workshop.
What is the best first purchase for a new craft room?
A large, sturdy table and one good daylight lamp are the best first purchases, since they make every craft possible. Add a pegboard wall next, then rolling carts and labelled bins as your supply collection grows. Buy storage to fit the crafts you actually do, rather than stocking up on containers before you know what you need.
How do I make a craft room cozy in winter?
Add a warm rug, a throw on the chair, warm-toned lamps, and flameless candles, and keep a kettle or mug station nearby for tea. Coziness comes from warmth, soft textures, and good light, not from expensive furniture. A room that feels comfortable is a room you will return to, which is the whole point of a winter craft room.
A cozy winter craft room is not about perfection; it is about a table you can leave messy, light that lets you see true colors, and storage that helps you find what you own. These 19 cozy winter craft room ideas cover the essentials, from a dedicated table and pegboard wall to a sewing corner, a cleanup station, and the cozy touches that make winter afternoons inviting. Choose the ideas that match your crafts, and build the room one station at a time.
Start with the table and the lighting, since those two changes alone will transform how often you craft. Then add storage, one system at a time, until the room works as hard as you do. Winter gives you long, quiet days; a cozy craft room turns them into something made by hand, kept for years, and enjoyed every time you sit down to create.