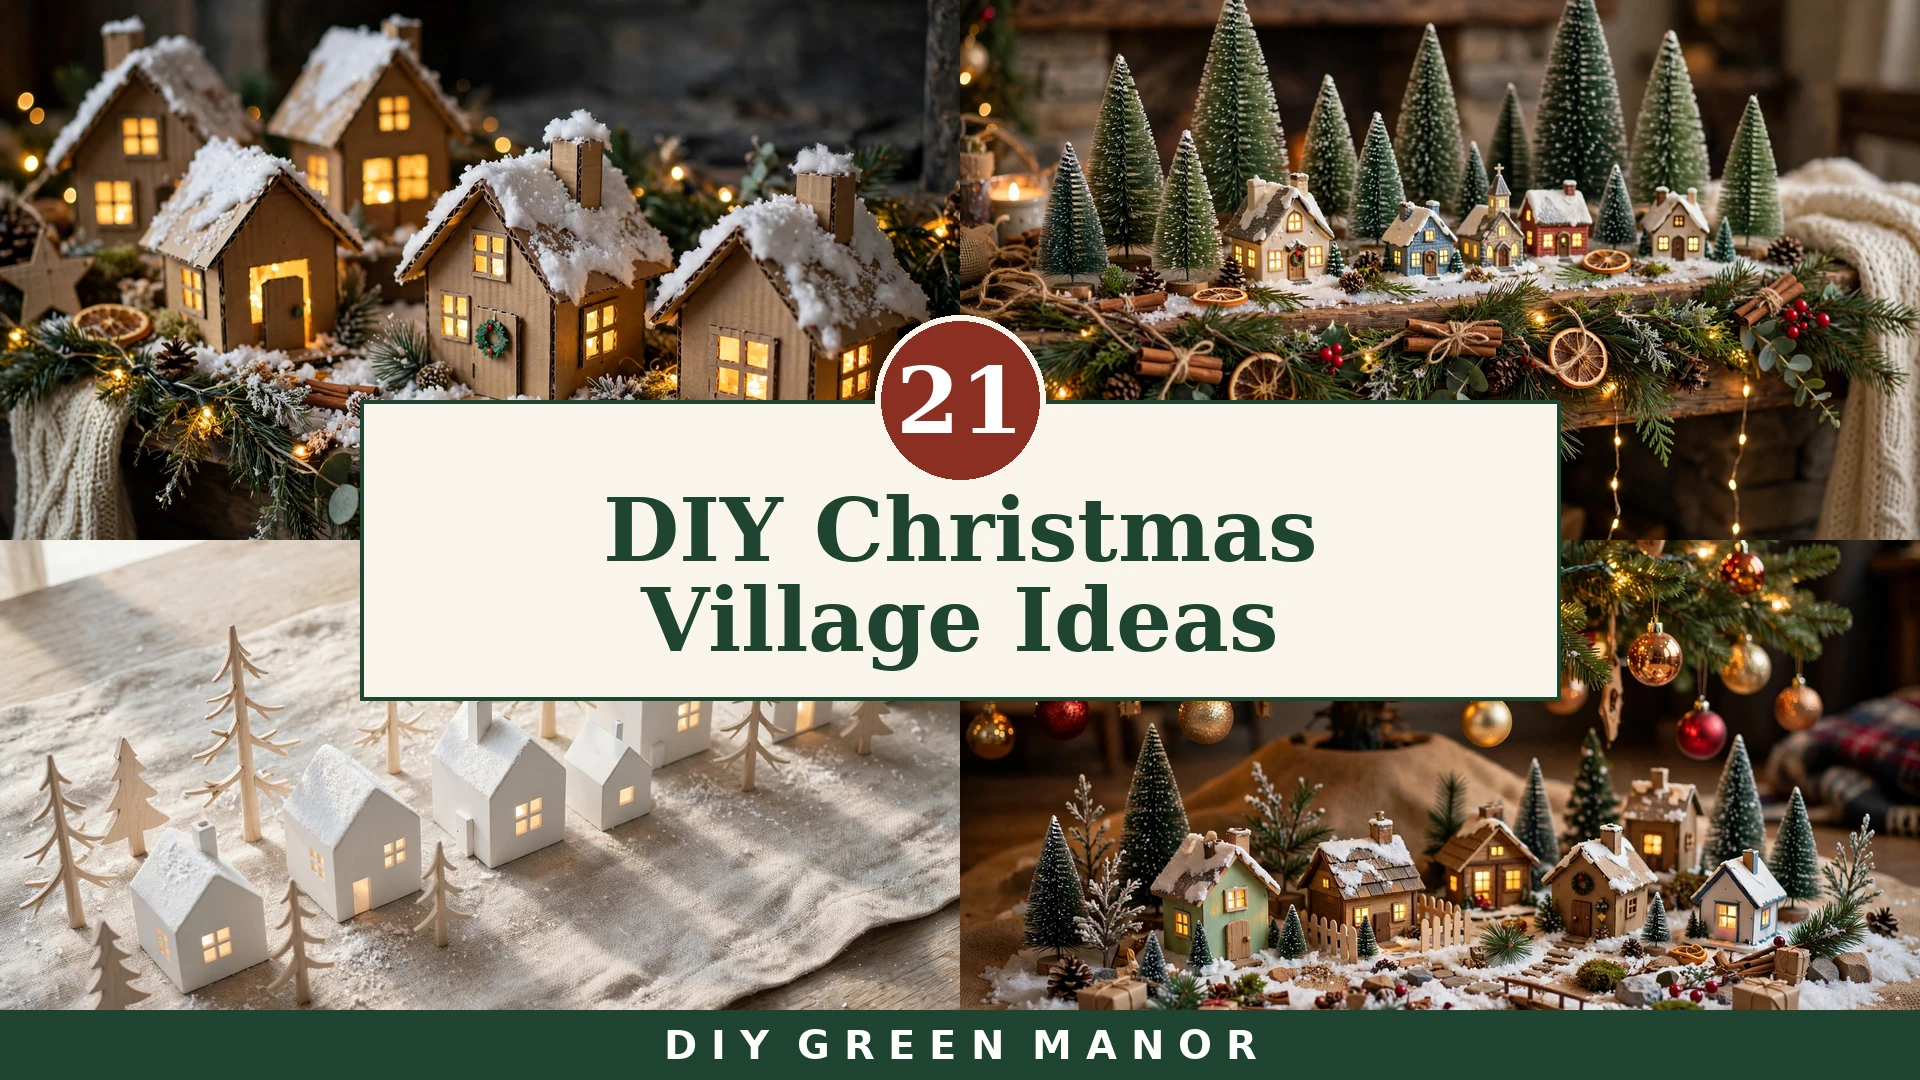
21 DIY Christmas Village Ideas for a Magical Mini Winter Town
21 DIY Christmas Village Ideas for a Magical Mini Winter Town
There is something quietly magical about a tiny town glowing on a mantel or tabletop, with warm windows, snowy rooftops, and little trees dusted in white. These DIY Christmas village ideas help you build that scene yourself, whether you start with cardboard boxes, thrifted wooden houses, or a few dollar-store finds. You do not need a big budget or a craft room full of supplies to create a display that feels thoughtful, cozy, and completely your own.
In this guide, you will find 21 ways to build, light, and arrange a Christmas village, from simple paper houses and tiered tray scenes to mantel displays, under-tree towns, and minimalist Scandinavian setups. Each idea includes practical tips on materials, colors, and placement, so you can pick one that fits your space, your style, and the time you have this season.
1. Classic Cardboard Cottage Village
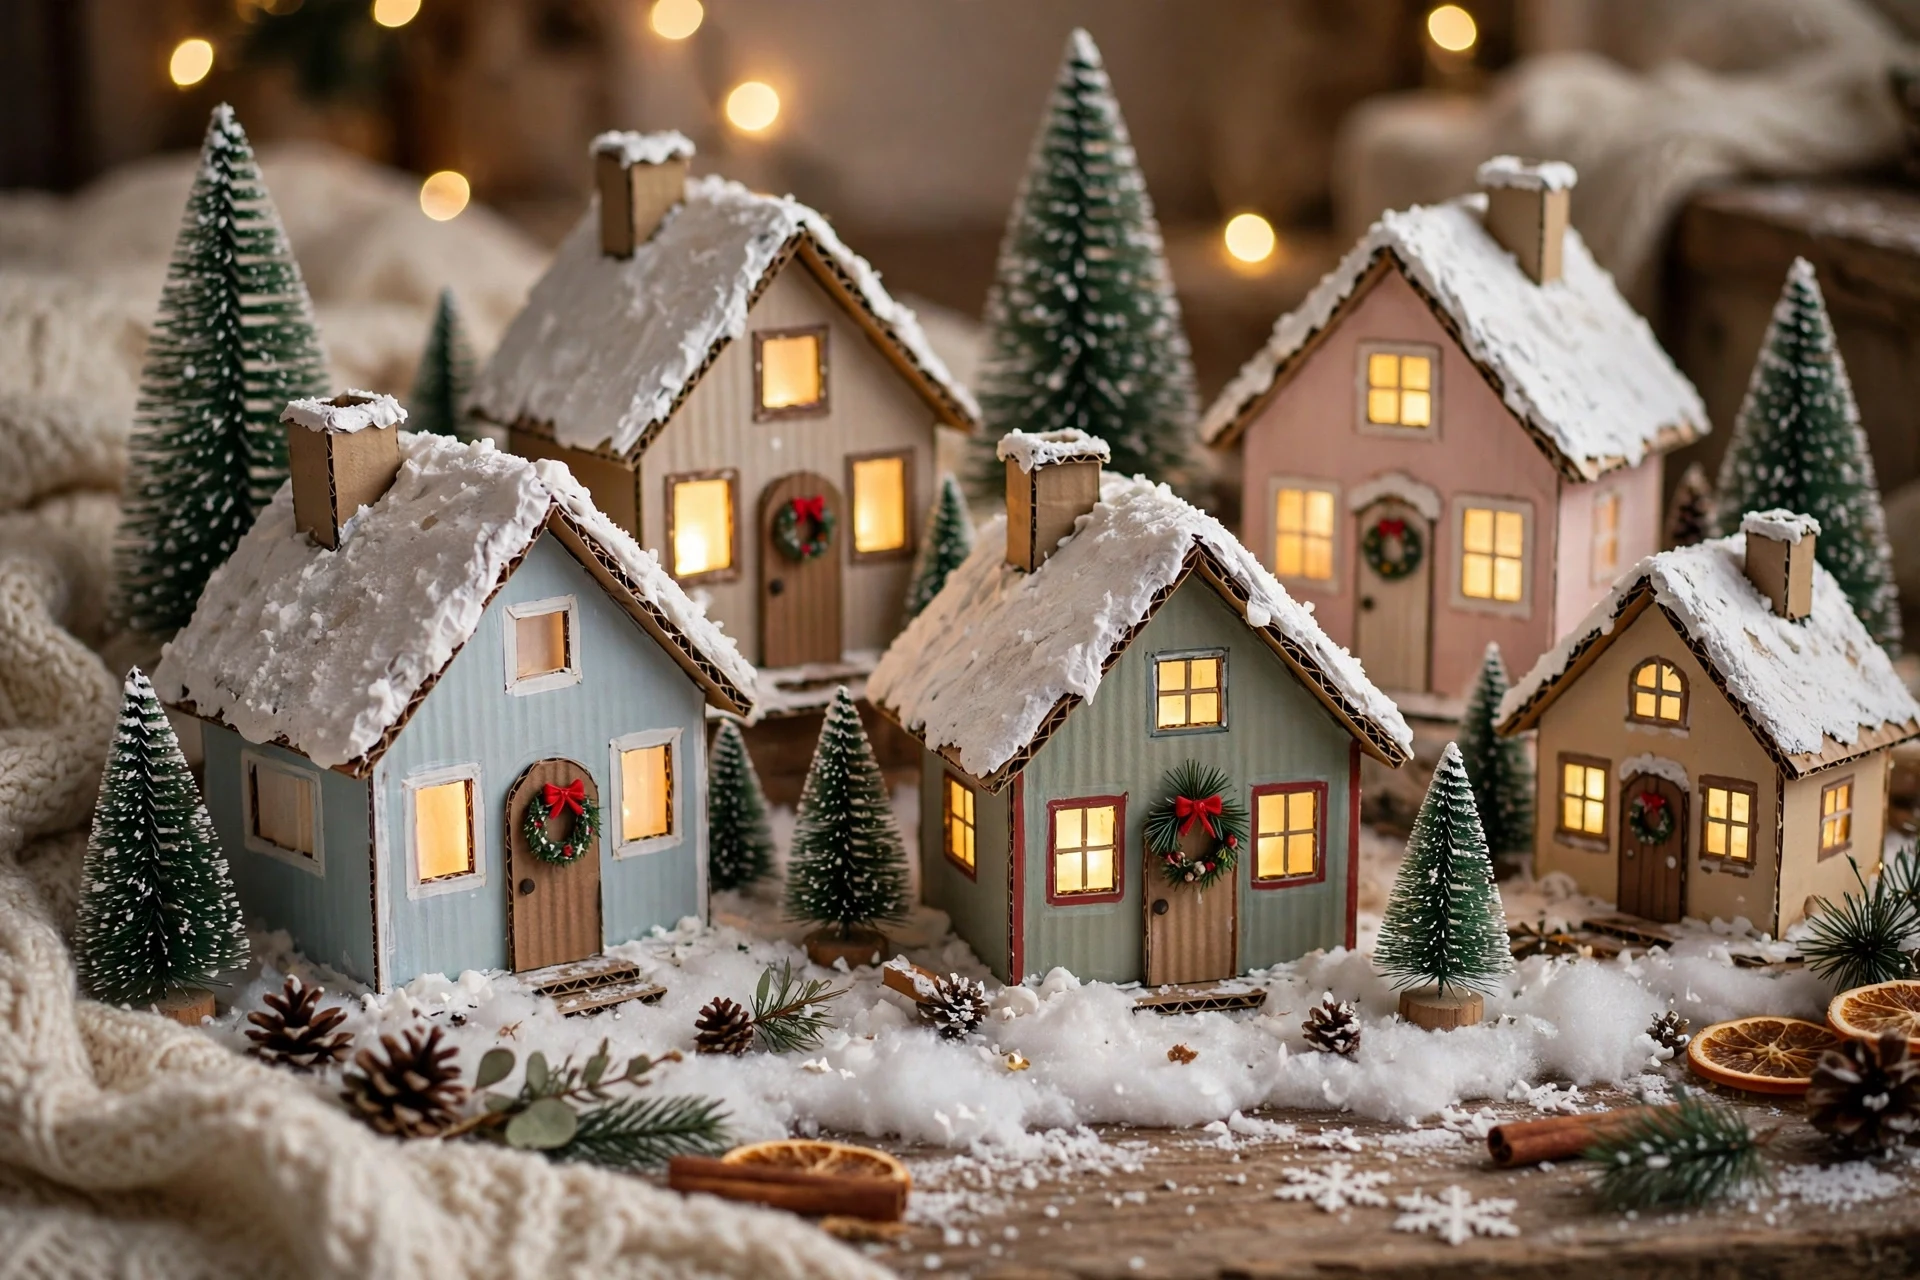
A cardboard cottage village is the easiest way to start building a mini winter town, and it costs almost nothing. Cut simple house shapes from sturdy boxes, paint them in cream, sage, brick red, or dusty blue, and add snowy roofs with white paint or cotton batting. Small cut-out windows backed with yellow tissue paper glow beautifully at night, while a sprinkle of fake snow ties the whole street together.
Start with three or four houses in different heights so the row feels like a real street, then add a church or shop with a taller roof for a focal point. Use a hot glue gun for quick assembly, and set the houses on a white tablecloth, a wooden board, or a tray filled with fake snow. Keep the palette limited to two or three colors so the village looks charming rather than cluttered.
- Use corrugated cardboard for sturdier walls that stand up all season.
- Cut windows with a craft knife and back them with warm yellow tissue paper.
- Add tiny wreaths from green pipe cleaners on the front doors.
- Store houses flat by leaving the roofs unglued until display time.
2. Thrifted Wooden House Village Makeover
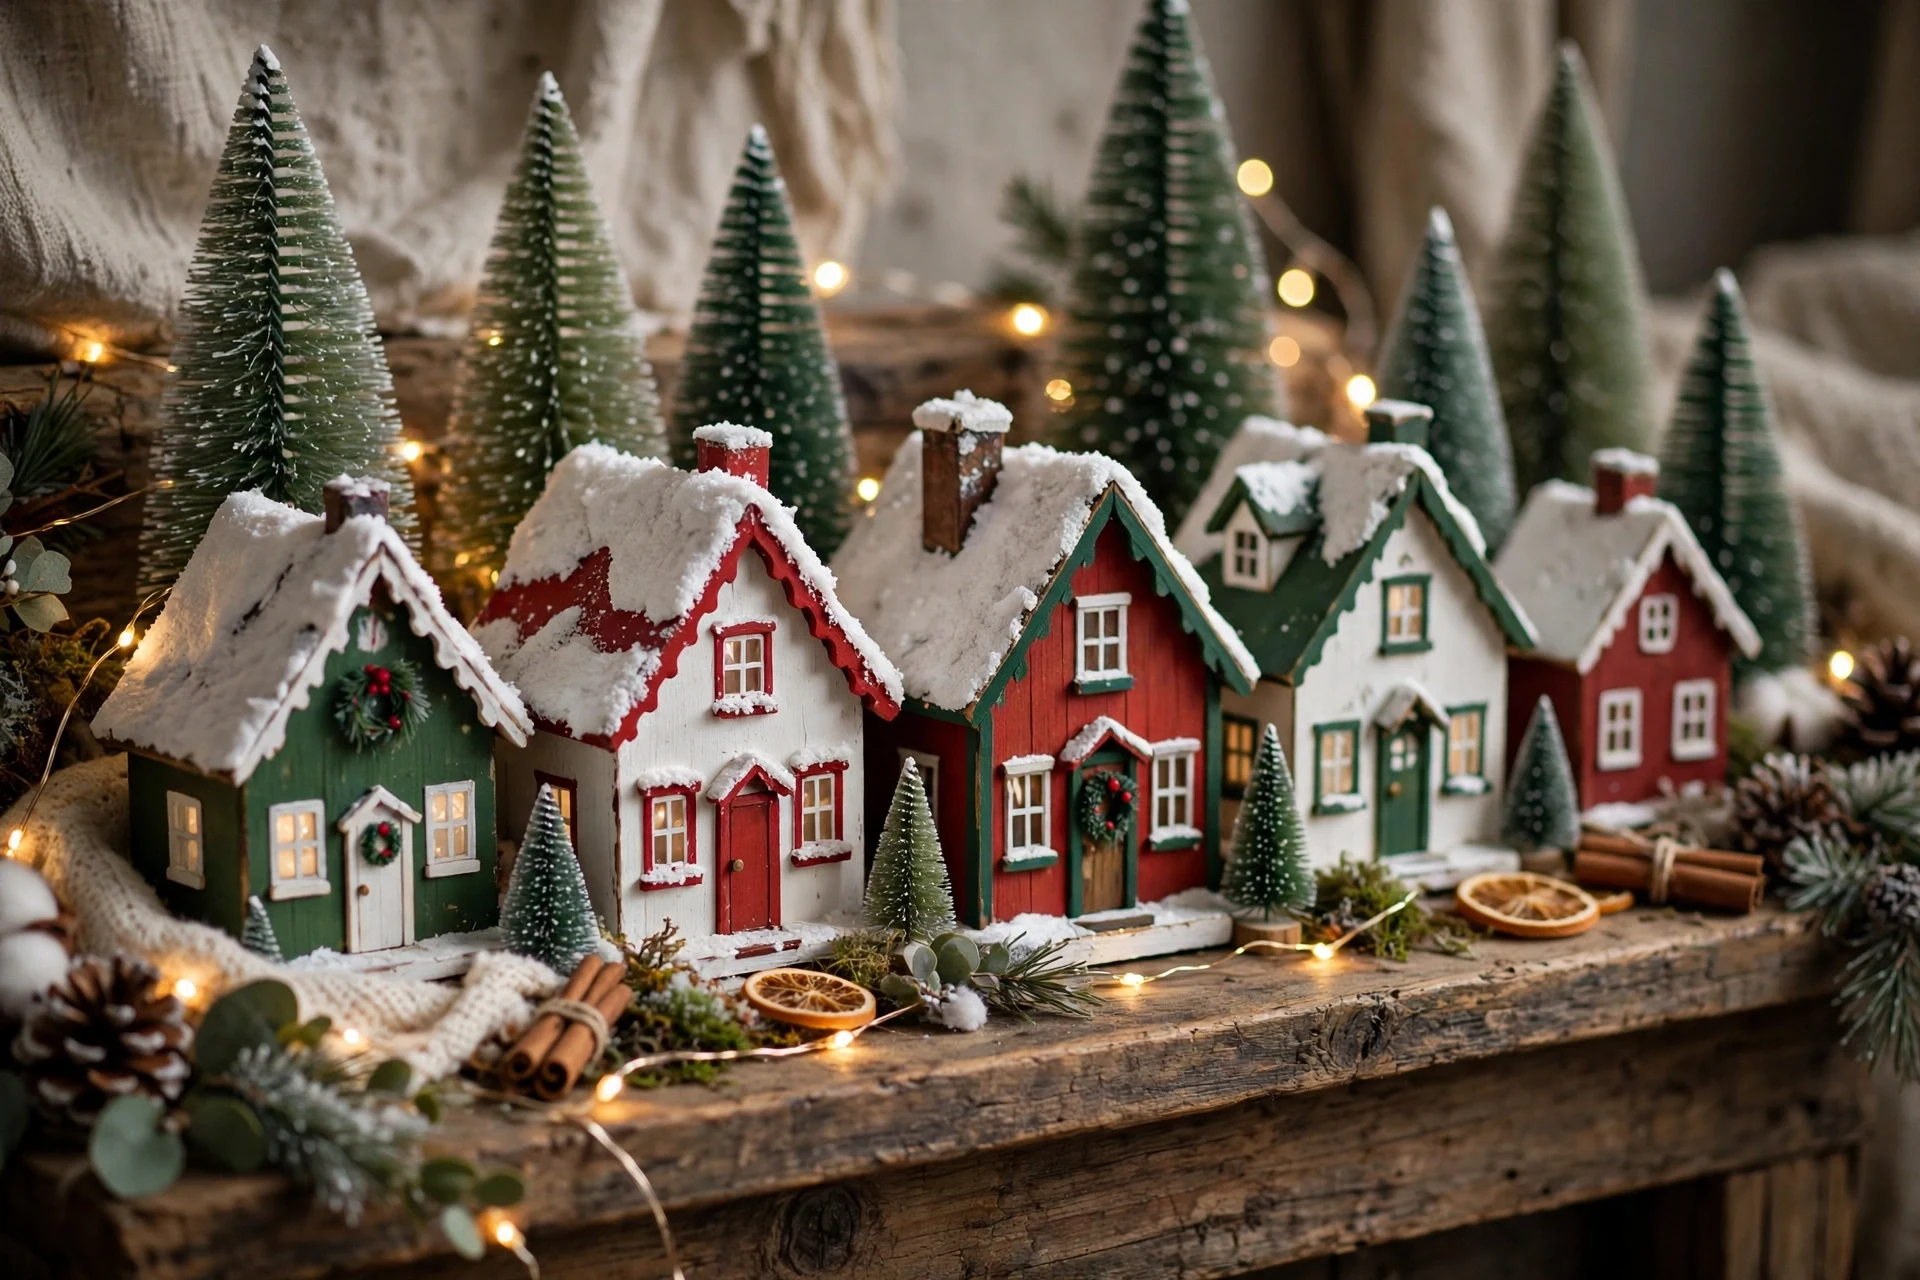
Thrift stores are full of plain wooden houses waiting for a second life, and a fresh coat of paint turns them into a charming Christmas village. Look for simple shapes with pitched roofs, then repaint them in soft white, warm red, or forest green. A little white paint dabbed along the roofline reads as snow, and gold or black paint makes the tiny windows stand out. A tiny sign with the street name adds a sweet, personal touch.
Group five to seven houses on a long wooden board or a white runner, varying the heights so the skyline feels natural. Add bottle brush trees, a few tiny wreaths, and a string of warm fairy lights tucked behind the houses for a soft glow. This is a wonderful project if you love a handmade look but want pieces sturdy enough to reuse every year. Work in good light so small painted details stay neat.
- Sand lightly before painting so the new color sticks smoothly.
- Use chalk paint for a soft, matte, vintage finish.
- Number the bottoms so you remember your favorite arrangement next year.
3. Dollar Store Christmas Village Build
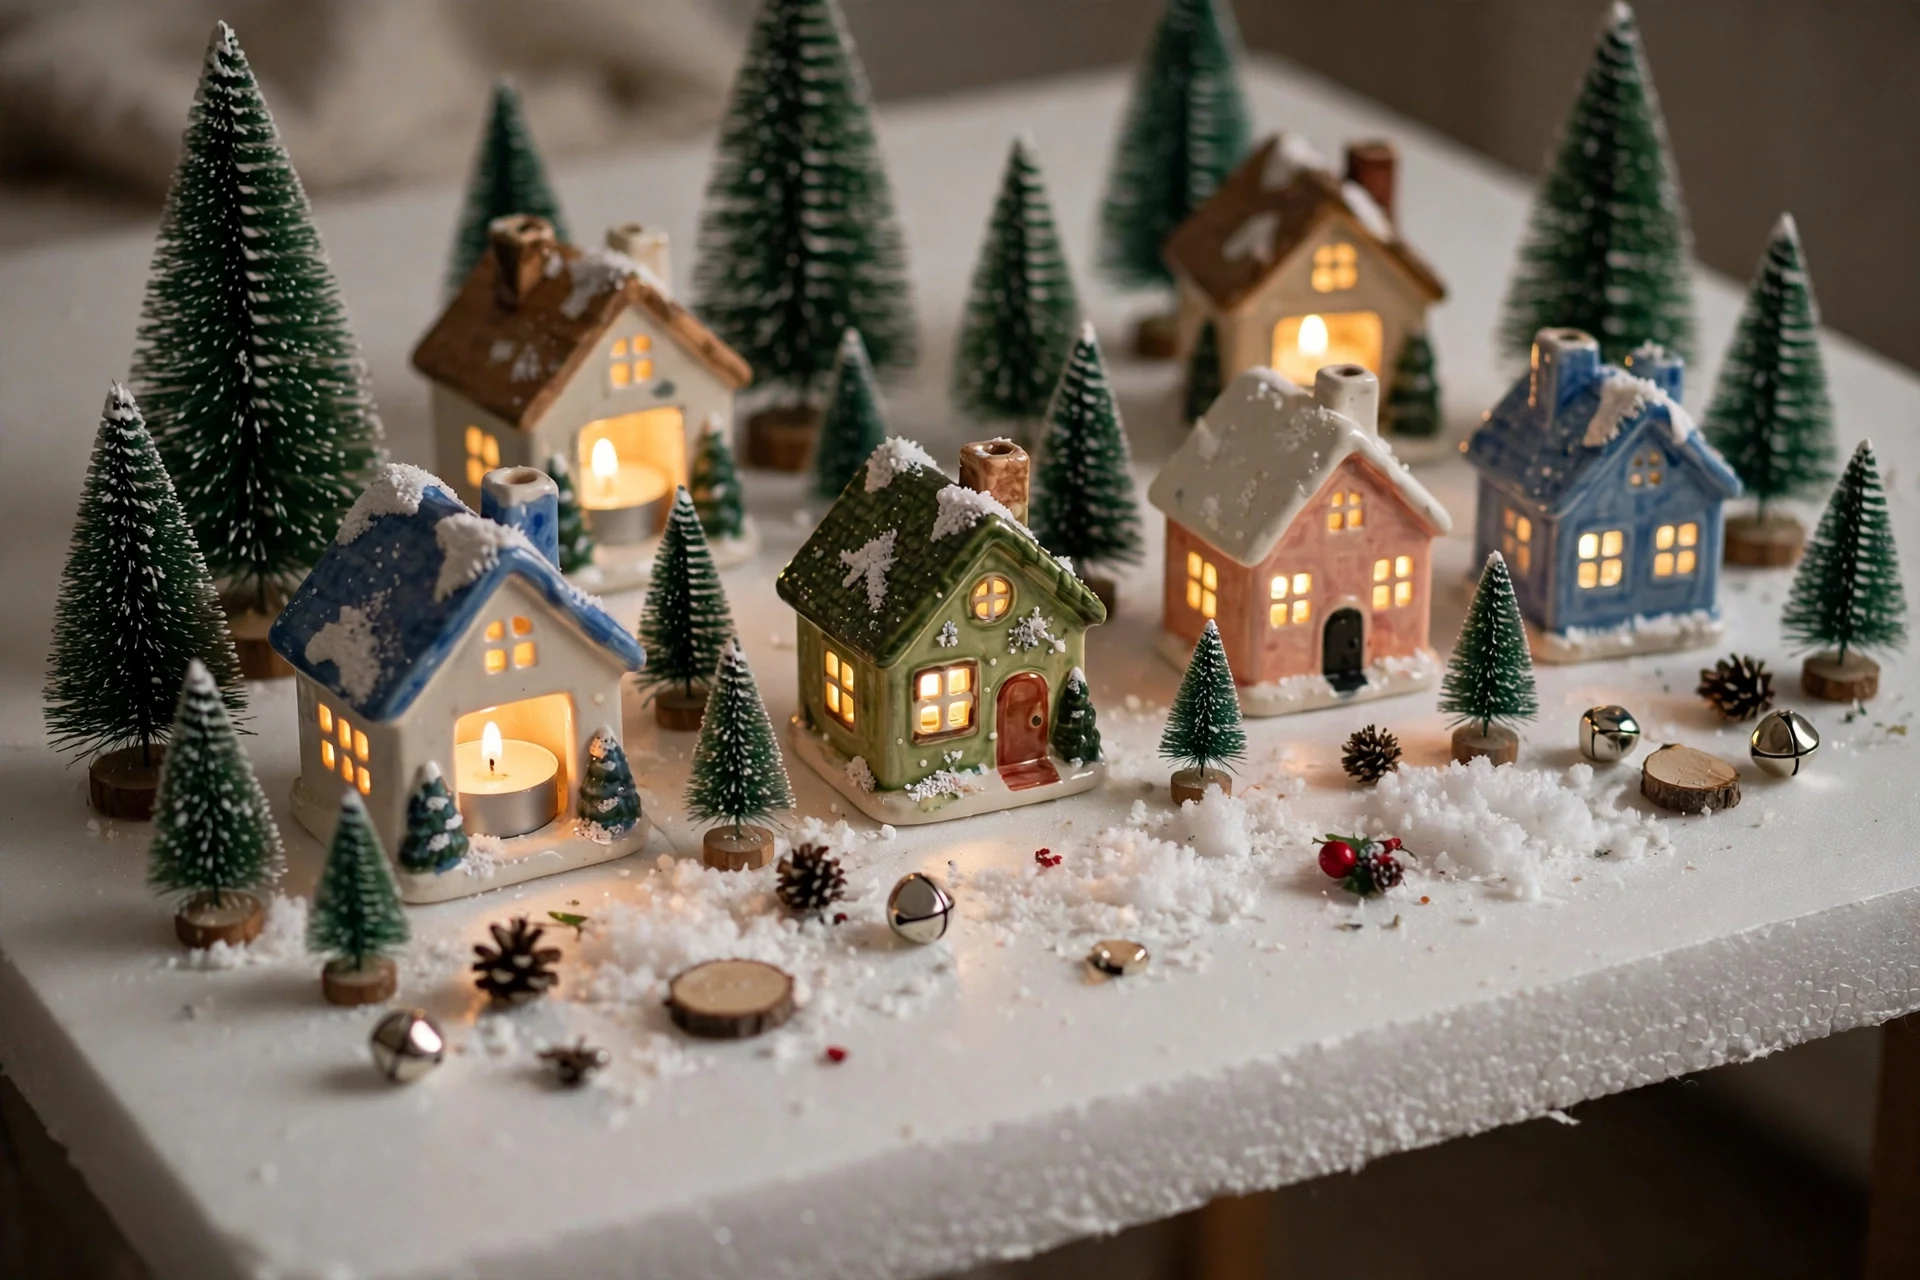
A dollar store village proves that a magical mini town does not need a big budget. Most dollar stores carry small ceramic or plastic houses, tiny trees, fake snow, and battery lights in the holiday aisle. Pick up a few houses in different styles, then use paint, glitter, or white spray snow to make them feel like they belong together. Keep the colors soft and wintry for a calm, cohesive street.
Arrange the houses on a foam board or a baking sheet covered in white batting, then fill the gaps with miniature trees, tiny fences, and a few cotton snowballs. Battery-operated tea lights behind the windows add a warm glow without any cords. Spend your money on the houses and lights first, then add small details as you find them. A few pinecones or tiny presents complete the thrifty scene.
- Buy houses in one visit so the styles and scale match.
- Spray-paint mismatched houses one color for a unified look.
- Hide battery packs behind the tallest house or under the snow.
4. Tiered Tray Mini Christmas Village
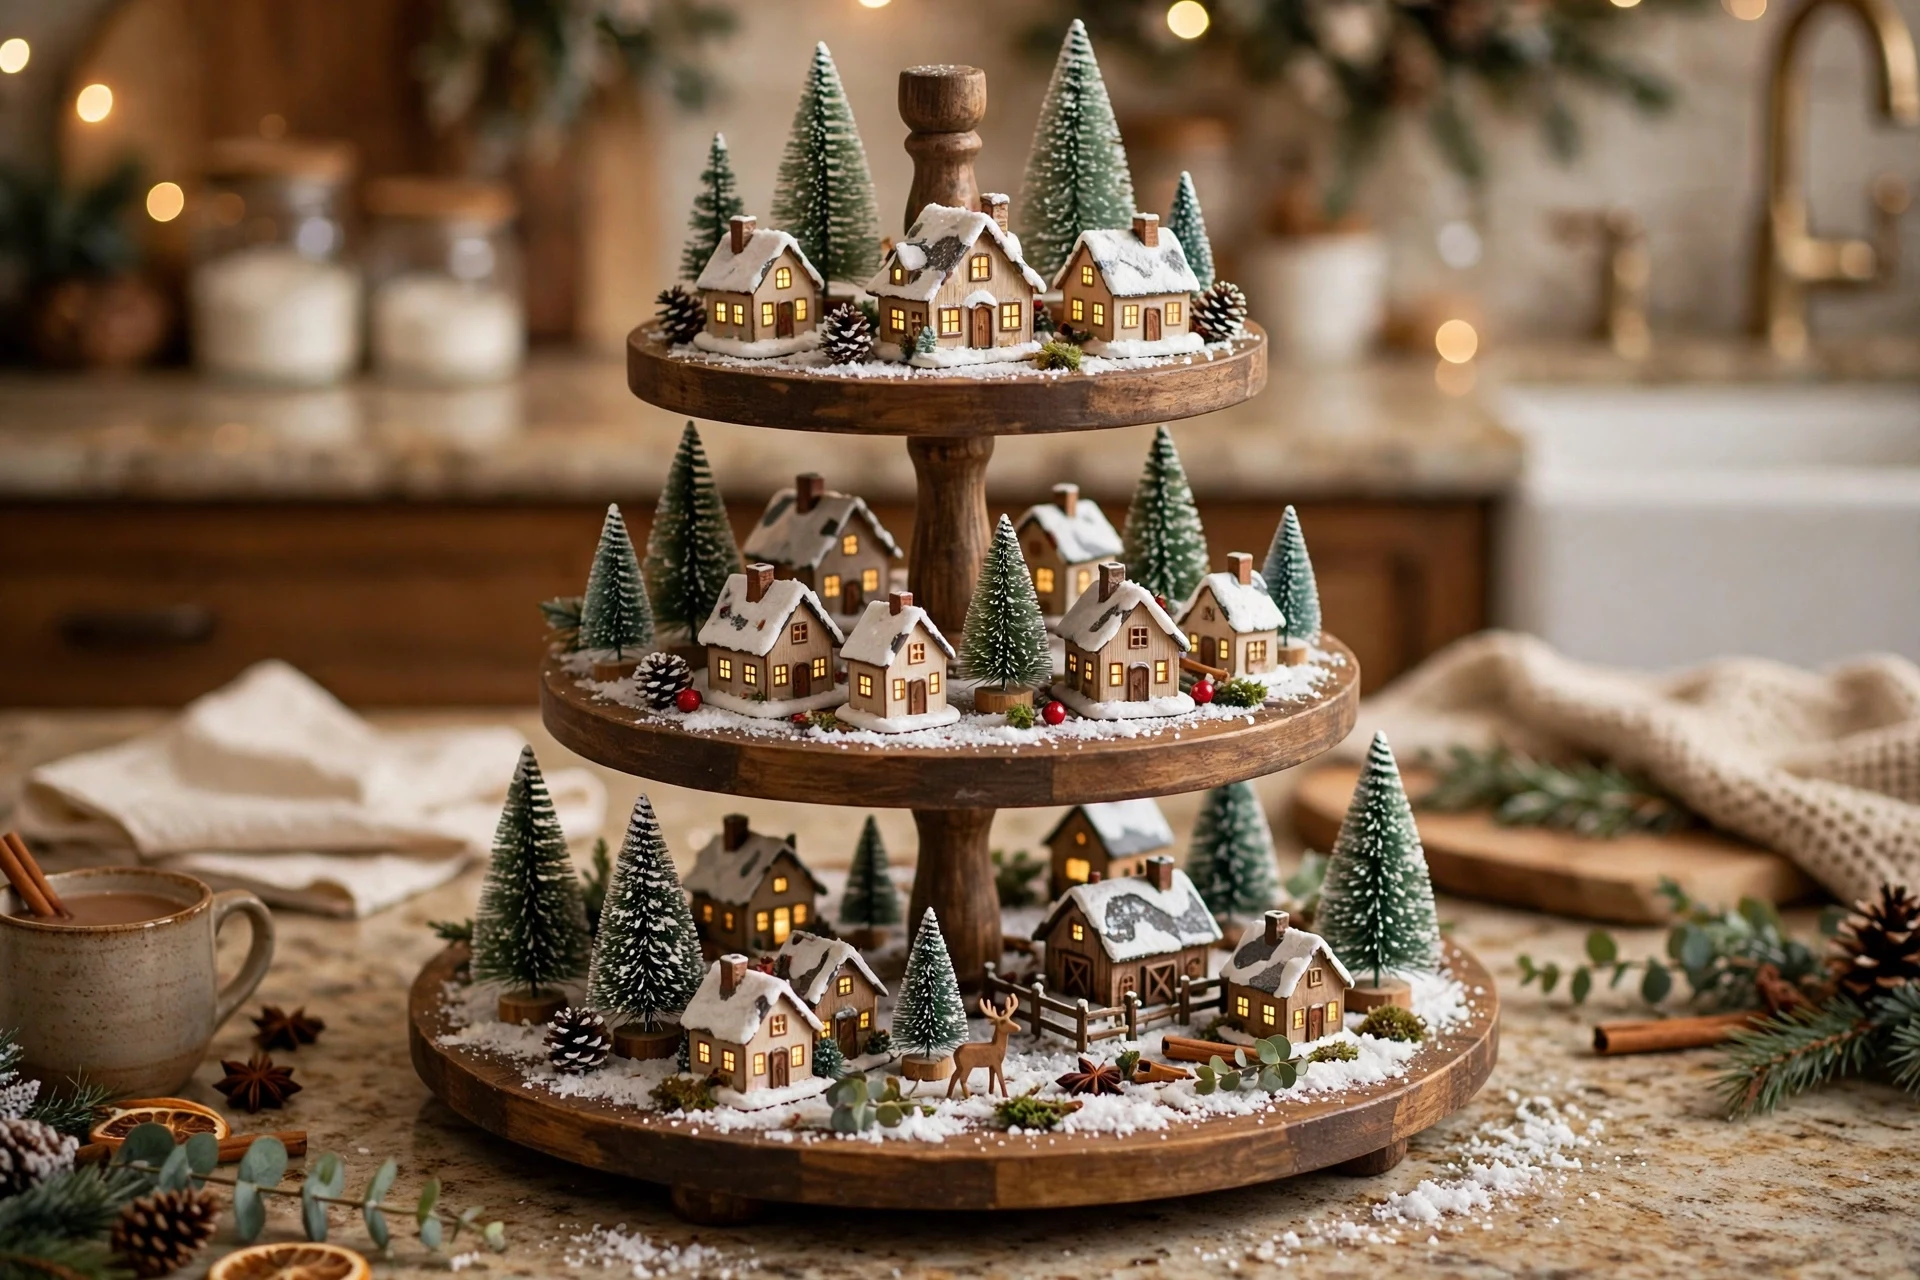
A tiered tray turns a handful of tiny houses into a complete village that fits on a kitchen counter or coffee table. Place the largest house and a church on the bottom tier, smaller cottages and trees in the middle, and a single snowy house or a tiny sleigh on top. The height of the tray gives the scene depth without taking up much space. Add a small chalkboard sign for a homey, welcoming detail.
Choose houses no taller than four inches so nothing crowds the tier above it. Add small touches like a mini wreath, a tiny sign, fake snow, and a few bottle brush trees in different heights. A white or wooden tray keeps the focus on the village, while a galvanized metal tray suits a farmhouse kitchen perfectly. A tiny garland draped between tiers ties the levels together.
- Measure each tier before buying houses so the scale stays right.
- Use museum putty to keep tiny pieces from sliding.
- Rotate the tray so every side gets a turn facing the room.
5. Mantel Christmas Village Display
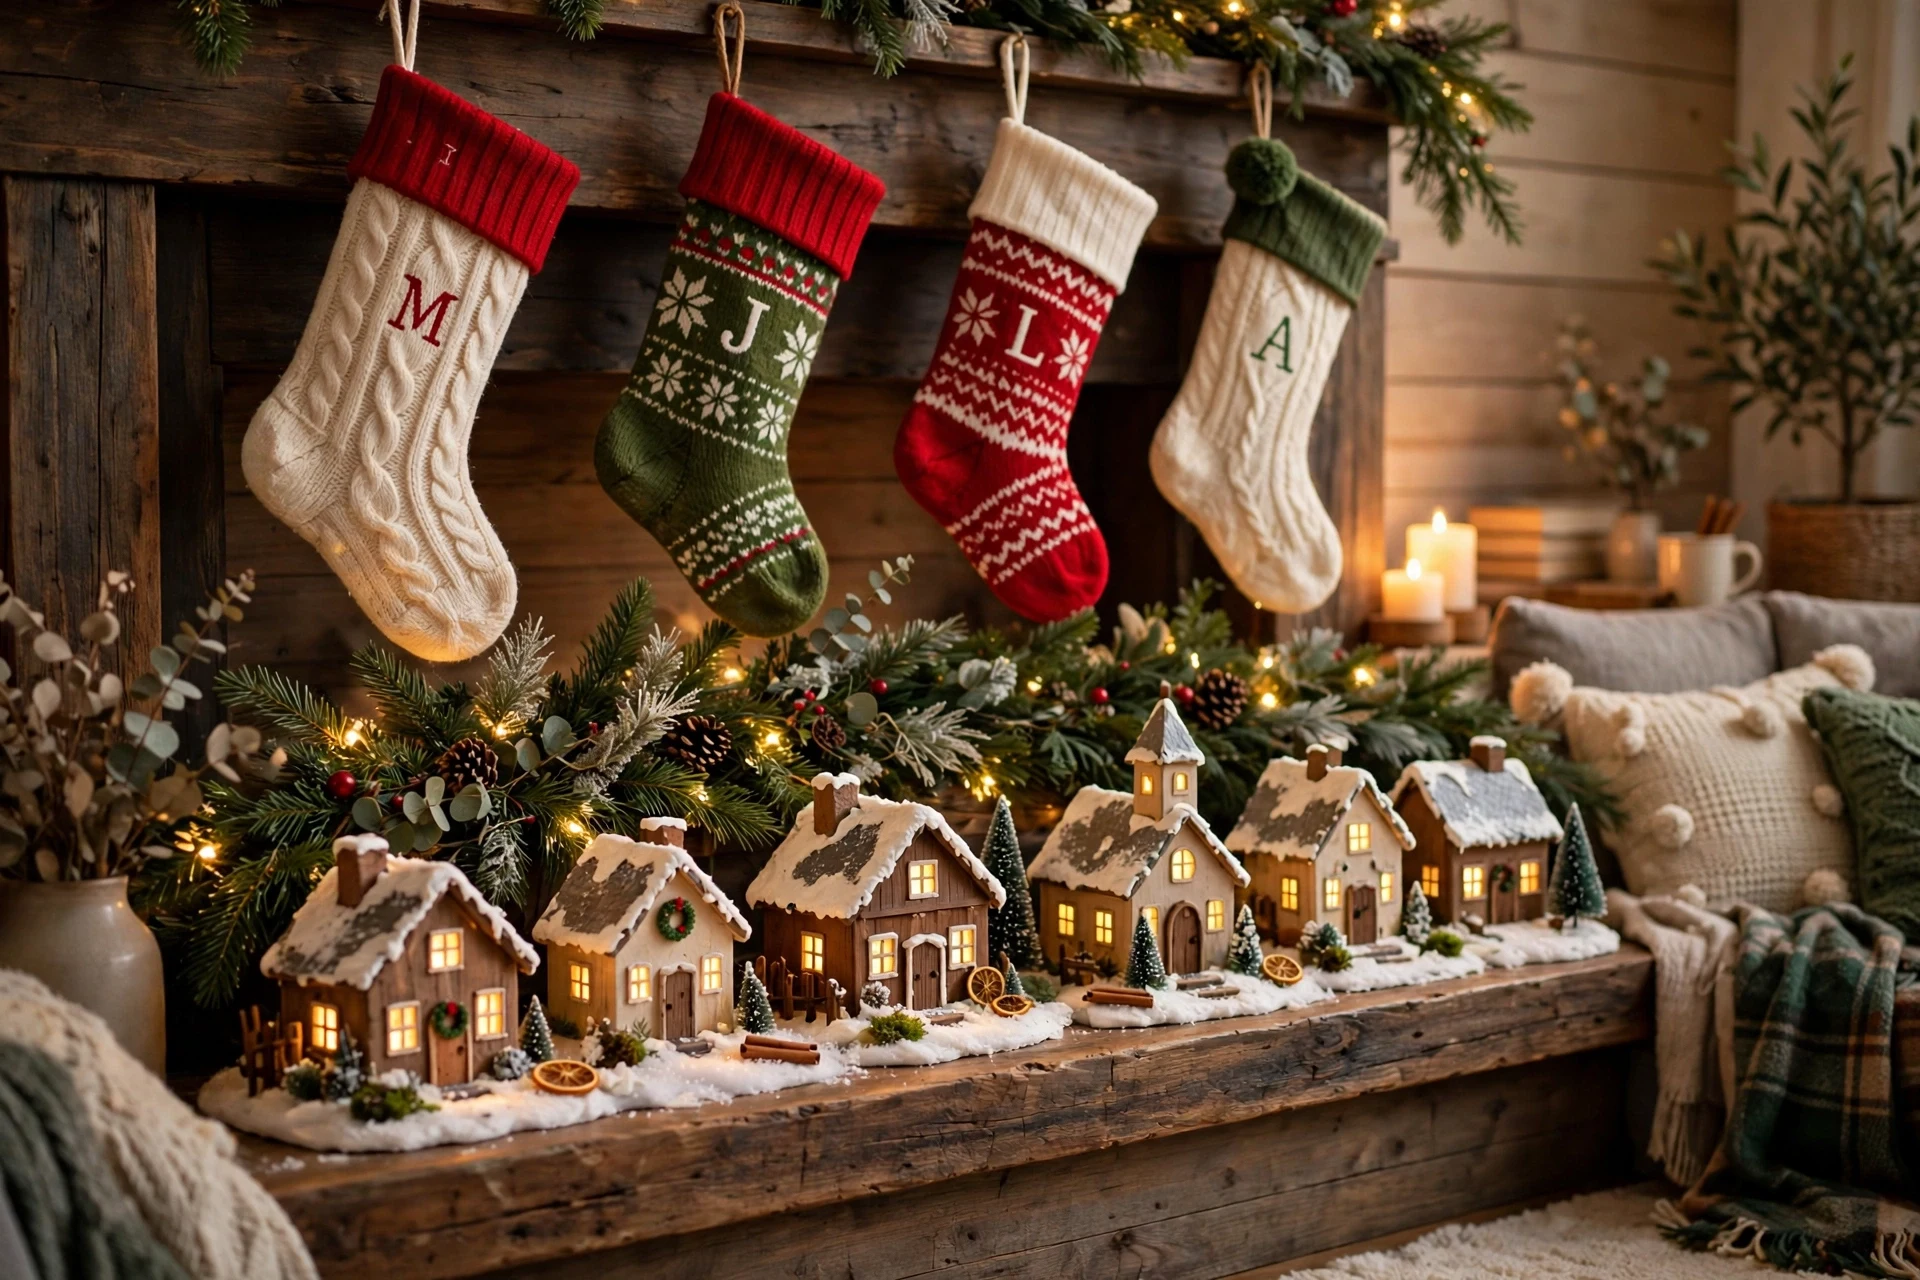
A mantel is the natural home for a Christmas village, because the long, narrow shelf frames the whole town like a stage. Line the houses along the mantel with the tallest pieces at the ends and the smallest in the center, then weave a DIY Christmas garland behind them to soften the edges. Warm white lights tucked behind the houses make the windows glow and the garland sparkle. A few pine sprigs at the base add fresh color and texture.
Start with a white or green runner to protect the mantel and give the village a snowy base. Add bottle brush trees between houses, a few tiny deer or lampposts, and a sprinkle of fake snow along the front edge. Keep the stockings and large decor above the mantel simple so the village stays the star of the display. Add a small clock tower or lamppost to anchor the display.
- Place battery lights first, then arrange houses to hide the wires.
- Use risers or small boxes under back houses to create depth.
- Leave a little space between houses so each one can be seen.
6. Under-the-Tree Christmas Village
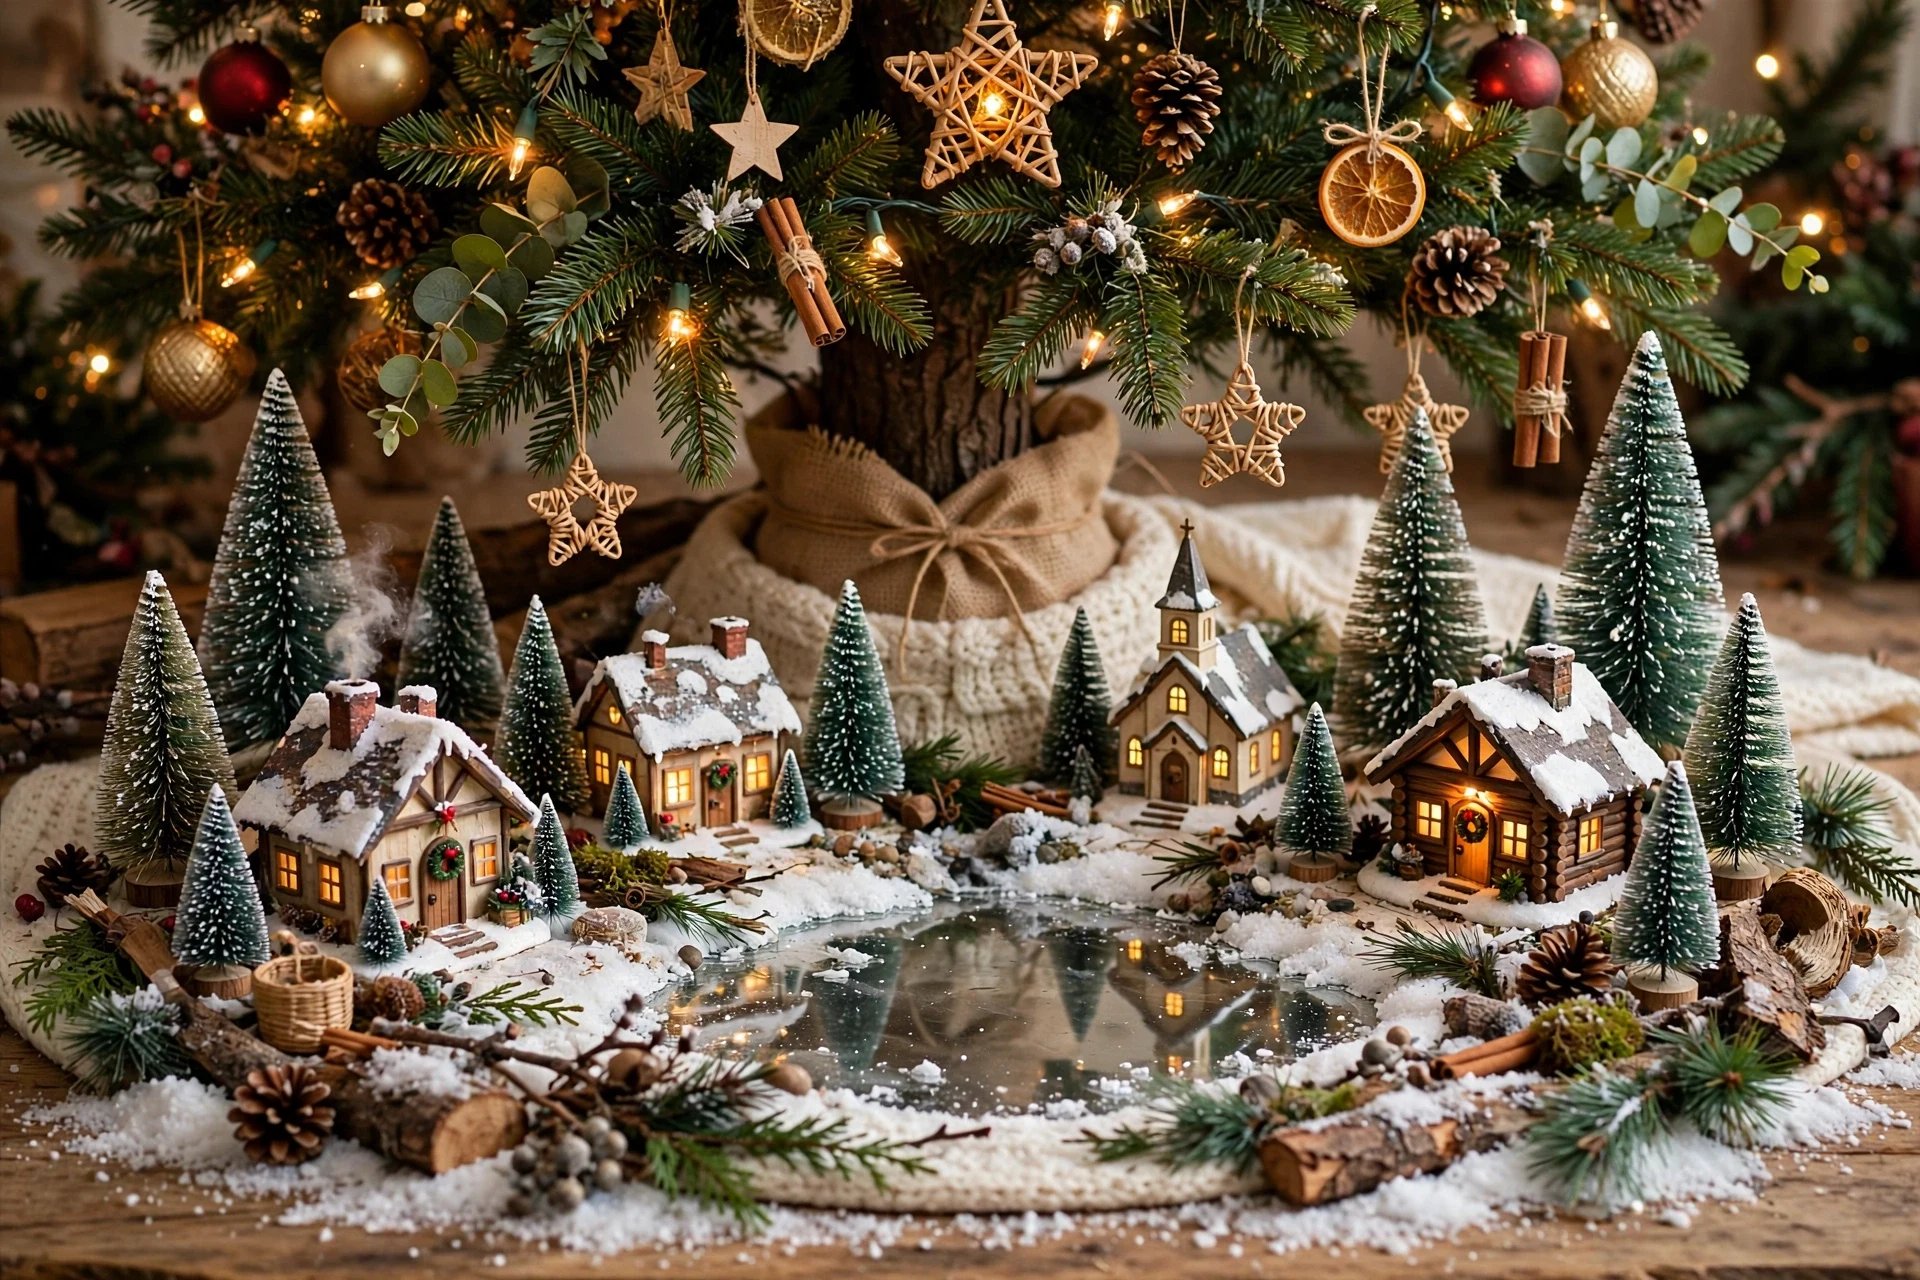
Building your village under the Christmas tree creates one big, connected holiday scene instead of two separate displays. The tree becomes the tallest landmark in town, and the village spreads out around its base like a real neighborhood. Houses, trees, and tiny figures fill the space that a plain tree skirt usually leaves empty. Keep the palette simple so the mantel never feels busy.
Spread a white tree skirt or a layer of batting as your snow, then arrange houses in a loose circle with paths of fake snow between them. Add a tiny train, a skating pond made from a mirror, and bottle brush trees to fill the gaps. Check that the village sits clear of the tree stand and low branches so watering the tree stays easy all season. A paper star on top of the tree ties the whole scene together.
- Use a tree collar instead of a skirt for a cleaner village base.
- Keep the village low so it does not hide the lower ornaments.
- Place the prettiest house at the front where guests see it first.
7. Scandinavian Minimalist White Village
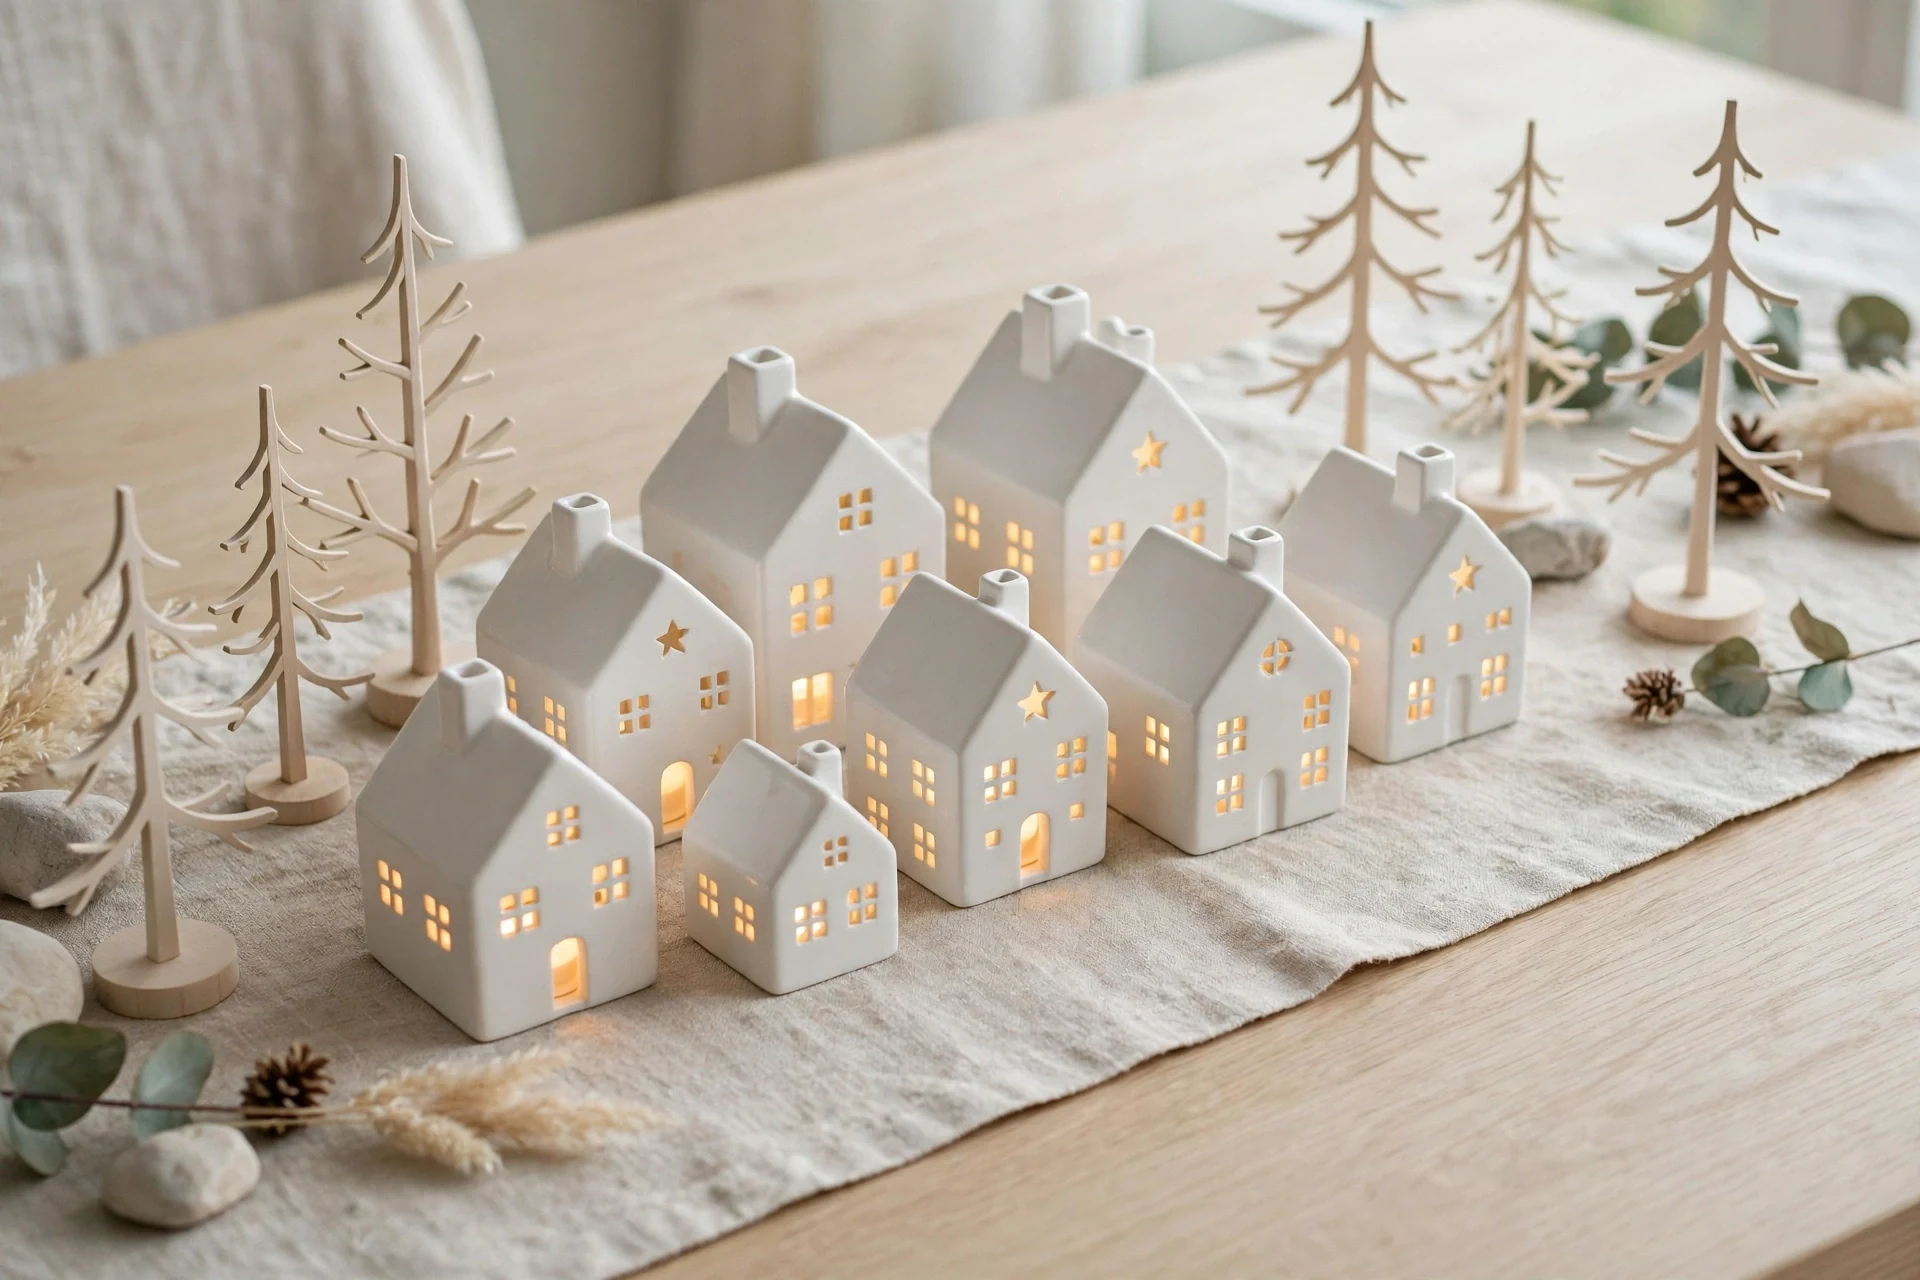
A Scandinavian village keeps everything calm and simple, with white houses, pale wood, and just a touch of green. The houses are plain shapes with clean lines, no glitter, and no bright colors, which makes the whole scene feel peaceful and modern. This style works beautifully in a light, airy living room or a bedroom. Add a few tiny gifts near the front door for a festive finish.
Use white ceramic or painted wooden houses in a few sizes, then add natural wood trees, a few sprigs of real or faux greenery, and warm white lights. A light wood board or a linen runner makes a soft base, and a dusting of fake snow adds winter without fuss. Resist adding extra color, since the restrained palette is what makes this village feel so serene. A single red berry sprig adds just enough contrast.
- Choose houses with simple cut-out windows for a clean glow.
- Mix matte white with pale natural wood for warmth.
- Add one green accent, like a tiny wreath, per house at most.
8. Light-Up Window Christmas Village
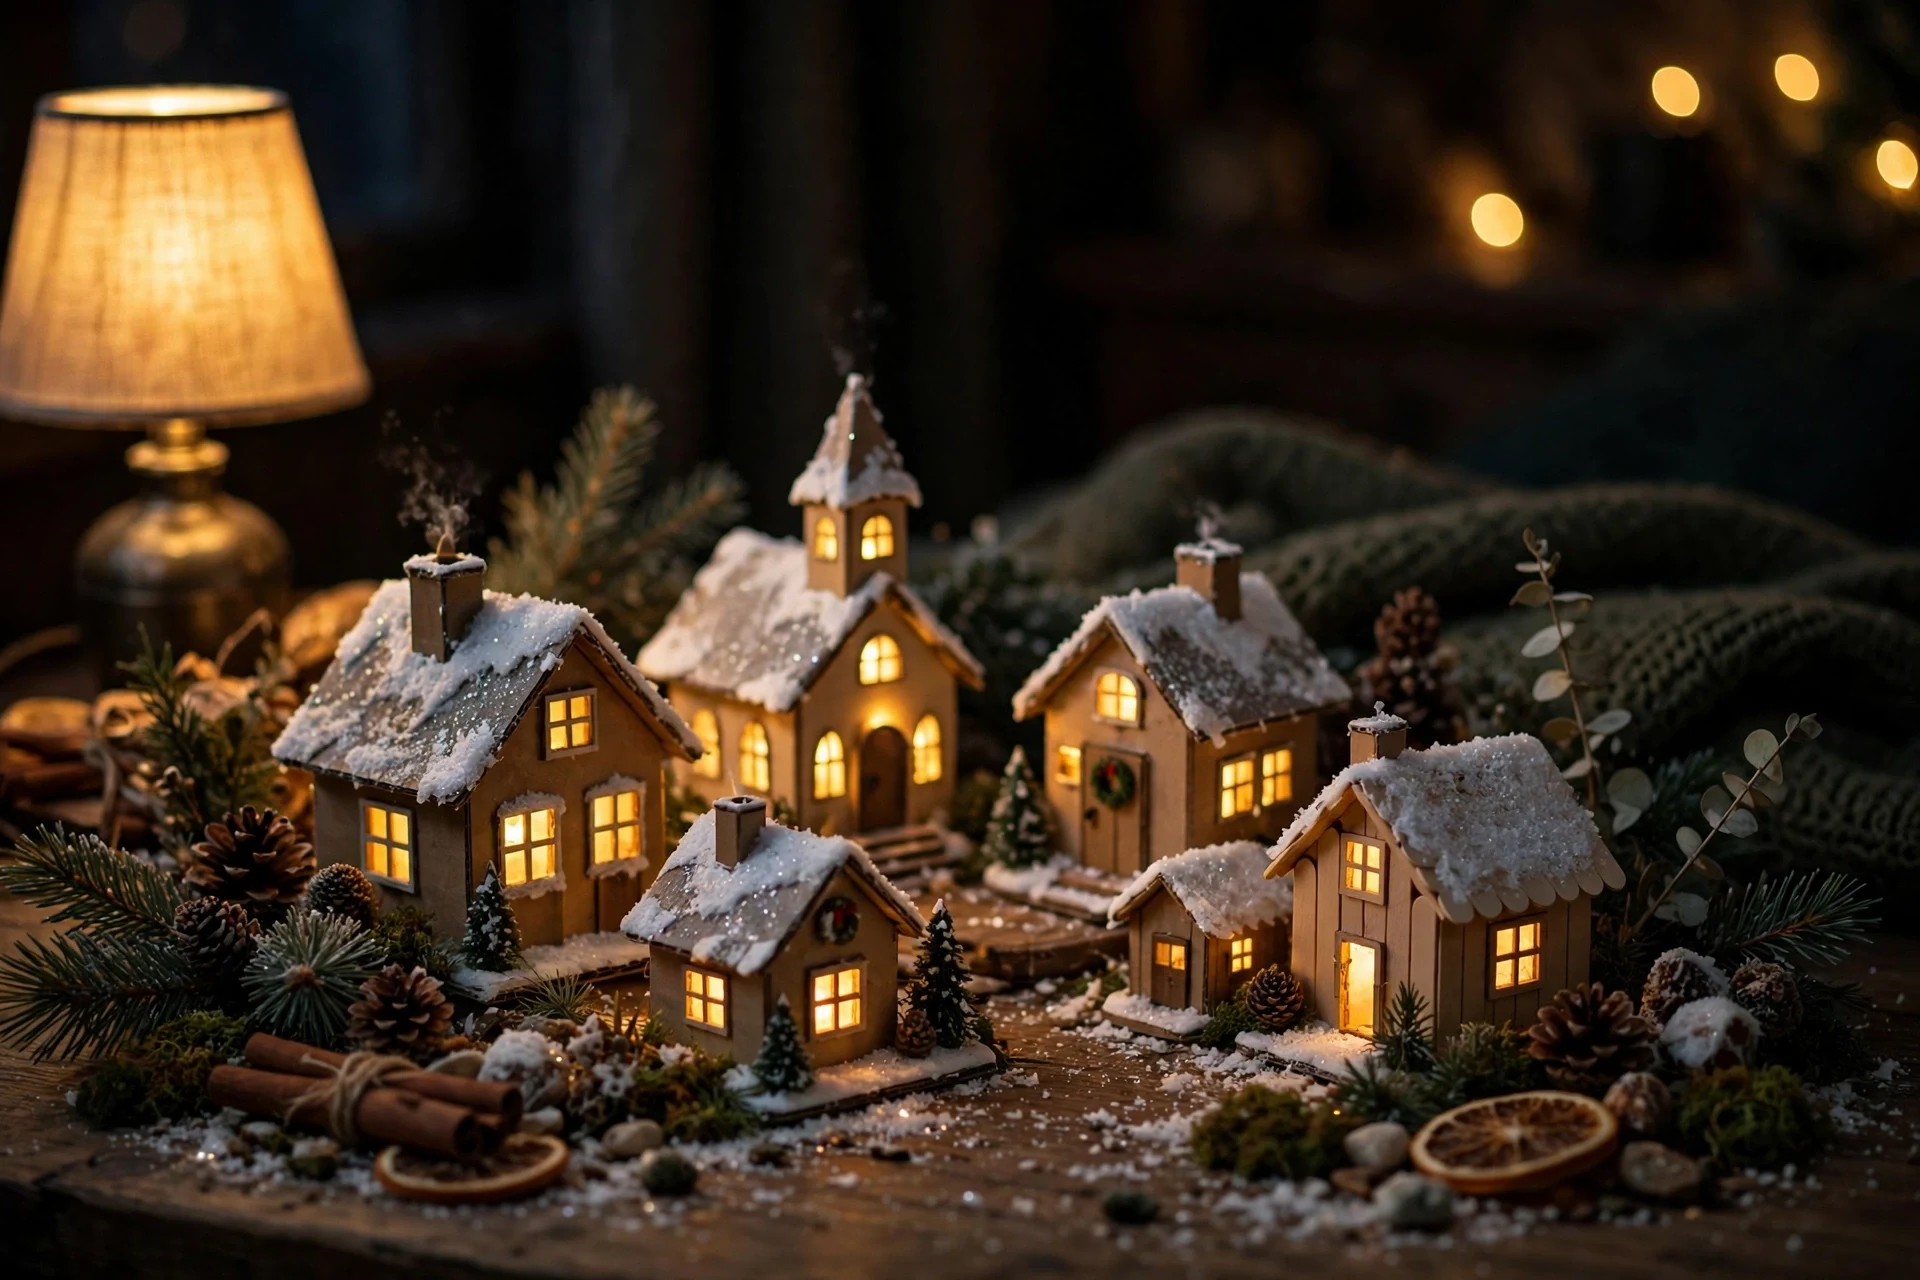
Glowing windows are what make a Christmas village feel alive after dark, and this idea puts the light first. Choose houses with hollow interiors or cut windows into cardboard and paper houses, then place a warm LED tea light or a short fairy light strand inside each one. The soft yellow glow makes the whole town feel warm and welcoming. Keep the base light and airy so the houses stand out.
Use warm white lights rather than cool white, since the warmer tone looks like lamplight. Cut windows in different shapes, like arched, round, and square, so each house has its own character. Place the village near a dark wall or in a dim corner so the glow stands out, and set the lights on a timer so the village lights up every evening. A small mirror behind the village doubles the warm glow.
- Use flameless LED lights only, never real candles, inside houses.
- Line window openings with yellow vellum for an even glow.
- Put lights on a timer so the village glows each evening automatically.
9. Bottle Brush Tree Village Scene

Bottle brush trees are the classic finishing touch for a Christmas village, and a whole forest of them can carry the scene. Gather trees in several heights and colors, from deep green and frosted white to soft pink and vintage gold. Cluster them between houses, along the edges of the display, and in little groups that look like a town park. Vary the window shapes so each little house feels unique.
Set the trees into the fake snow so they stand straight, and vary the heights so the skyline feels natural rather than flat. A few trees dusted with white glitter or fake snow look frosted, while a tiny star or bead on top adds a festive detail. If your trees look too new, soak them briefly in tea for a soft, vintage tint. A few tiny snowmen tucked among the trees add playful charm.
- Buy trees in mixed packs for the best range of heights.
- Glue trees to small wooden bases so they stand on hard surfaces.
- Group trees in odd numbers for a more natural look.
10. Fake Snow Village Base
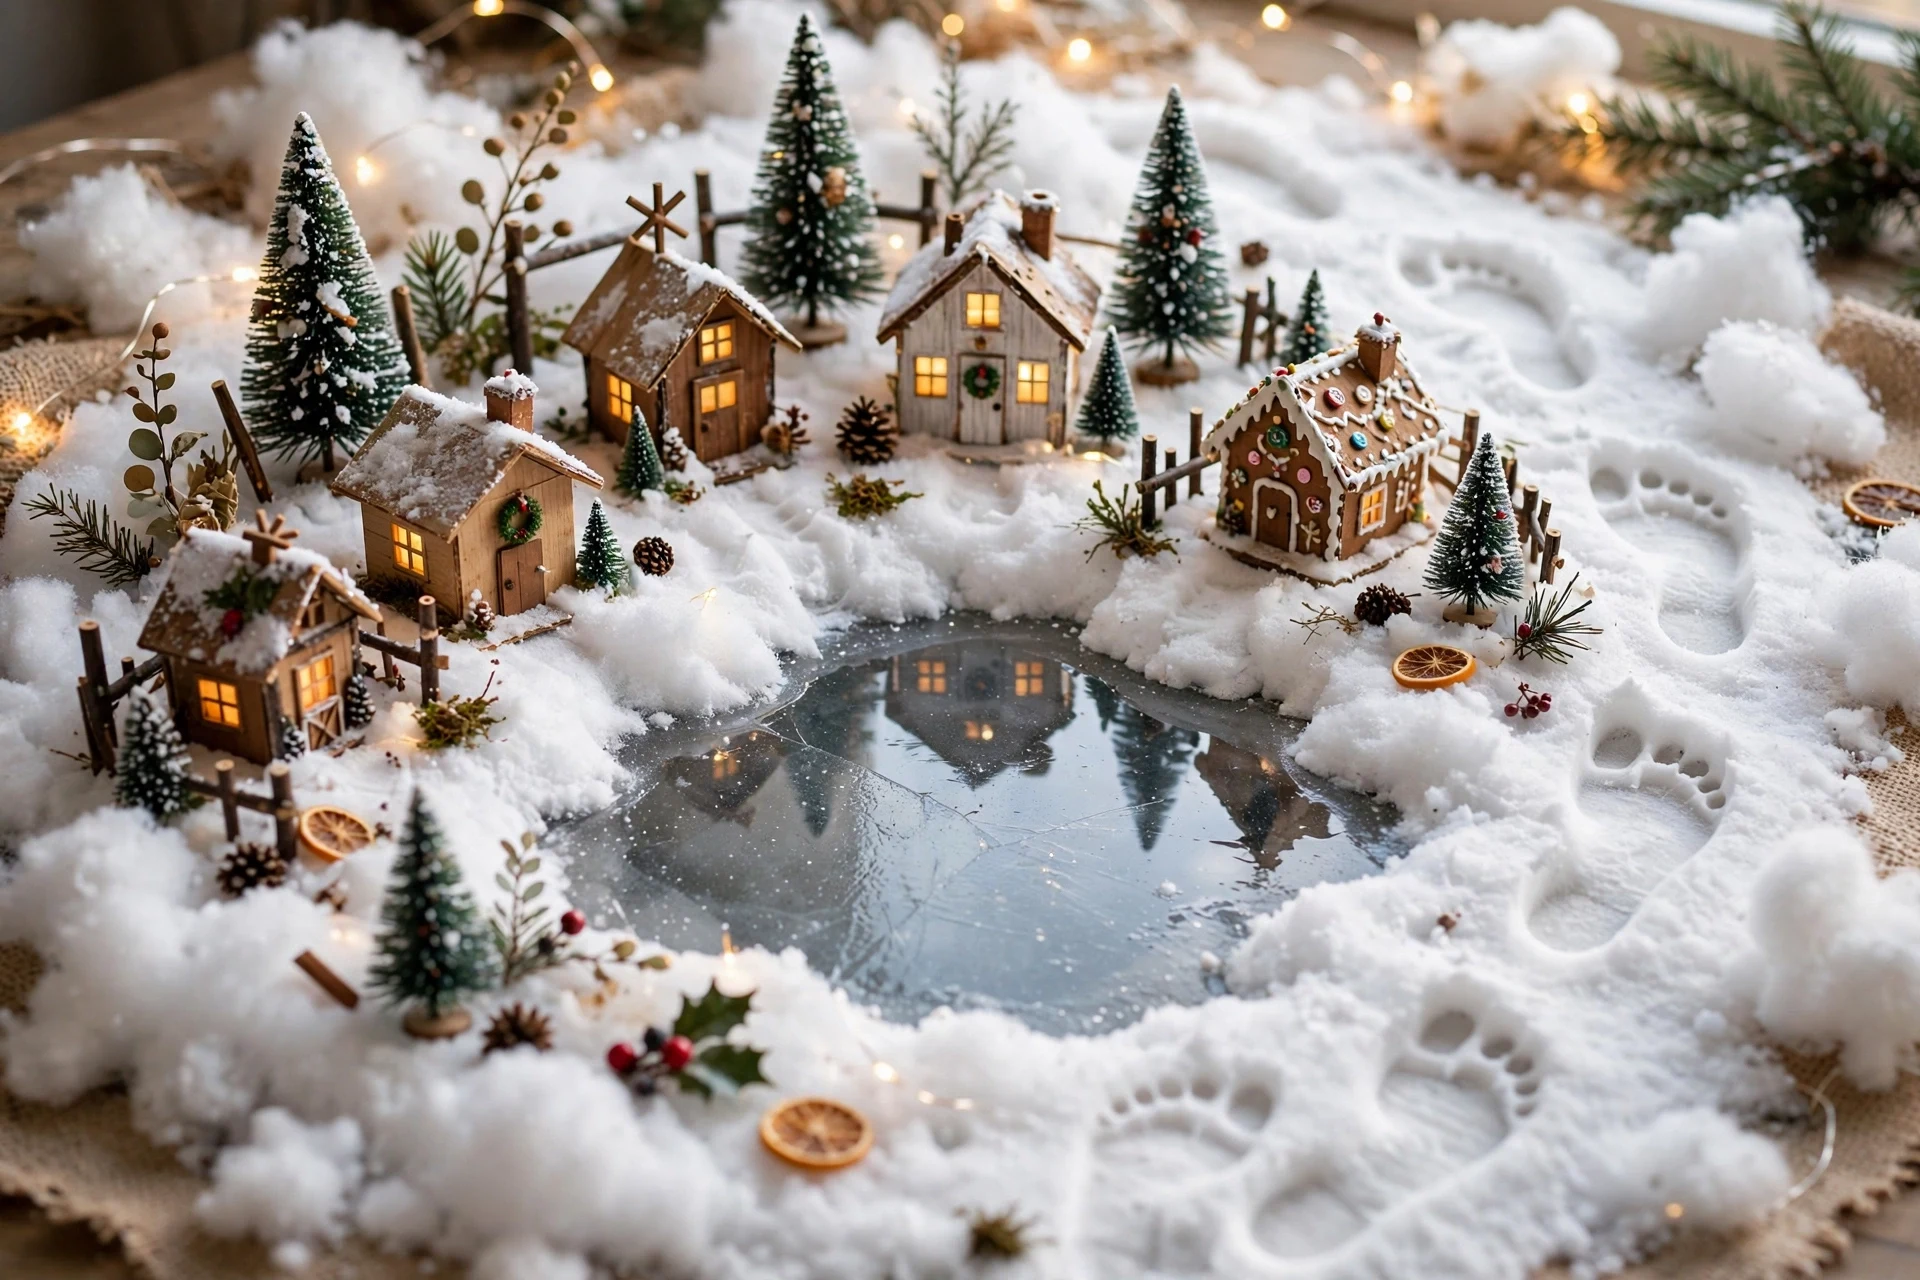
The base of your village matters as much as the houses, and a good fake snow base makes everything look finished. White batting, quilt stuffing, or store-bought fake snow creates soft drifts, gentle hills, and a clean surface for the houses to sit on. It also hides wires, battery packs, and the edges of boards underneath. Finish with a dusting of glitter for a frosty sparkle.
Layer the batting in two or three thicknesses so the ground has gentle rises instead of one flat sheet. Tuck the edges under the houses, pull small tufts up around the walls like snowdrifts, and sprinkle a little glitter or white sand on top for sparkle. A mirror or a piece of blue paper under the batting can become a frozen pond in the middle of town. A blue paper pond with tiny skaters adds a storybook touch.
- Use white fleece under the batting so dark surfaces do not show through.
- Shape drifts with your hands before placing the houses.
- Vacuum the batting gently after the season to reuse it next year.
11. Paper Luminaria House Village
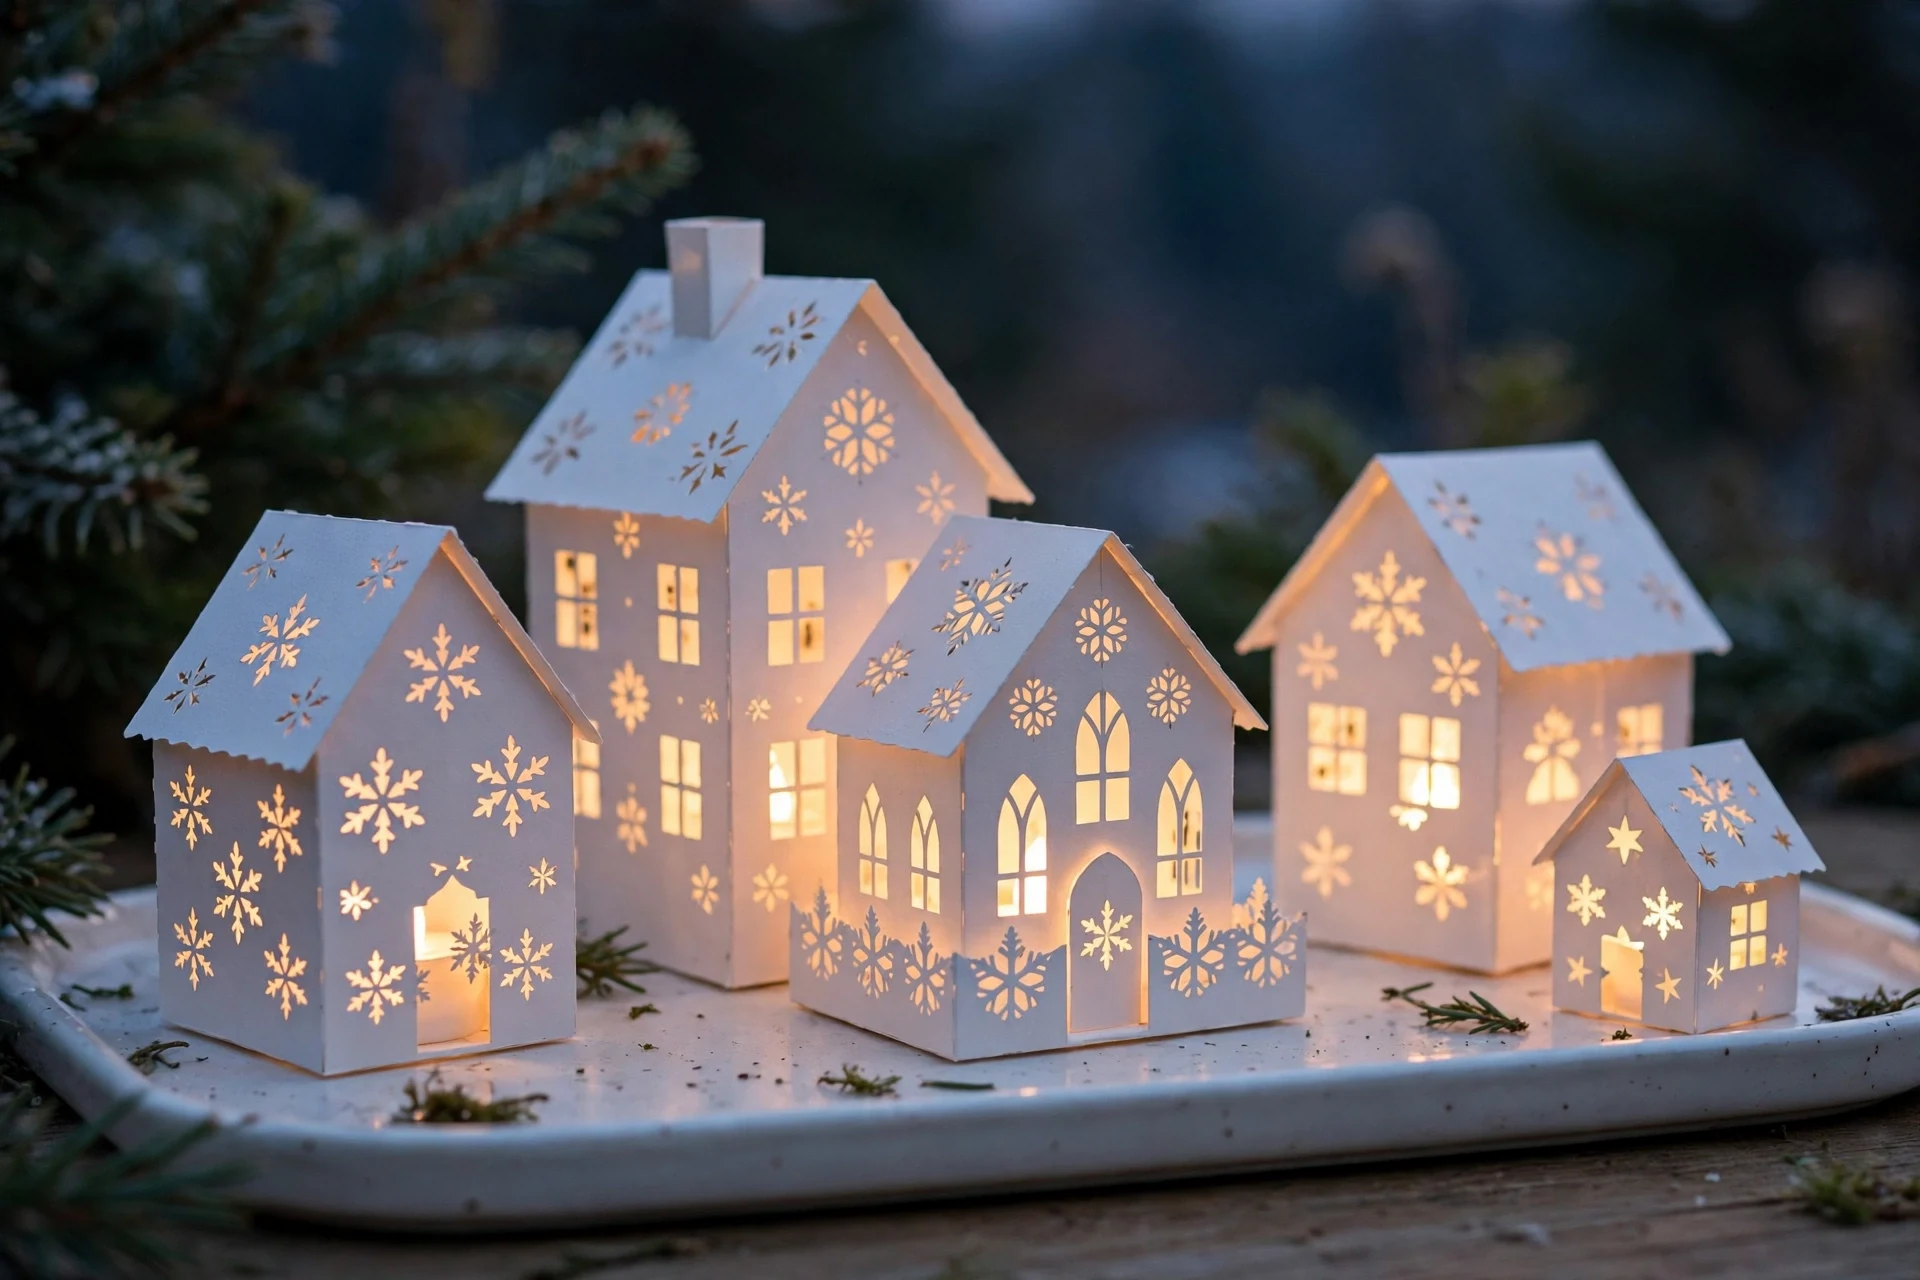
Paper luminaria houses are delicate, glowing, and surprisingly easy to make from white cardstock or vellum. Fold simple house shapes, cut out windows, doors, and snowflake patterns, then place an LED tea light inside each one. When the lights are on, the whole village glows like a row of paper lanterns. Add a small bench or lamppost to make the street feel lived in.
Draw your house template on cardstock, cut the windows with a craft knife, and fold along scored lines for crisp edges. Keep the designs simple at first, like a square window and a round attic window, then try snowflakes or tiny stars as you get confident. Display the houses on a white tray or a windowsill where the glow can be enjoyed after dark. Add tiny paper stars on the rooftops for a magical evening glow.
- Use heavy cardstock so the houses hold their shape.
- Score fold lines with a bone folder or a dull knife edge.
- Use LED tea lights only, since paper and heat do not mix.
12. Mirrored Tray Village Display
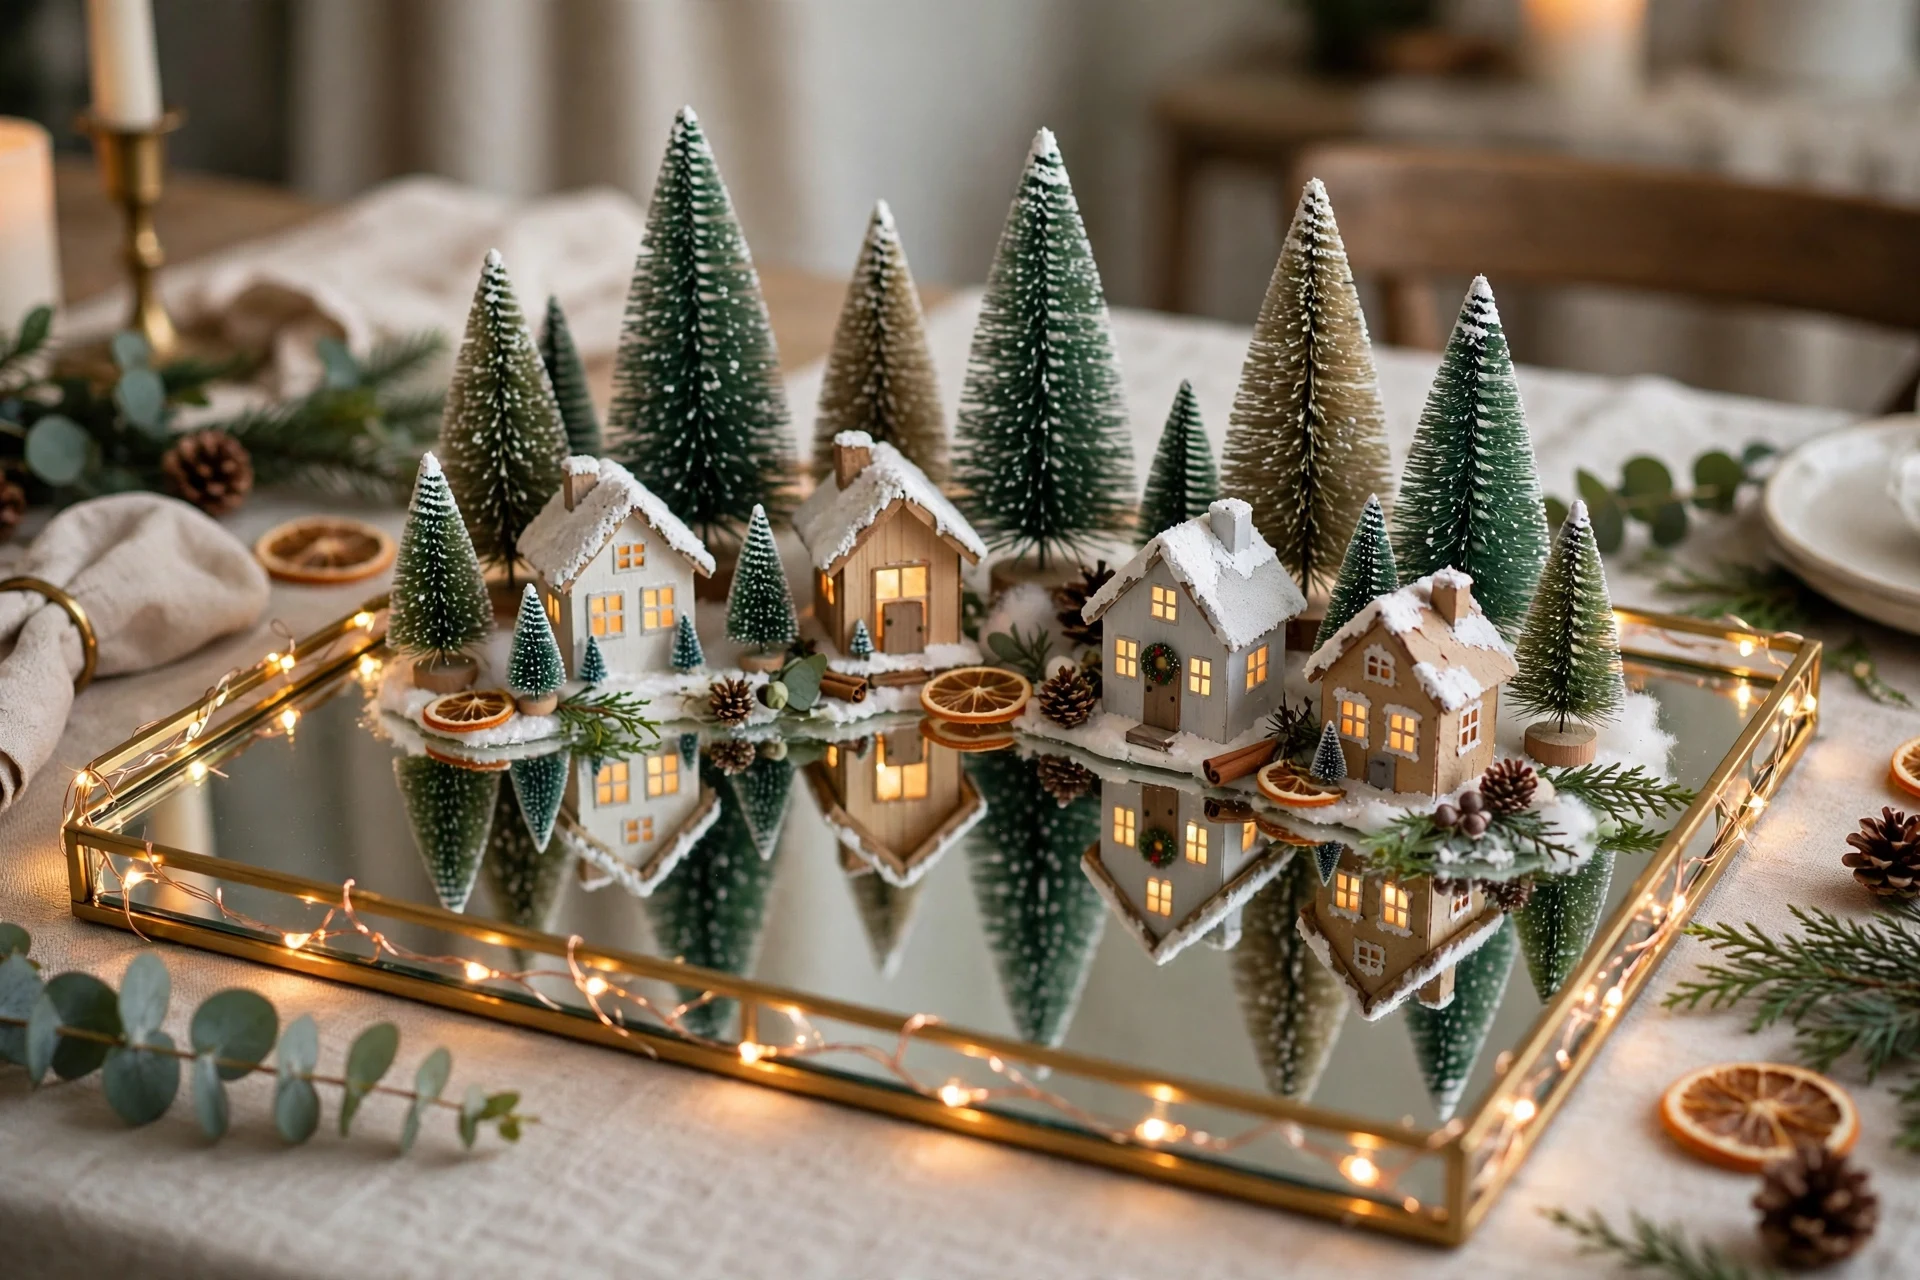
A mirrored tray doubles the magic of a Christmas village by reflecting the lights, the houses, and the snow. The reflection makes a small display feel bigger and brighter, which is perfect for a side table, a console, or a dining room centerpiece. It also catches the glow of nearby candles and fairy lights. A few dried orange slices nearby add a warm, natural scent.
Choose a tray with a low rim so the village stays visible from every side. Place a thin layer of fake snow or white batting on the mirror, then arrange three to five houses with trees and tiny figures. Add a short string of fairy lights around the rim for extra sparkle, and keep the tray away from busy patterns so the reflection stays clean. Add a tiny wreath to the tray edge for a finished look.
- Wipe the mirror before setting up so the reflection stays bright.
- Use museum putty under houses to stop them sliding on glass.
- Keep the village low so the mirror reflection does the talking.
13. Bookshelf Christmas Village
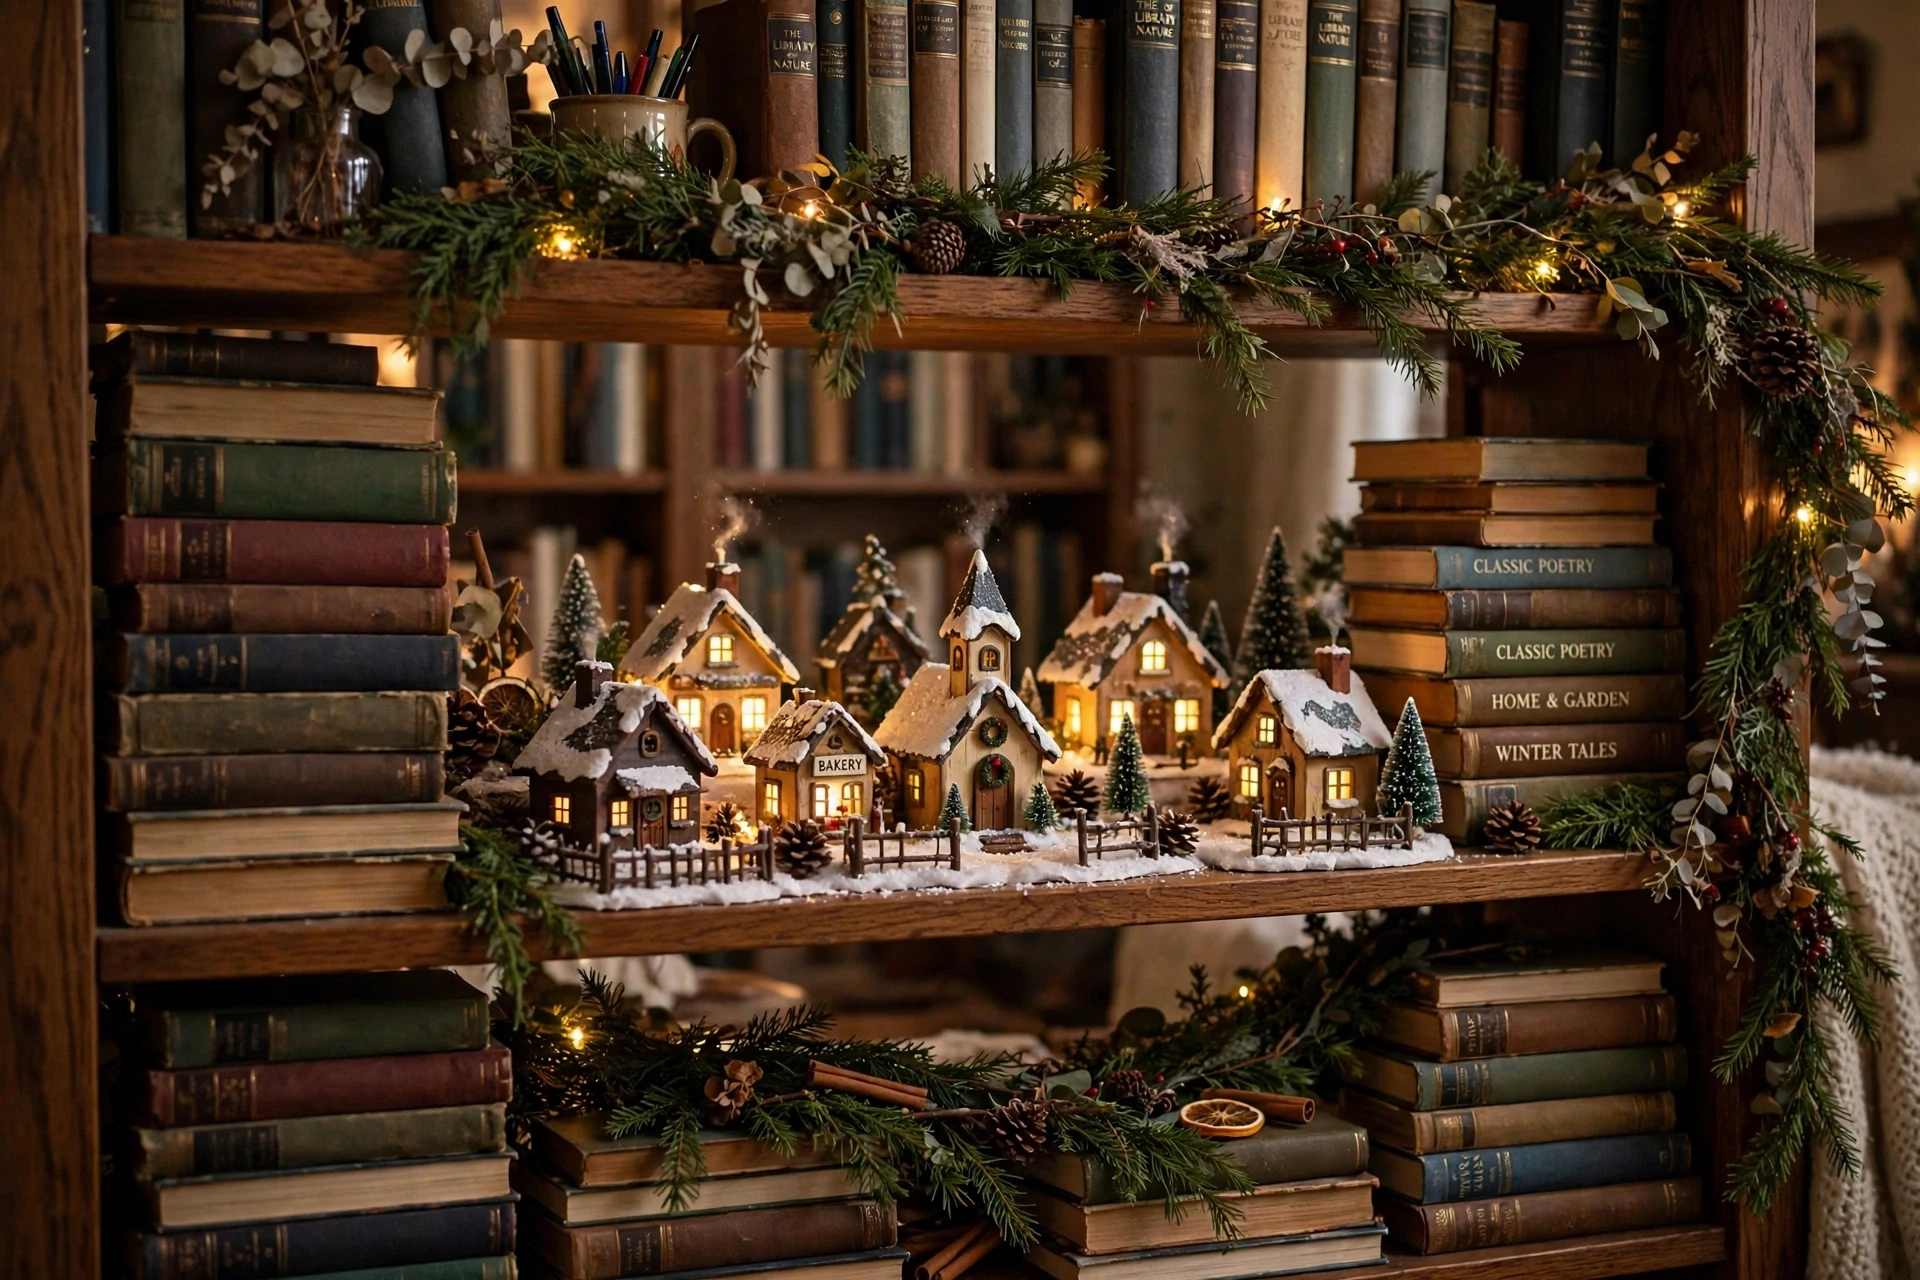
A bookshelf village turns an ordinary shelf into a little winter street, with each shelf becoming its own block of town. Place houses, trees, and fake snow along one shelf, then style the shelves above and below with books, garland, and a few ornaments. The books add warmth and height, while the village becomes a surprise tucked among them. A small string of lights along the shelf edge adds evening warmth.
Start with the shelf at eye level so the village gets noticed, then build outward to other shelves if you like. Use a folded white towel or a strip of batting as the snow base, and keep the houses small enough to leave breathing room. Stack a few books horizontally to create a riser for a taller house or a church. A tiny clock or book stack beside the houses adds homey charm.
- Leave empty space on each shelf so the village does not look crowded.
- Turn book spines in muted colors toward the front for a calm backdrop.
- Secure tall houses with putty if the shelf gets bumped often.
14. Snowy Rooftop Village with Cotton Batting
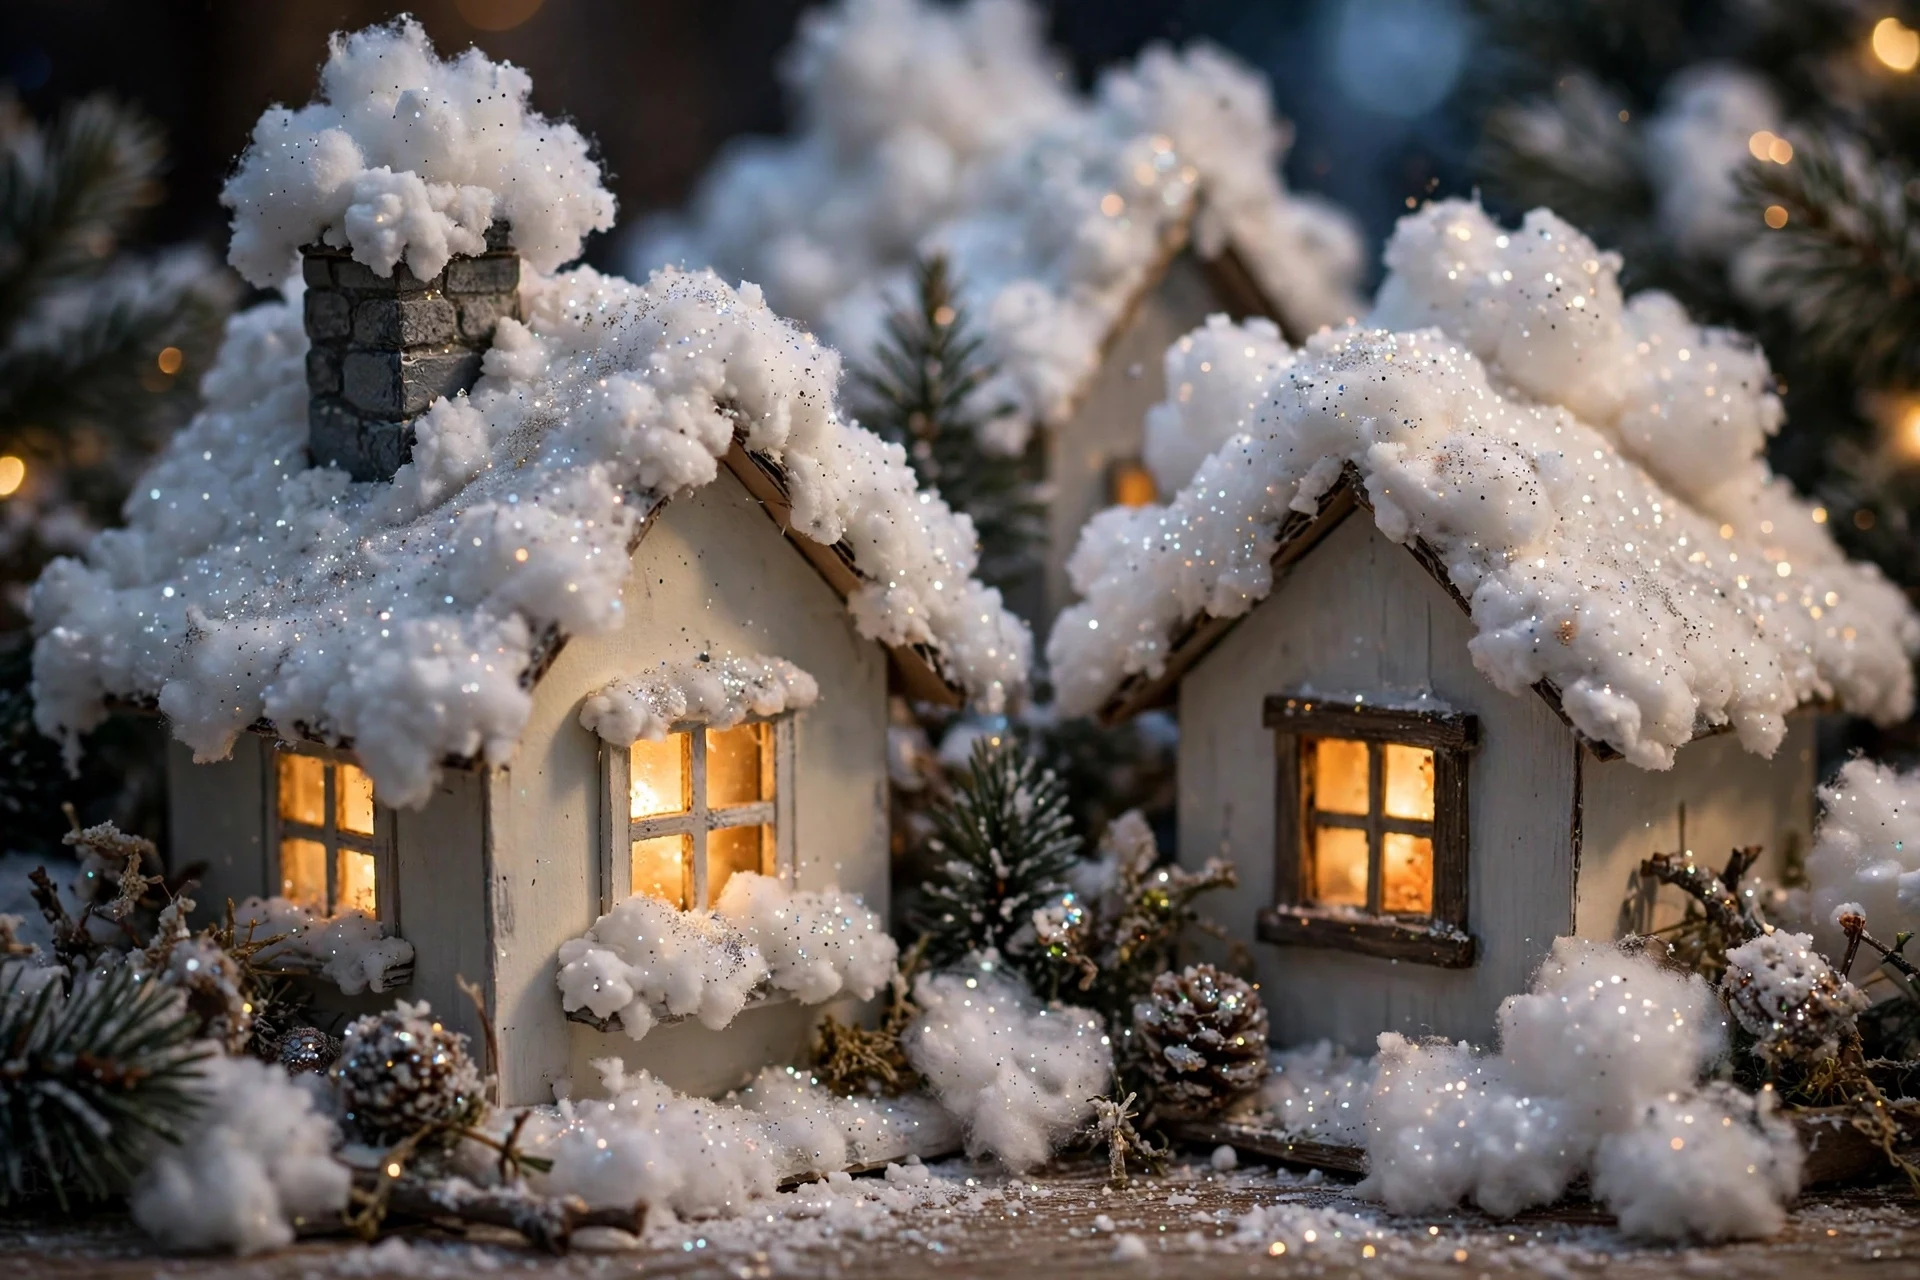
Thick snow on the rooftops is the detail that makes a village look like it just survived a fresh snowfall. Pull cotton batting into soft, uneven tufts and glue it along rooflines, chimneys, and window ledges, letting it hang slightly over the edges. The soft texture catches the light and makes even plain houses look cozy and finished. A few miniature gifts on the shelf complete the holiday story.
Use a thin line of white craft glue or a low-temperature glue gun, and press small pieces of batting into place rather than one big sheet. Add a little more snow on the windward side of each roof for a natural drift effect, and sprinkle fine glitter on top while the glue is wet. Finish with a few snow-dusted trees and a white base to complete the scene. Add a tiny chimney with a wisp of cotton smoke for charm.
- Pull batting apart first so it looks fluffy, not flat.
- Use white glue for delicate houses and hot glue for sturdier ones.
- Add snow to fences and lampposts too for a consistent look.
15. Vintage Ceramic Village Refresh
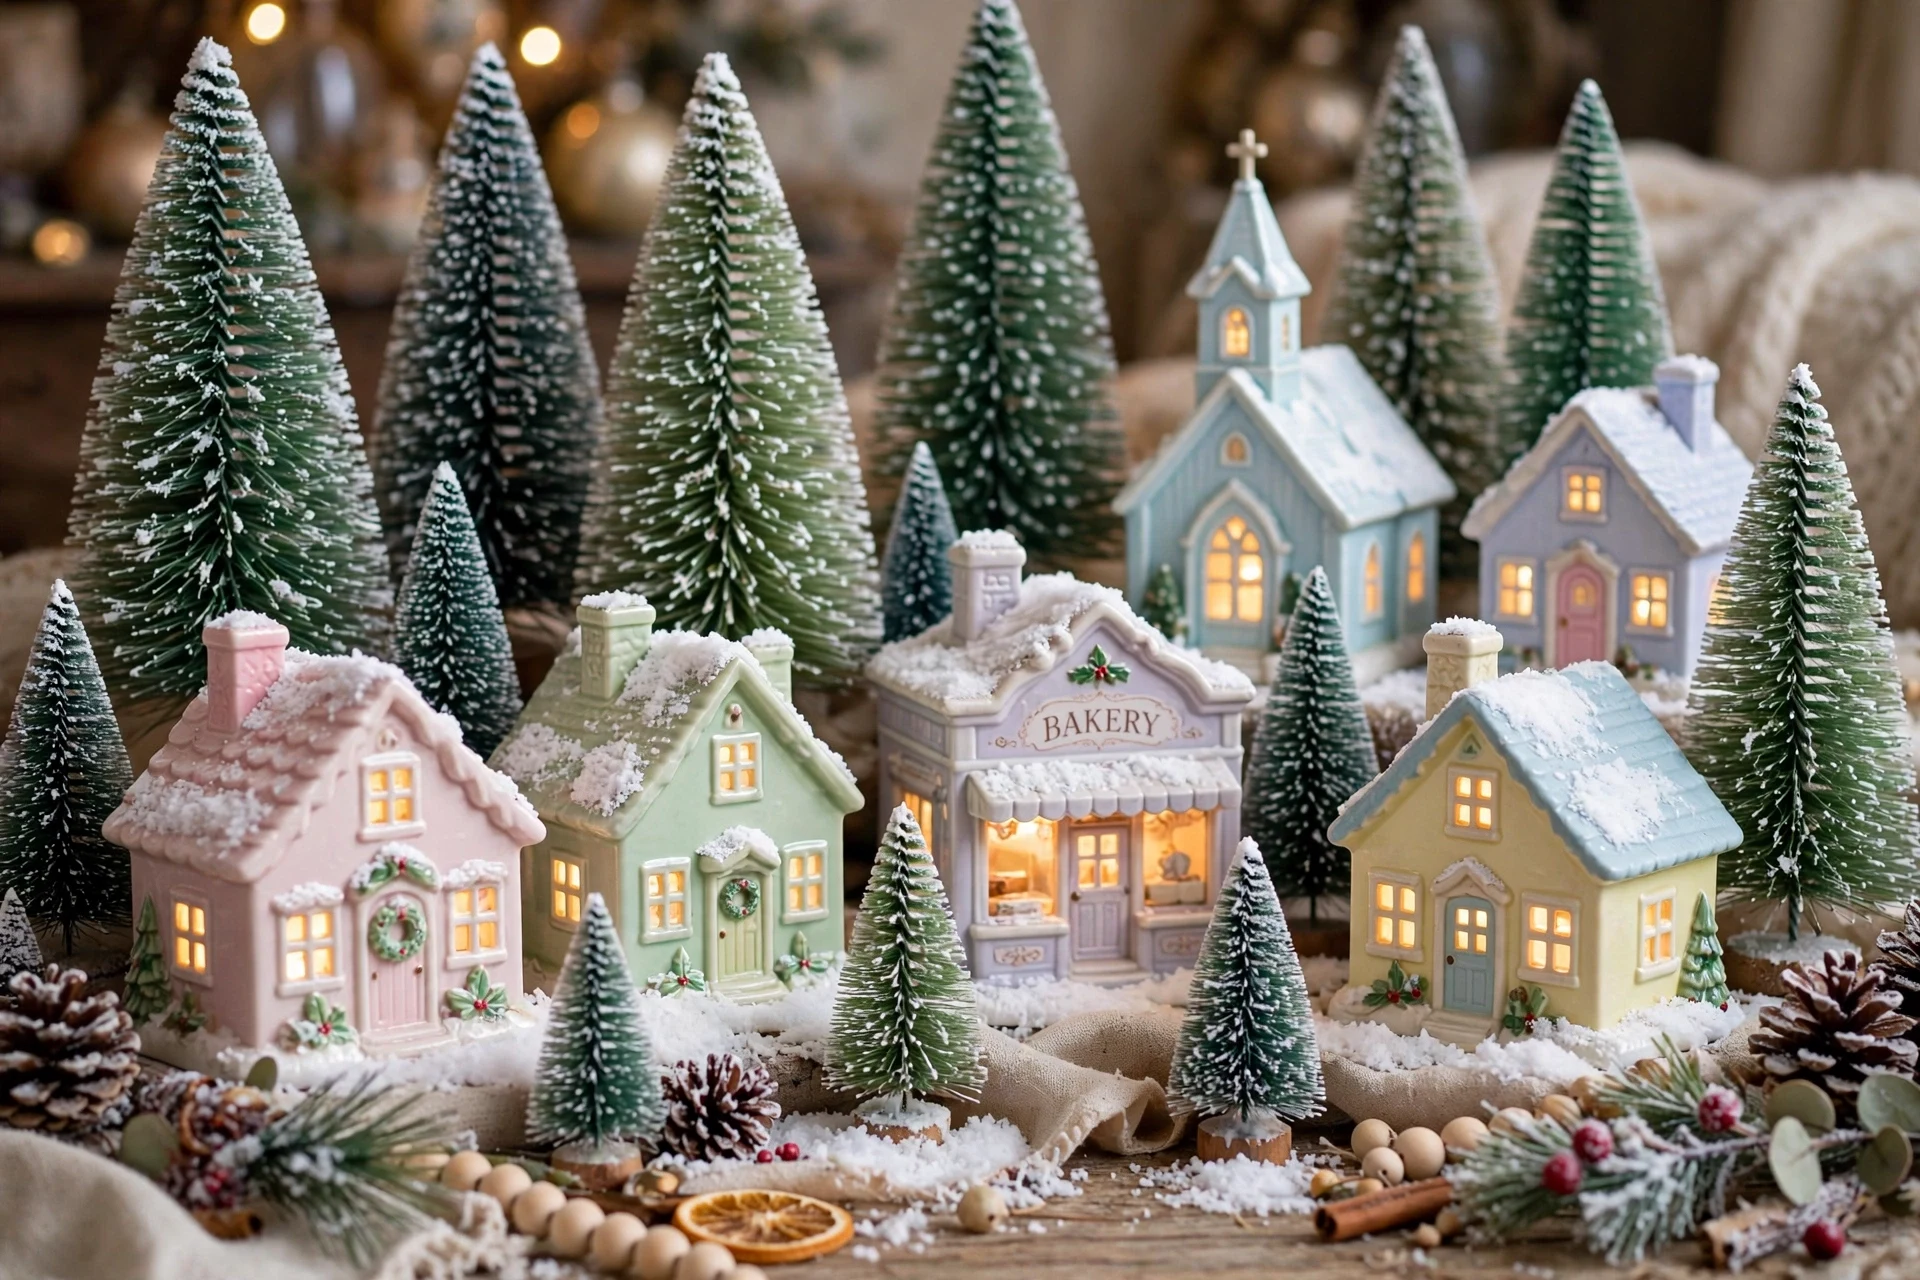
Many of us inherit a ceramic Christmas village that looks a little dated, but a gentle refresh brings it back to life without losing its charm. Clean each piece, touch up chipped paint with matching acrylics, and replace old bulbs with warm LED lights. A fresh layer of fake snow and a few new bottle brush trees make the old set feel loved again. A small wreath on each door makes the street feel welcoming.
Work on one house at a time, and test paint colors on the base first so the touch-ups blend in. If the original colors feel too bright, a light wash of white paint softens them while keeping the details visible. Display the refreshed village on a clean white base with simple greenery, and let the vintage pieces be the focus. A handwritten label with the year turns the set into a keepsake.
- Clean ceramic gently with a soft cloth and mild soap.
- Replace old cords and bulbs before the season starts.
- Keep one original piece untouched as a keepsake of the set.
16. Farmhouse Rustic Christmas Village
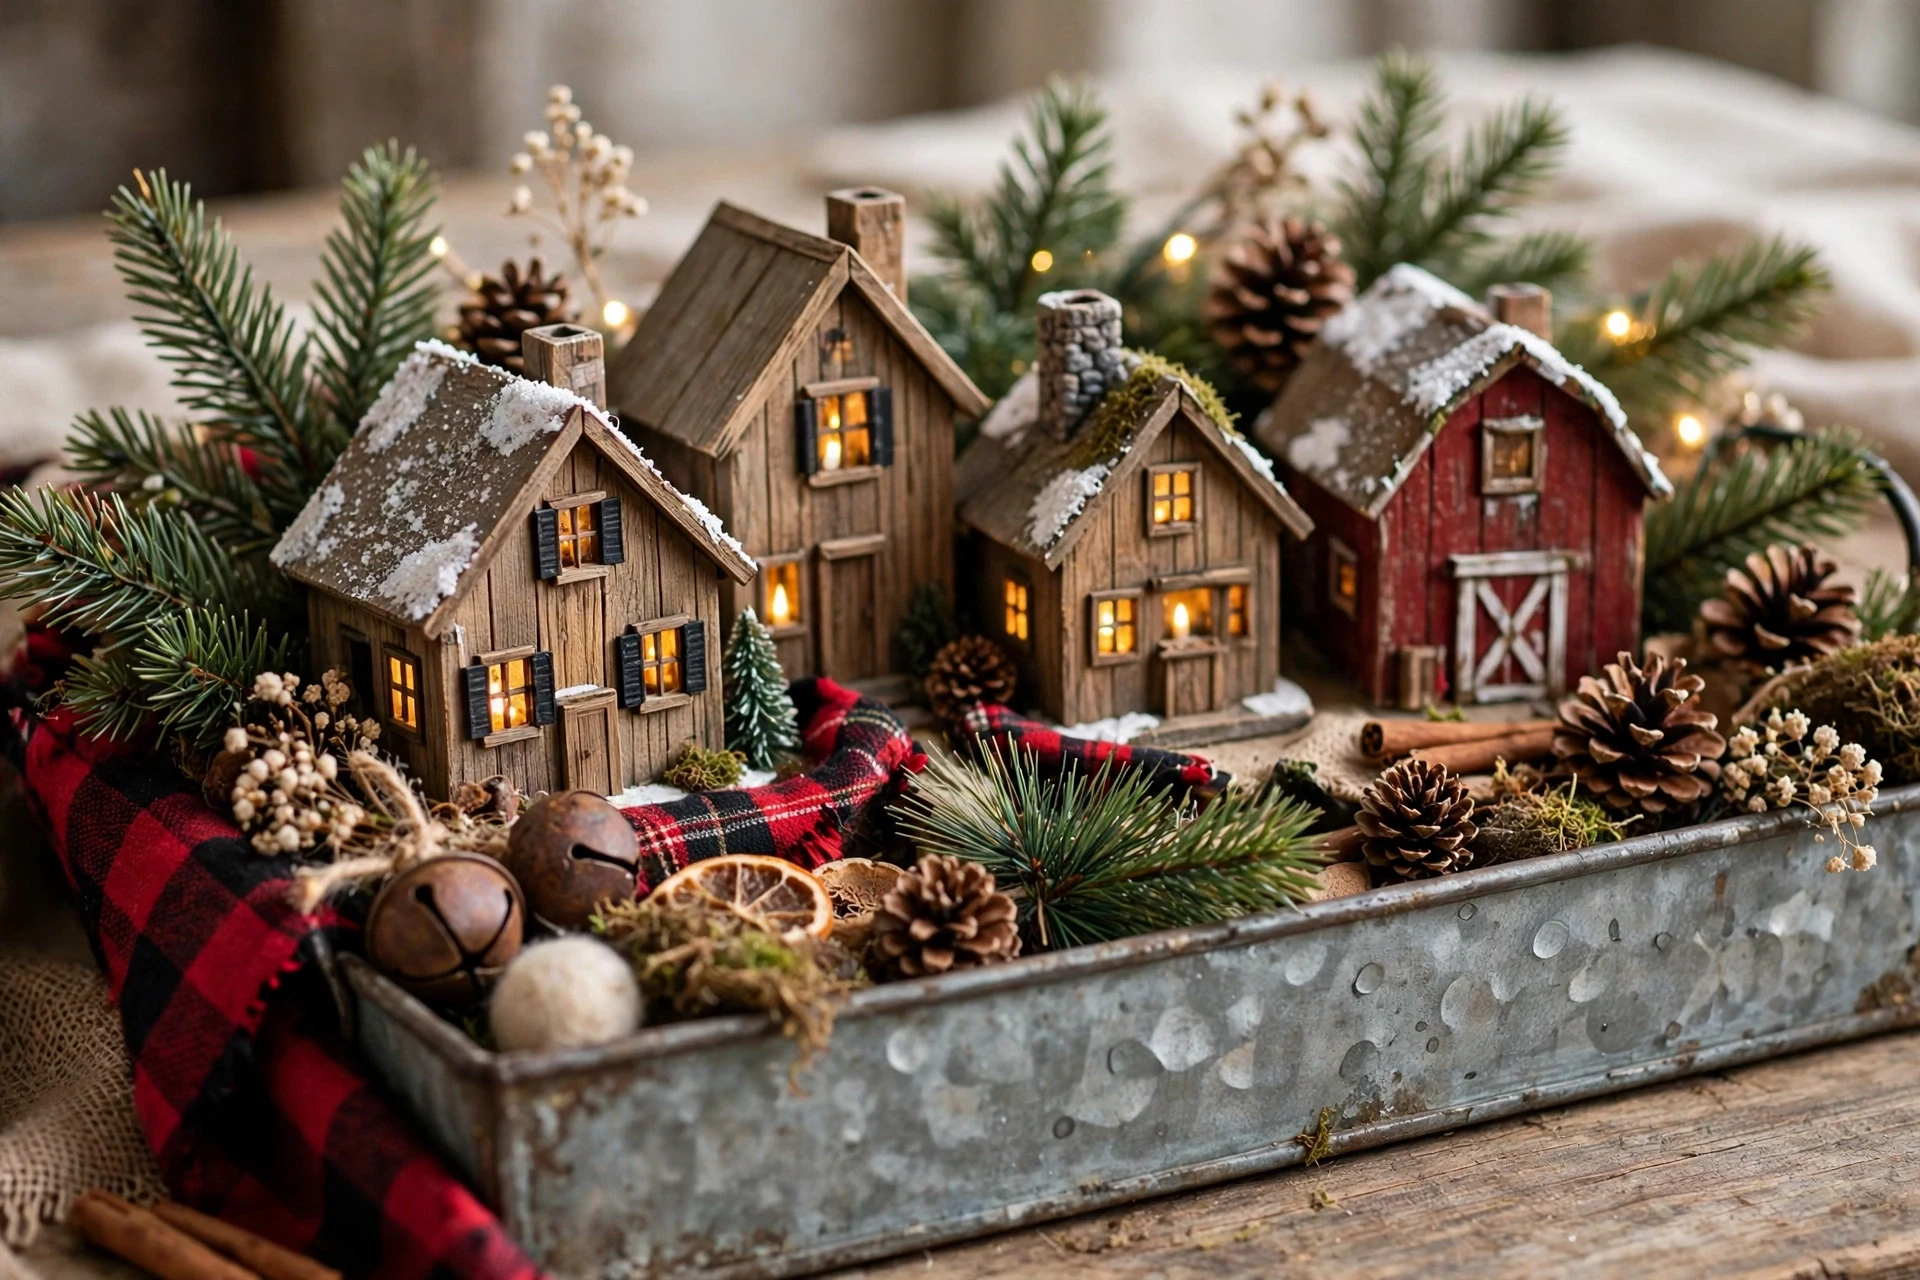
A farmhouse village feels warm and homespun, with natural wood, plaid, galvanized metal, and plenty of greenery. Wooden houses with black windows, a tiny barn, and a red truck carrying a tree give the scene a country feel. Pinecones, faux evergreen sprigs, and burlap ribbon finish the look without any glitter or shine. Add a few sprigs of greenery around the base for softness.
Build the village on a reclaimed wood board or a galvanized tray, then add a plaid runner underneath for a touch of pattern. Use warm white lights, a few miniature hay bales, and tiny wooden fences to shape the streets. Keep the colors to red, green, cream, and natural wood so the whole display feels calm and coordinated. A tiny plaid bow on the barn door adds a cozy country touch.
- Mix wood tones rather than matching them exactly for a collected look.
- Add a tiny barn or silo for a farmhouse focal point.
- Use real pinecones and greenery for texture and scent.
17. Glowing Mason Jar Village
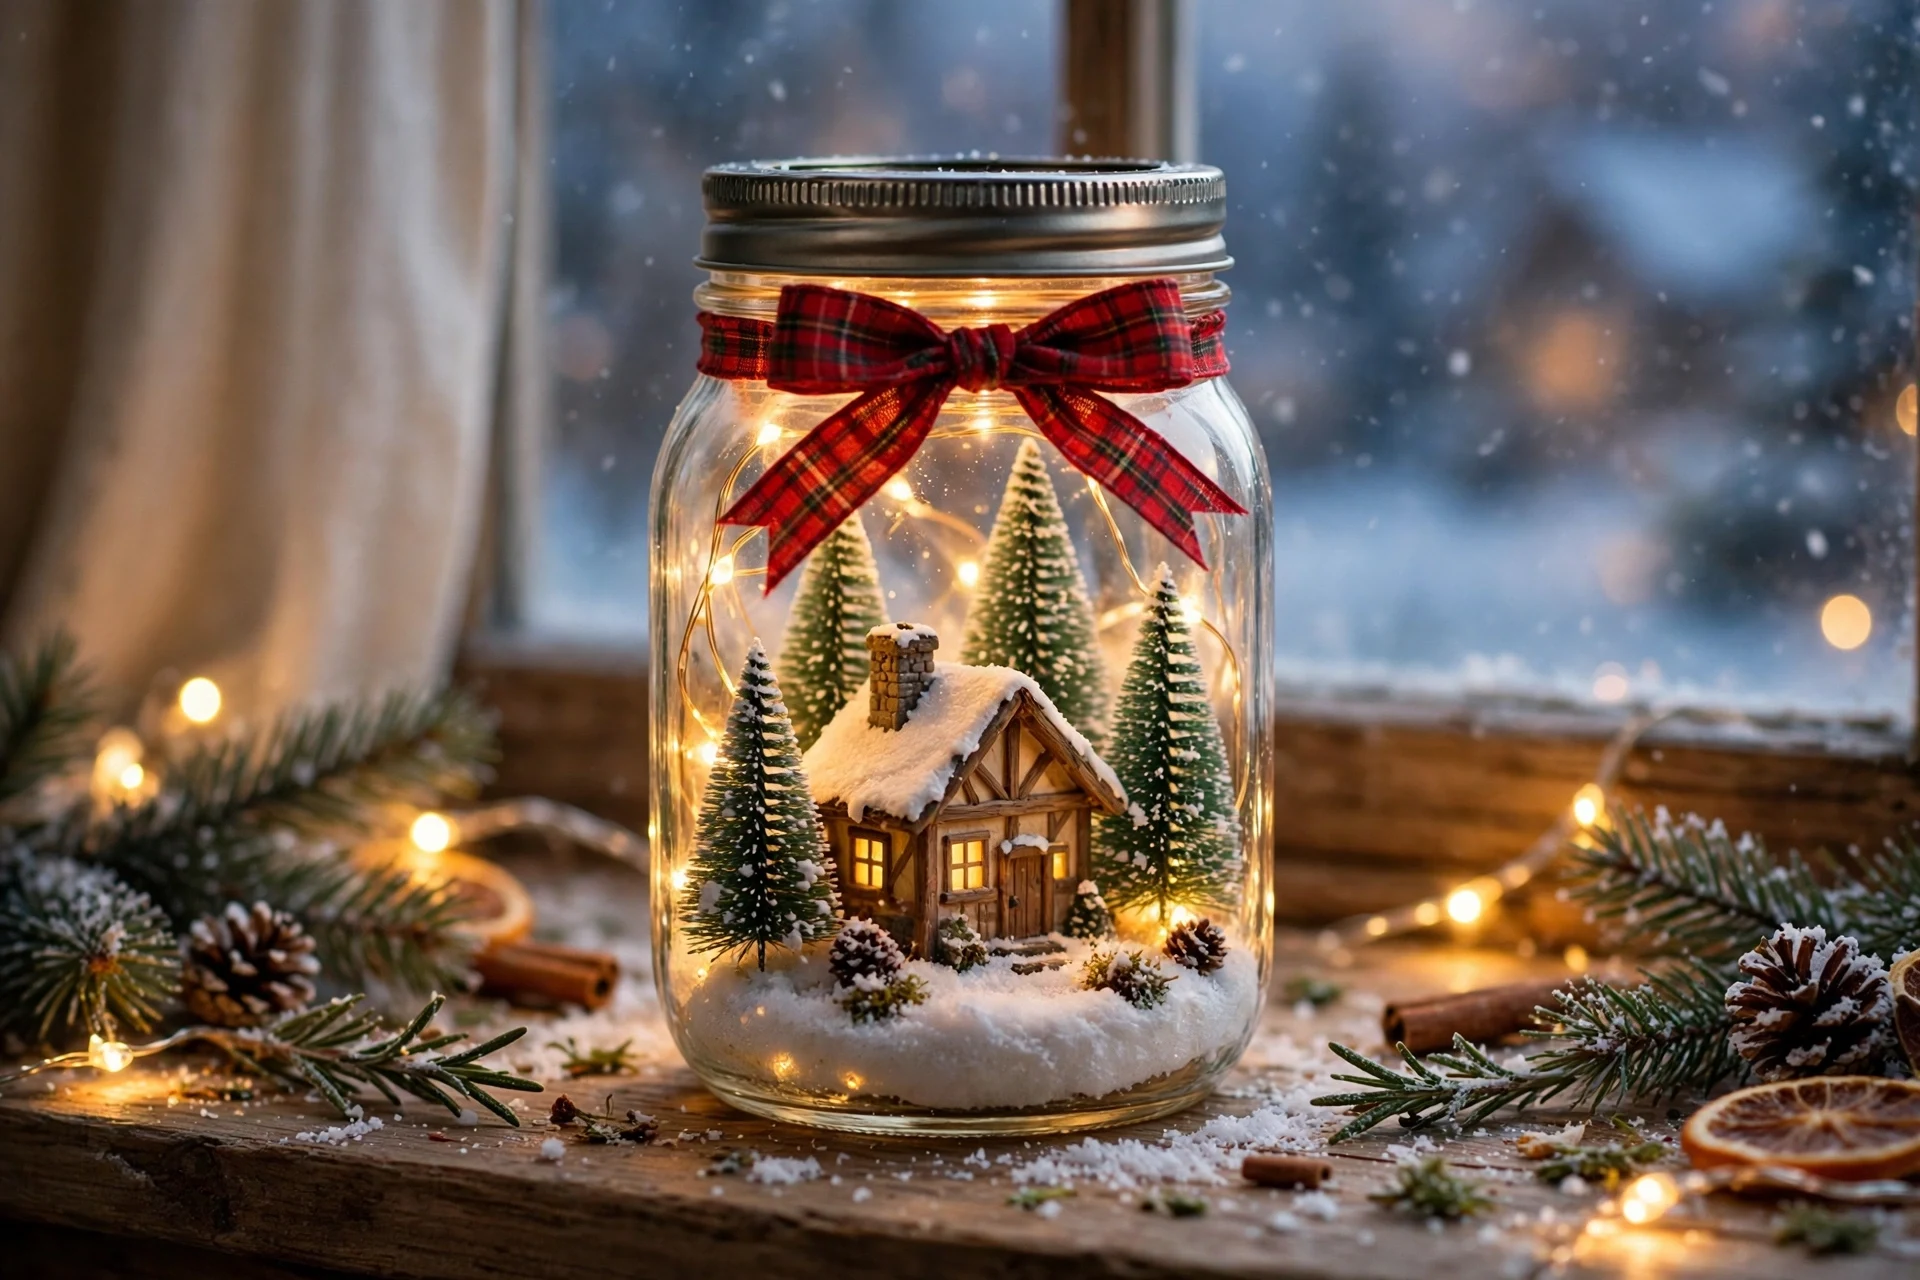
A mason jar village puts a whole tiny town inside a jar, which makes it perfect for a windowsill, a centerpiece, or a handmade gift. Place a tiny house, a bottle brush tree, and a pinch of fake snow inside a wide-mouth jar, then add a battery fairy light or an LED tea light. When the lid goes on, the jar becomes a glowing snow globe without the water. Add a small wooden sign with a festive greeting for warmth.
Glue the house and tree to the inside of the lid so the scene stays upright, then screw the jar on over it for an upside-down display, or set the scene on the jar bottom for a right-side-up view. Use jars in different sizes for a little village of jars along a shelf. A ribbon or twine bow around the rim finishes the gift-ready look. A tiny star on the lid adds a sweet finishing touch.
- Use wide-mouth jars so small hands can help with the scene.
- Glue pieces down before adding snow so nothing shifts.
- Choose warm white lights for the coziest glow.
18. Window Sill Village Display
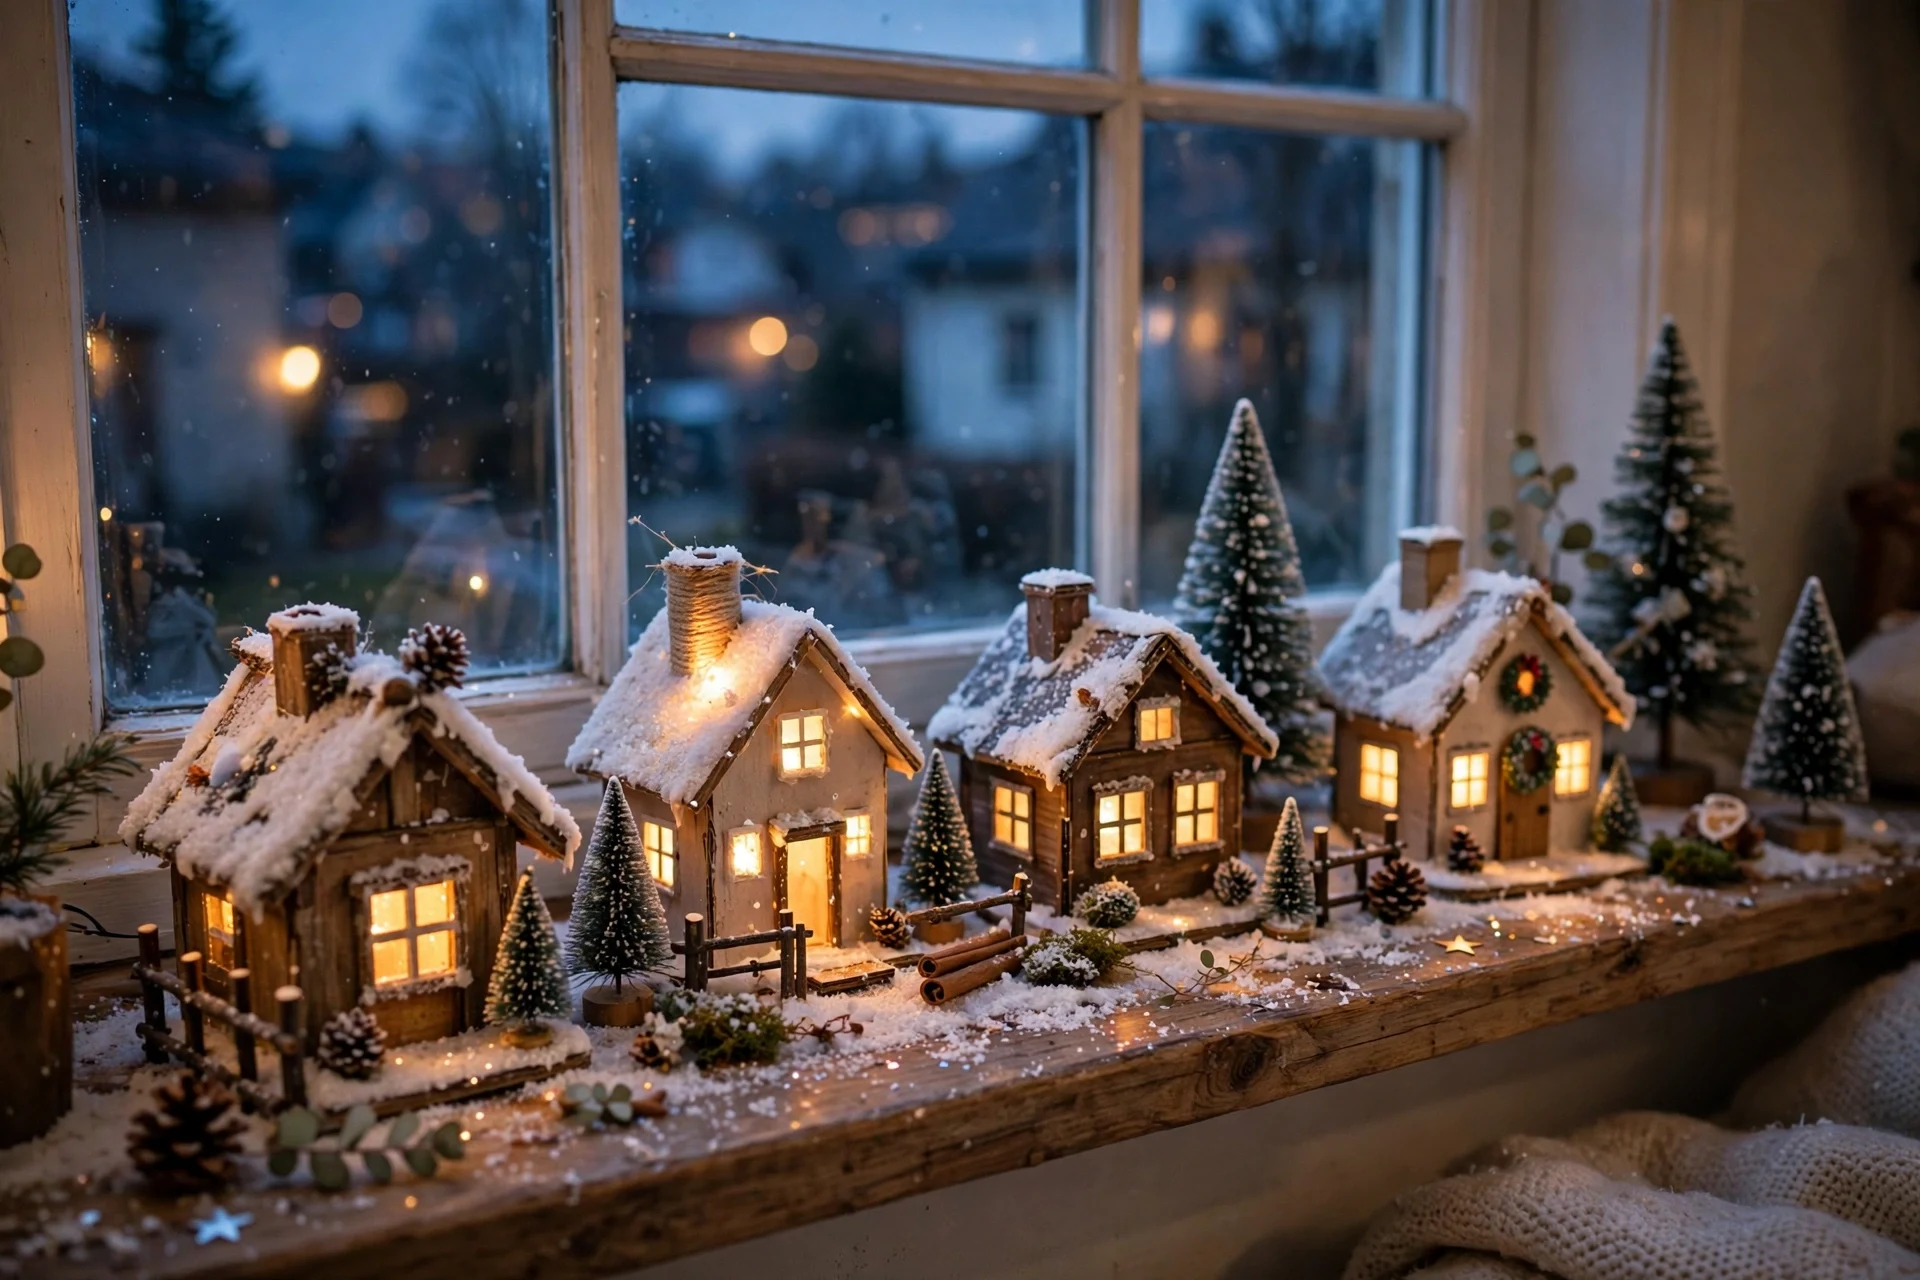
A window sill village turns a spot that is often empty into a glowing holiday scene, visible from inside and outside the house. A row of small houses with lit windows looks beautiful against the dark evening glass, and the natural light makes the snow sparkle during the day. It is a lovely choice for small homes with little extra surface space. A ribbon bow in red gingham makes the jar gift-ready.
Measure your sill first, then choose houses that leave a little room at each end. Use a narrow white runner or a strip of batting as the base, and add a few tiny trees and a short strand of fairy lights. Keep the houses low enough that they do not block the window, and secure them with putty if the sill is narrow. Add a small potted pine beside the village for height.
- Pick houses under six inches tall for most sills.
- Face the lit windows toward the room for the best evening glow.
- Use battery lights so no cords dangle across the window.
19. Christmas Village with a Train Track
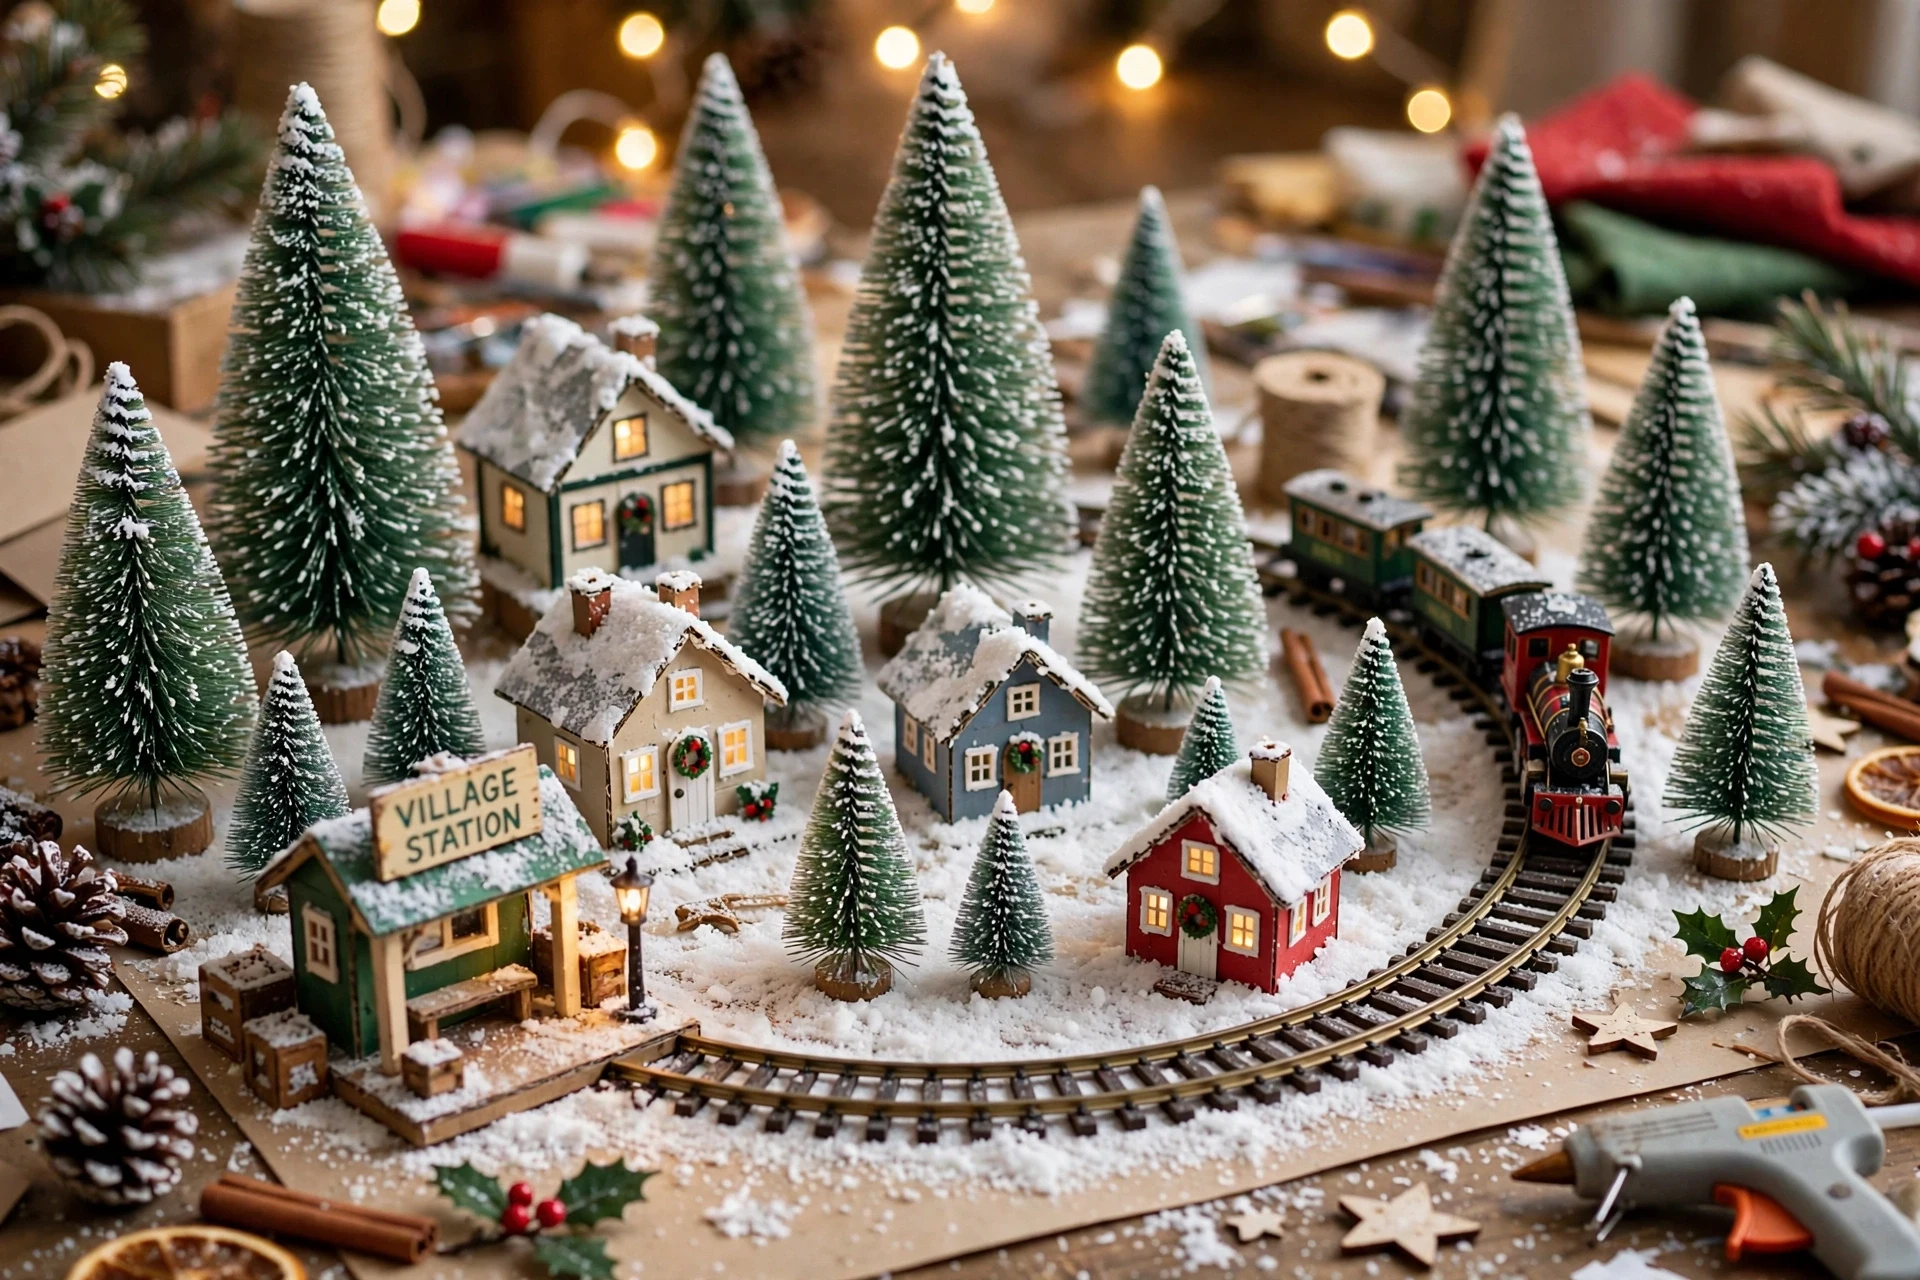
A tiny train circling the village adds movement and joy, and it delights children and adults alike. Lay a small oval of track around the houses, with the train passing a station, a bridge, and a cluster of trees. The gentle motion makes the whole village feel alive, like a real town on a winter evening. A sheer curtain behind the houses softens the daylight beautifully.
Choose a battery-operated train in a scale that suits your houses, and test the track on a flat board before adding snow. Keep the track clear of batting and loose glitter so the train runs smoothly, and place the houses a little back from the rails. A tiny station sign and a few waiting figures complete the scene. Add a tiny tunnel or bridge for the train to pass through.
- Test the train for a full loop before decorating around it.
- Keep snow and glitter at least an inch from the track.
- Use a board base so the track stays level all season.
20. Kids’ Craft Paper Village
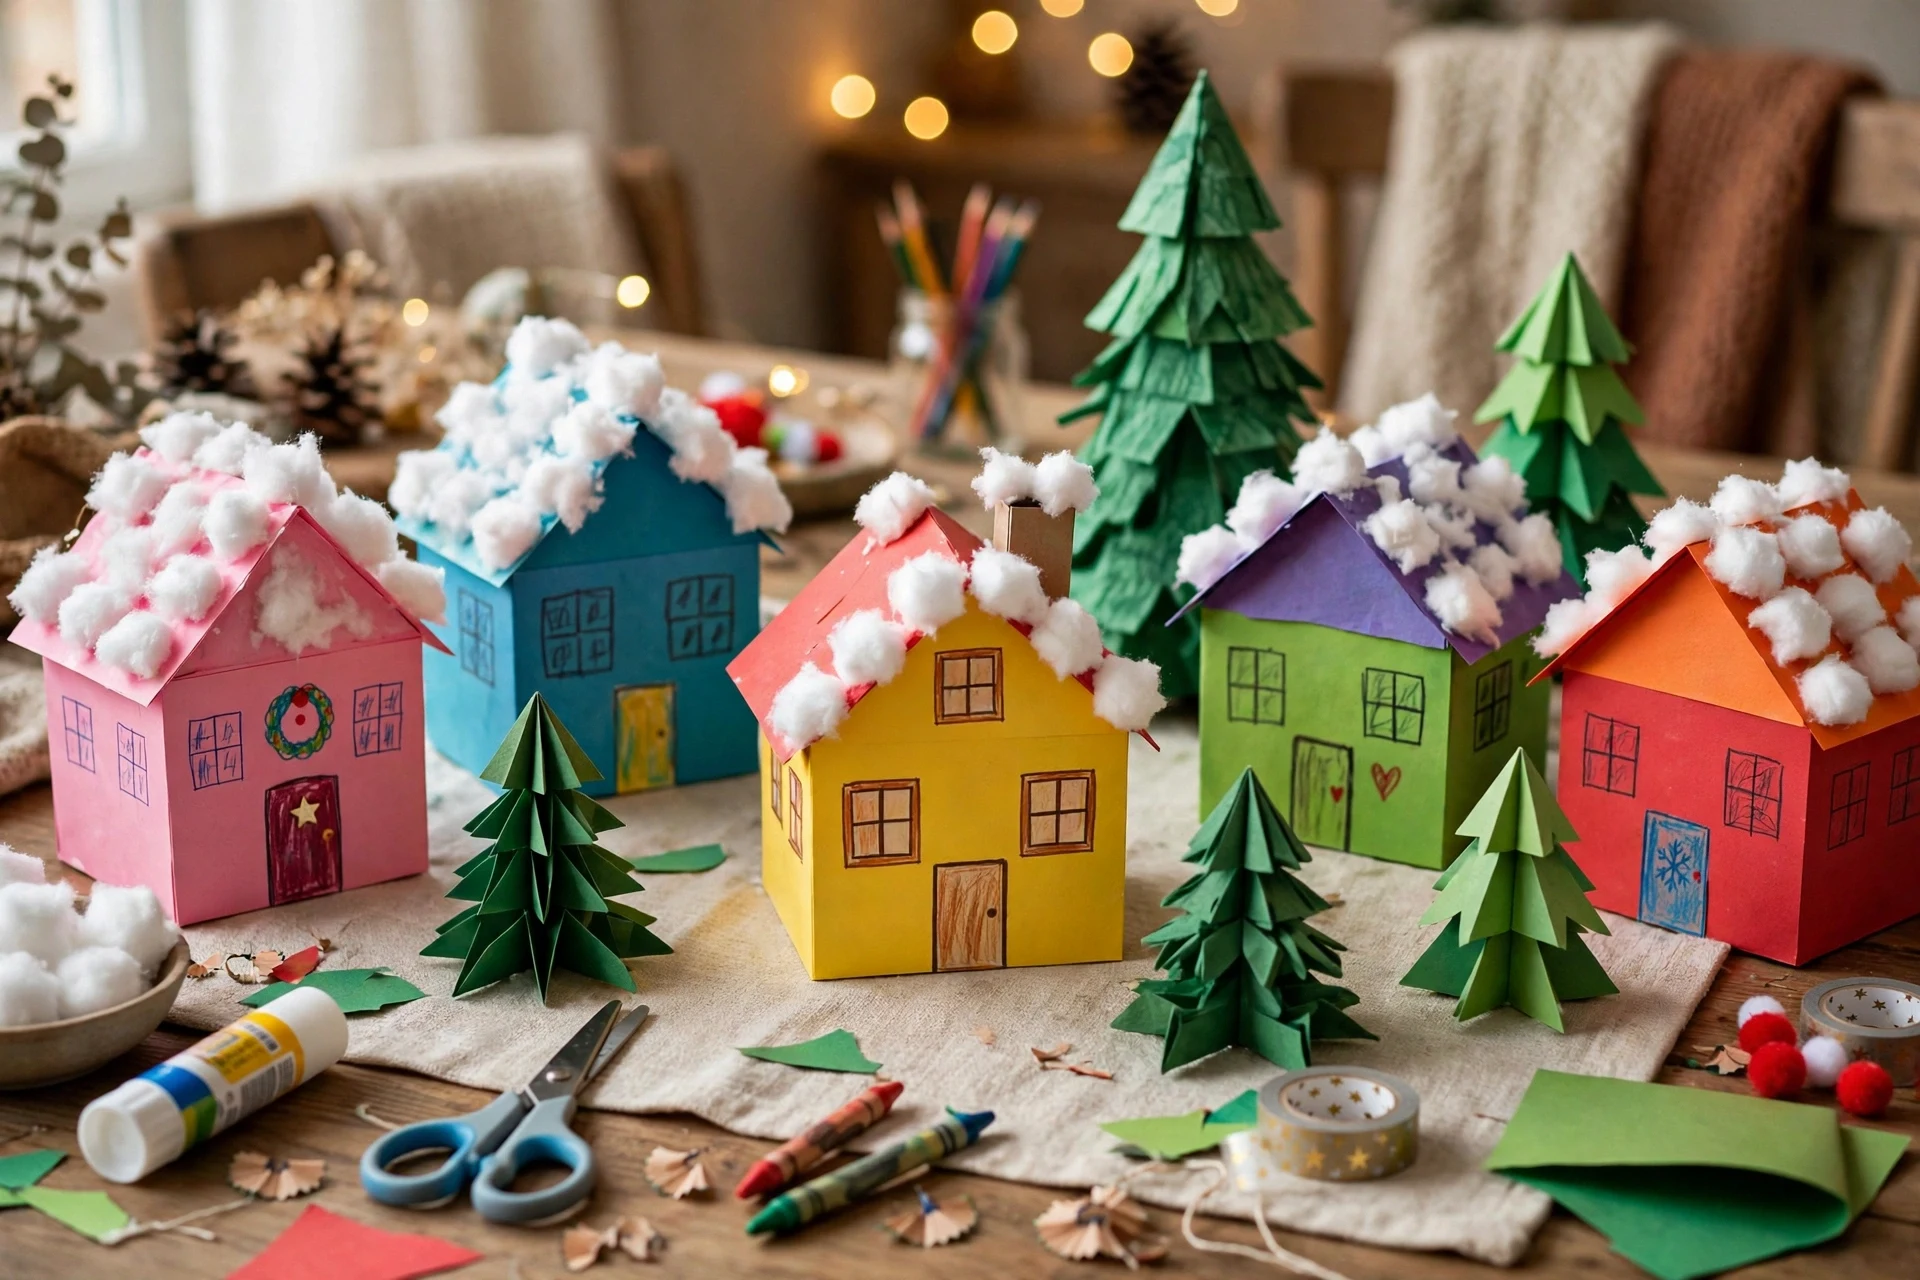
A kids’ craft paper village is a joyful afternoon project, and the slightly wobbly houses are part of the charm. Children can color, cut, and fold simple house shapes, draw windows and doors, and add cotton ball snow on the roofs. Every house looks different, which makes the finished town feel personal and full of personality. A small signal light beside the track adds a realistic detail.
Print or draw a simple house template on white or colored cardstock, then let each child decorate their own house with crayons, stickers, and glitter glue. Fold the houses into shape and tape the edges, then line them up on a table with cotton ball snow and paper trees. This is a wonderful way to build a village together as a family, and the houses are easy to store flat for next year. Add glitter glue stars to the roofs for a cheerful sparkle.
- Use cardstock rather than thin paper so houses stand up.
- Keep scissors and glue child-friendly for younger makers.
- Let kids sign the bottom of their house like real artists.
21. Small-Space Tabletop Village
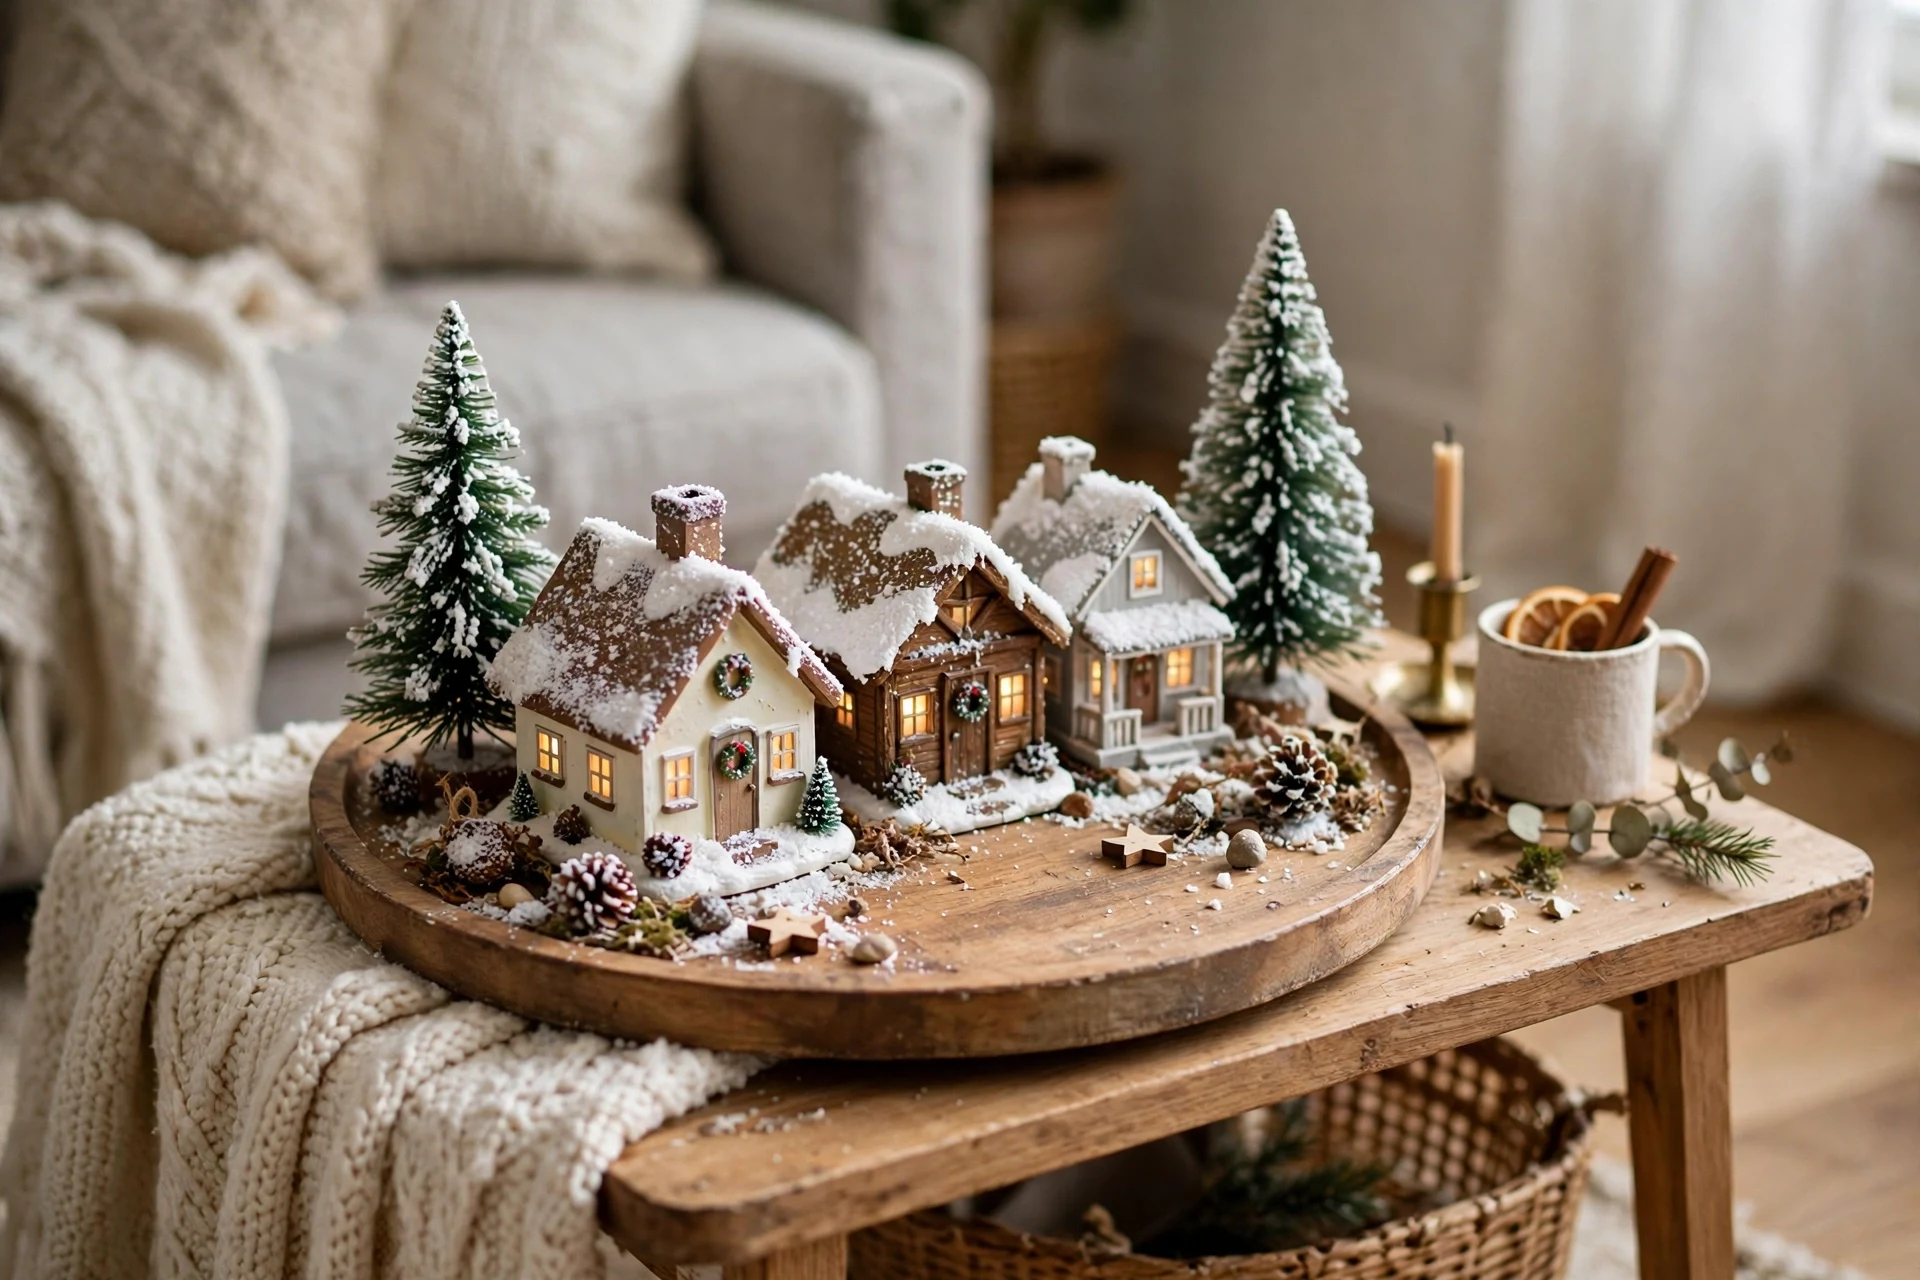
A small-space village proves that you do not need a mantel or a big table to enjoy a mini winter town. Three tiny houses, two trees, and a sprinkle of snow on a round tray or a cake stand create a complete scene that fits on a nightstand, a desk, or a small dining table. The limited size forces you to choose only your favorite pieces.
Pick houses in one color family, like all white or all red, so the tiny scene feels intentional rather than crowded. Place the tallest house at the back, a tree on each side, and a tiny figure or lamppost in front for depth. A small tray keeps the snow contained and makes the whole village easy to move when you need the table. Add a tiny candle lantern nearby for extra evening warmth.
- Choose a tray with a rim to contain the fake snow.
- Limit the village to three houses and two trees.
- Move the tray to different rooms to enjoy it everywhere.
Frequently Asked Questions
How do I start a DIY Christmas village on a budget?
Start with cardboard or paper houses, thrifted wooden pieces, and dollar-store finds, then spend a little on warm fairy lights and fake snow. Build three or four houses first, arrange them on a board or tray, and add details slowly. A small, well-lit village looks far more charming than a large, crowded one, so you can grow your town a little each year. A small pine sprig beside the tray adds a fresh finishing touch.
What is the best base for a Christmas village?
White batting, quilt stuffing, or a white tablecloth makes the best base for most villages, because it looks like snow and hides wires and battery packs. A wooden board, a mirrored tray, or a foam board underneath gives the display structure and makes it easy to move. Layer the batting for gentle drifts, and keep it away from train tracks so nothing jams.
How do I light a Christmas village safely?
Use battery-operated LED fairy lights or flameless tea lights inside houses, and never use real candles near paper, cardboard, or fabric. Warm white LEDs look most like lamplight, and a timer turns the village on each evening without you remembering. Check cords and battery packs before the season, and keep lights clear of loose batting.
How do I store a DIY Christmas village after Christmas?
Wrap each house in tissue paper and store them upright in a sturdy box with dividers, keeping the tallest pieces at the back. Save your arrangement with a quick photo before packing, so you can rebuild it next year. Keep lights, trees, and tiny accessories in labeled bags, and store the box in a dry place away from damp and heat.
Can I mix a Christmas village with my other holiday decor?
Yes, a village pairs beautifully with a Christmas mantel, a decorated tree, and handmade ornaments. Keep one color palette across the displays so everything feels connected, and let the village be the focal point on its surface. For more handmade holiday projects, explore our DIY Christmas ornament ideas and Christmas tree decorating ideas, or add a playful touch with whimsy Christmas decor ideas.
Conclusion
These DIY Christmas village ideas show that a magical mini winter town can start with a cardboard box, a thrifted house, or a single mason jar. Whether you build a glowing mantel display, a snowy under-tree scene, or a tiny tray village for a small space, the joy comes from arranging the houses, lighting the windows, and making the town your own. Pick one idea that fits your home, gather a few simple supplies, and start building your village this weekend.
Once your village is glowing, share it with the people you love, and come back next year to add a new house or a new street. Small towns grow one house at a time, and yours will only get more charming with each season. Happy building, and may your little winter town bring warmth to your home all through the holidays.







One Comment