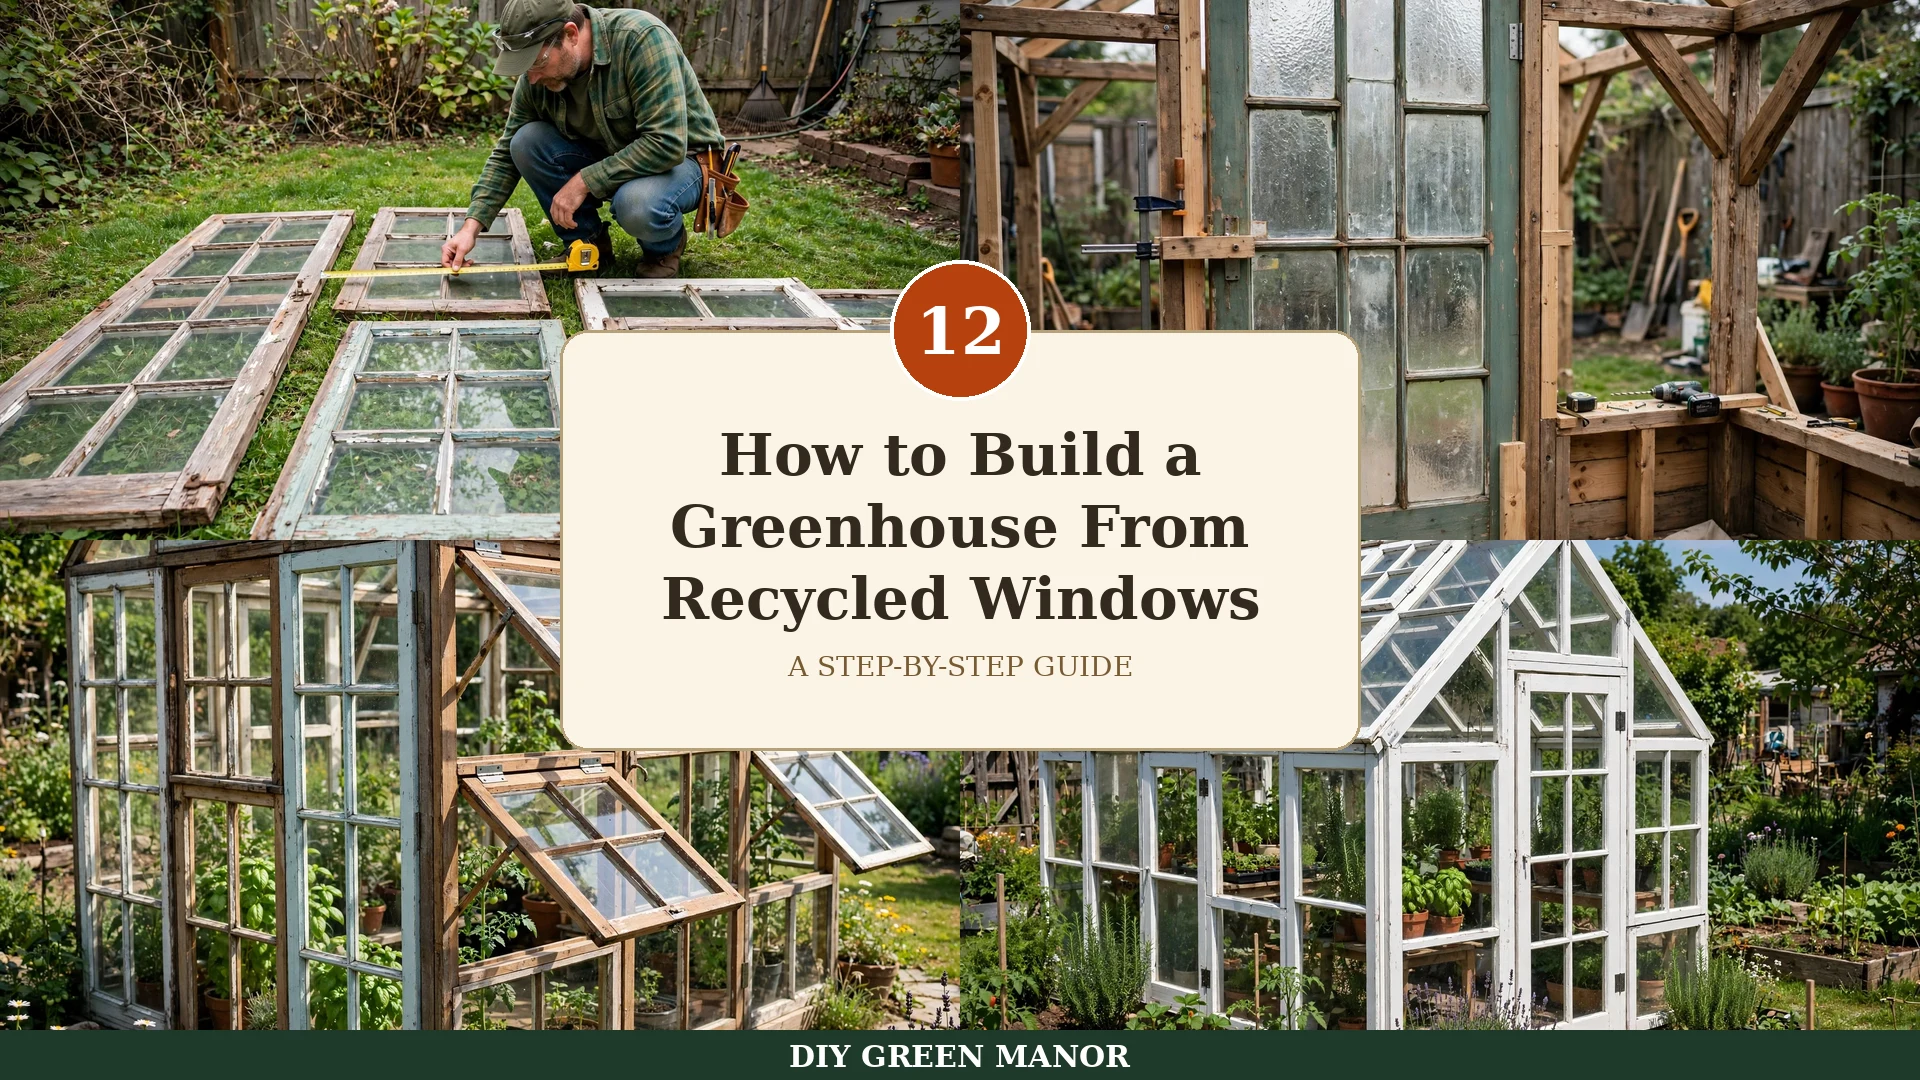
How to Build a Greenhouse From Recycled Windows: A Step-by-Step Guide
Old windows headed for a landfill can become one of the most charming structures in your backyard. A greenhouse built from salvaged windows costs far less than a new kit, keeps beautiful old glass and timber in use, and gives you a bright, sheltered place to start seeds, grow herbs, and enjoy your garden in every season. With a simple timber frame and a little patience, most confident beginners can finish this project over a few weekends.
This guide walks you through the whole build, from finding windows to sealing, ventilating, and planting your finished greenhouse. Each step explains what to do and why it matters. If you love working outdoors in a small space, these small backyard garden ideas pair well with a greenhouse, and these winter garden ideas will help you use it in the cold months. For a tiny-space version, see these cozy winter balcony garden ideas for growing in tight corners too.
Materials You Will Need
Start by gathering salvaged windows in similar sizes, since matching windows make the walls far easier to build. You will also need pressure-treated timber for the frame and foundation, exterior screws, hinges and latches, clear roofing panels or more windows for the roof, outdoor caulk, gravel for drainage, and basic tools including a drill, saw, level, tape measure, and safety glasses. Buying reclaimed timber where you can keeps the whole project budget-friendly and sustainable.
- Salvaged windows with intact glass and solid frames, ideally in a few matching sizes.
- Pressure-treated 2×4 timber for studs, plates, and corner posts, plus gravel and concrete blocks.
- Exterior screws, hinges, a door latch, clear roofing panels, outdoor caulk, and paint or sealer.
Tools You Will Need
A cordless drill, a circular saw or handsaw, a tape measure, a spirit level, a square, and a sturdy ladder will cover most of this build. Add a pencil, clamps, a caulking gun, a paintbrush, and work gloves, and keep a first-aid kit nearby for any small cuts from glass or timber. Working with a helper makes lifting window panels much safer, especially for the taller walls and the roof sections.
- Cordless drill, saw, tape measure, level, square, clamps, and a caulking gun.
- Safety glasses, work gloves, sturdy shoes, and a helper for lifting heavy panels.
Step 1: Collect and Measure Your Salvaged Windows
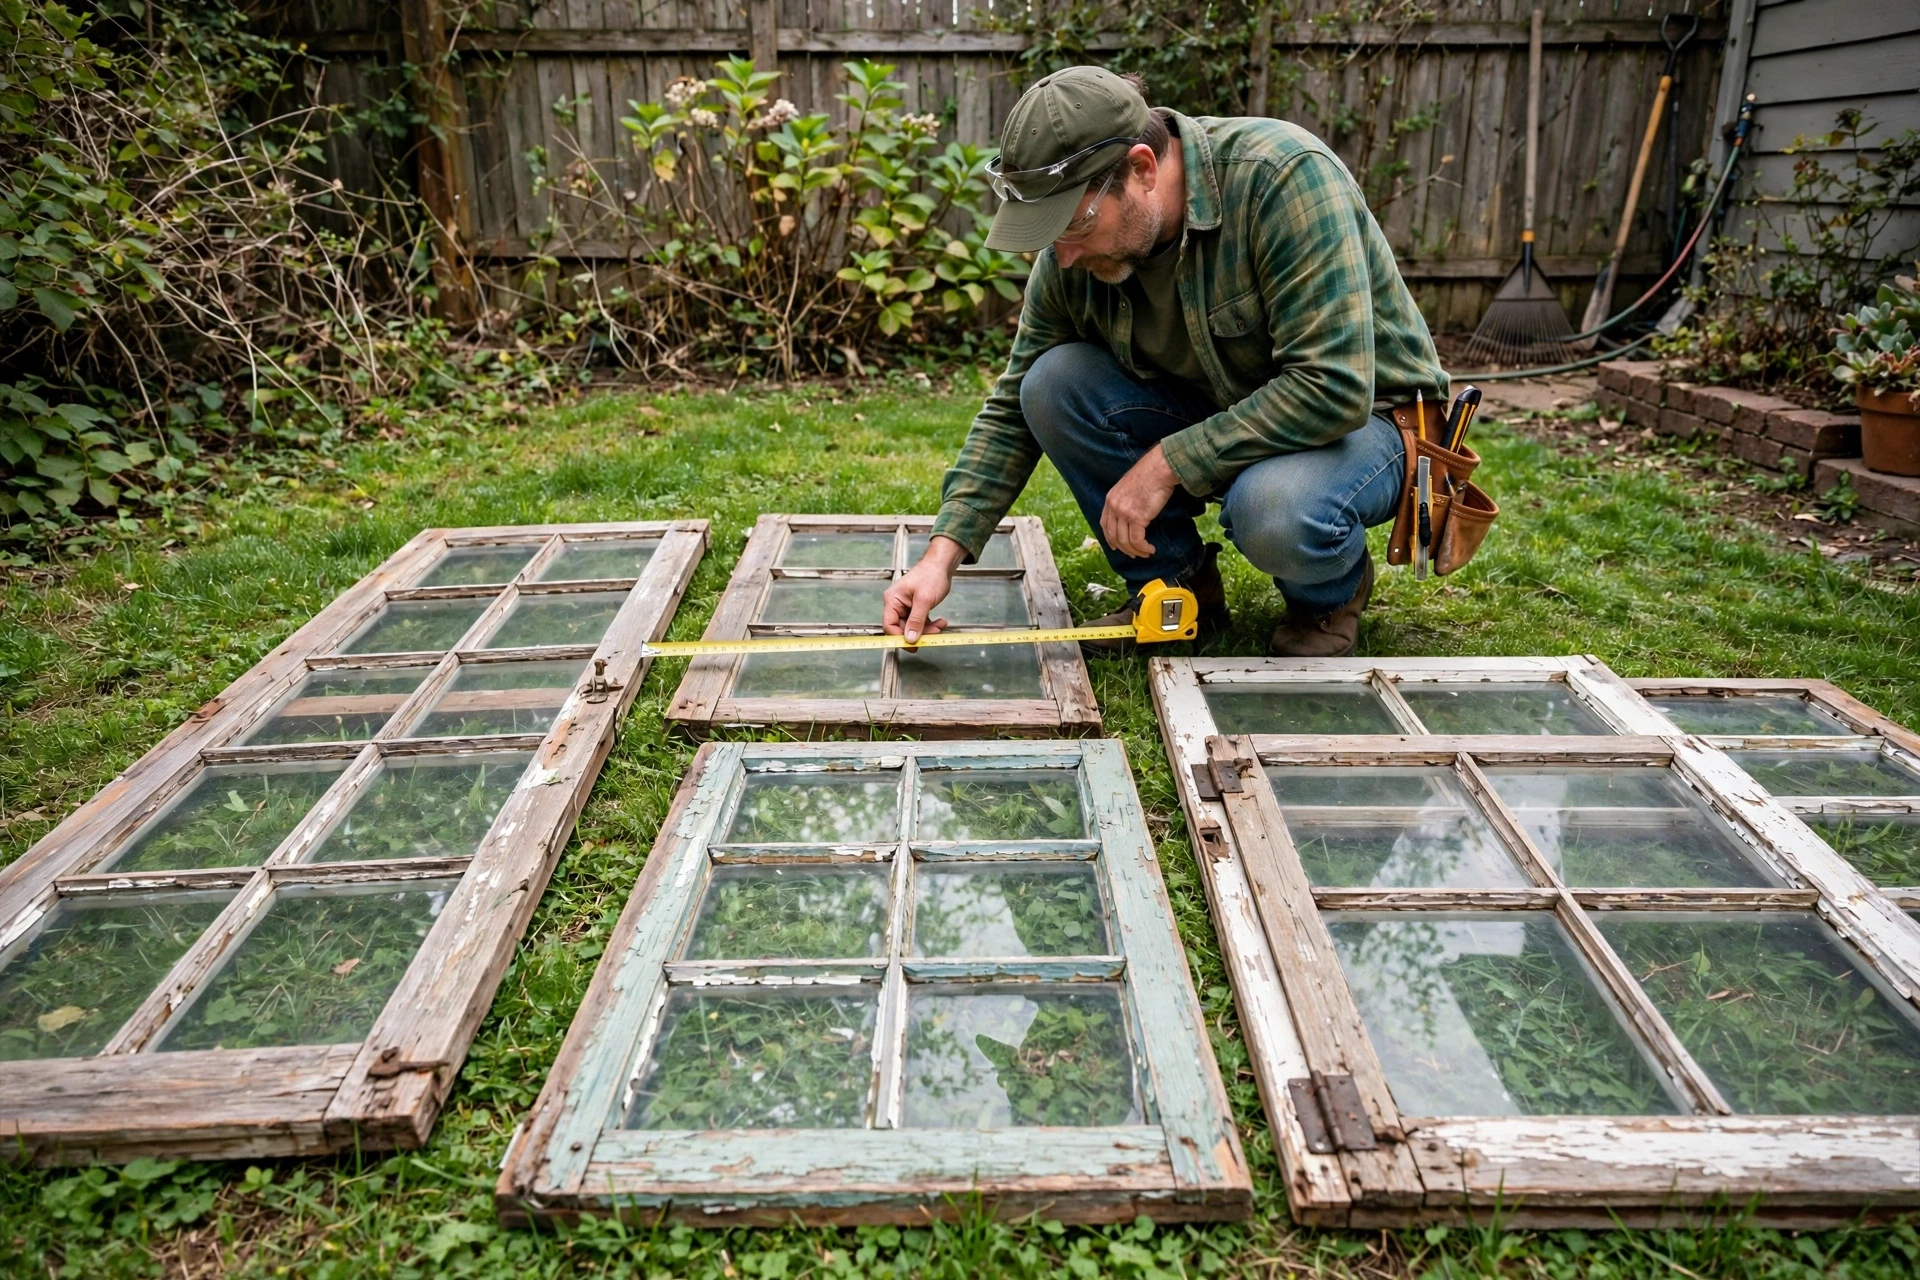
Begin by collecting windows from salvage yards, renovation sites, online marketplaces, and neighbors who are replacing old windows. Look for frames that are solid, square, and free from major rot, and glass that is intact or easily replaced. Measure every window carefully, noting height, width, and frame thickness, because those measurements will decide the size of your walls, the spacing of your studs, and the final footprint of your greenhouse.
Lay the windows out on the ground in the order you plan to use them, grouping matching sizes together for each wall. This dry layout shows you where small gaps will need timber filler strips, which windows should become vents, and which window is best for the door. Take photos and write down the layout, so you are not guessing once the frame goes up and the panels start getting heavy.
- Collect more windows than you think you need, so a cracked pane never stops the build.
- Group matching sizes per wall and mark each window with chalk for its wall position.
- Keep one or two smaller windows spare for vents, cold frames, or future repairs.
Step 2: Inspect, Clean, and Check the Frames for Safety
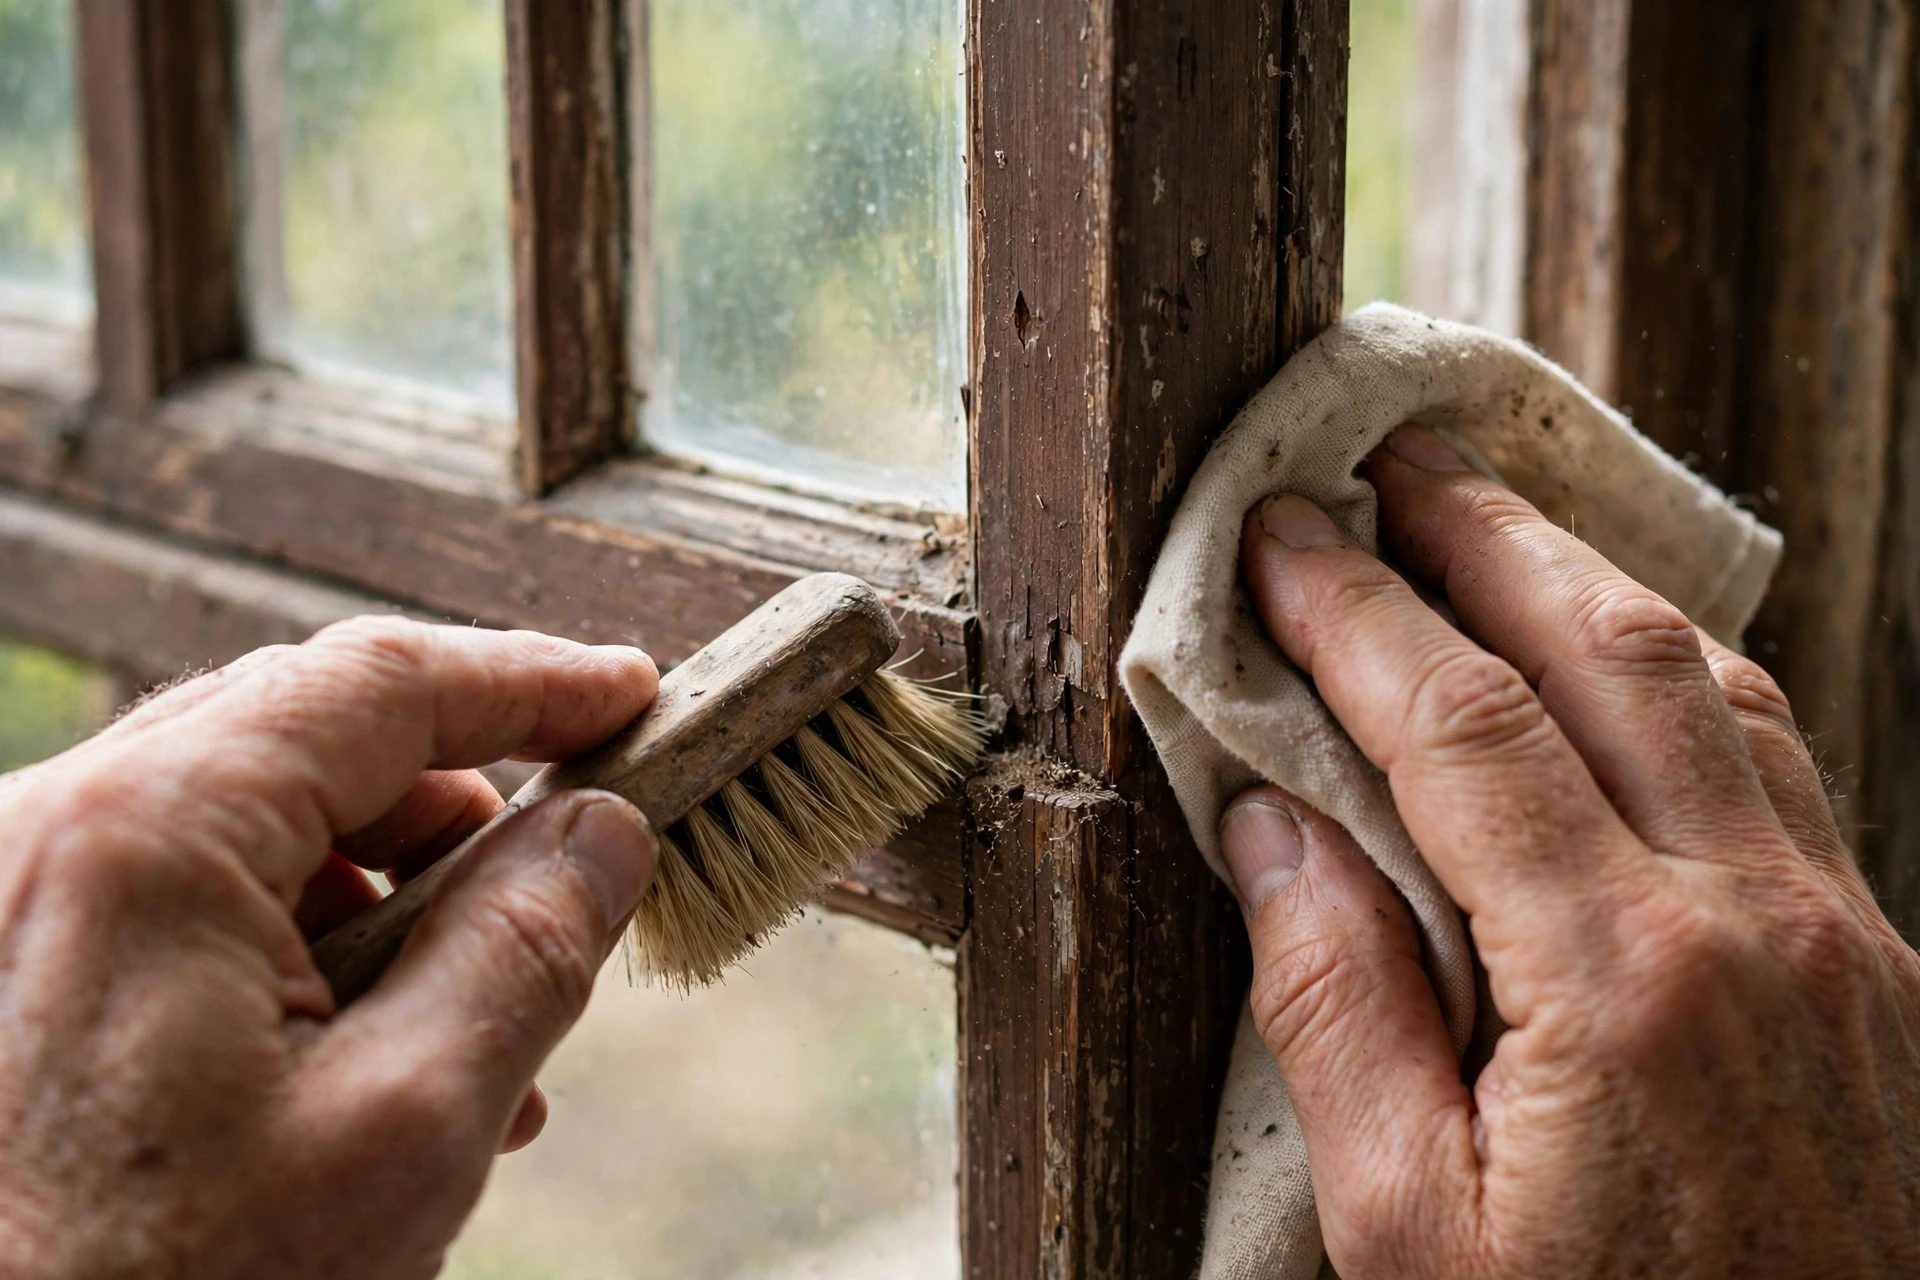
Inspect every frame for rot, loose joints, cracked glass, and rusted hardware before you build with it. Tighten or replace loose screws, remove broken glass carefully with gloves and eye protection, and clean the frames and glass so you can see their true condition. A frame that looks rough on the surface may still be strong underneath, while a frame with soft, crumbling wood should be set aside for a smaller cold frame or discarded safely.
Take extra care with old paint, because paint made before 1978 may contain lead. Do not sand, scrape, or burn old paint until you have checked it with a lead test kit and followed local safety guidance. If a test is positive, seal the paint with an appropriate encapsulating primer or ask a professional for advice, and keep children away from dust and paint chips while you work on those frames.
- Test old paint for lead before sanding, and wear a dust mask, gloves, and eye protection.
- Replace cracked glass before installation, and dispose of broken glass safely.
- Set aside rotted frames for small projects instead of using them in load-bearing walls.
Step 3: Build the Foundation and Floor Frame
Choose a sunny, level spot with good drainage, ideally facing south so the greenhouse catches the most light through the day. Clear the grass, level the ground, and lay a gravel base with concrete blocks or a simple timber skid foundation, checking every corner with a level. A solid, level foundation is the most important part of this build, because a crooked base will make every window panel harder to fit later.
Build a rectangular floor frame from pressure-treated timber to match your planned wall layout, and anchor it firmly to the foundation blocks. Add floor joists every sixteen inches for strength, and leave the floor as gravel or decking boards so water drains freely. Double-check the diagonals of the frame, since equal diagonal measurements prove the rectangle is truly square before you start framing the walls, and fix any error now.
- Pick the sunniest, flattest spot you have, and avoid low ground where water pools.
- Level the foundation twice, once before and once after setting the floor frame.
- Use gravel under the floor for drainage and to keep timber away from damp soil.

Step 4: Frame the Walls With Timber Studs
Build each wall as a separate timber frame on the ground, using top and bottom plates with vertical studs spaced to match your window widths. This method is much easier than building studs in place, because you can measure, square, and screw each frame while it lies flat. Keep the stud spacing tight enough that every window has solid timber on both sides to screw into, and add blocking where a window will need extra support.
Stand each wall frame onto the floor frame one at a time, brace it temporarily with diagonal boards, and check it with a level before screwing it down. Work with a helper for this step, since even a small wall frame is awkward to hold upright alone. Once all four walls are up and braced, check the corners for square again, because a small error here will show up in every window panel that follows.
- Build walls flat on the ground, then stand them up one at a time with bracing.
- Space studs to match your windows, so each panel screws into solid timber.
- Recheck corners for square after all four walls are standing and braced.

Step 5: Install the Window Panels in the Walls
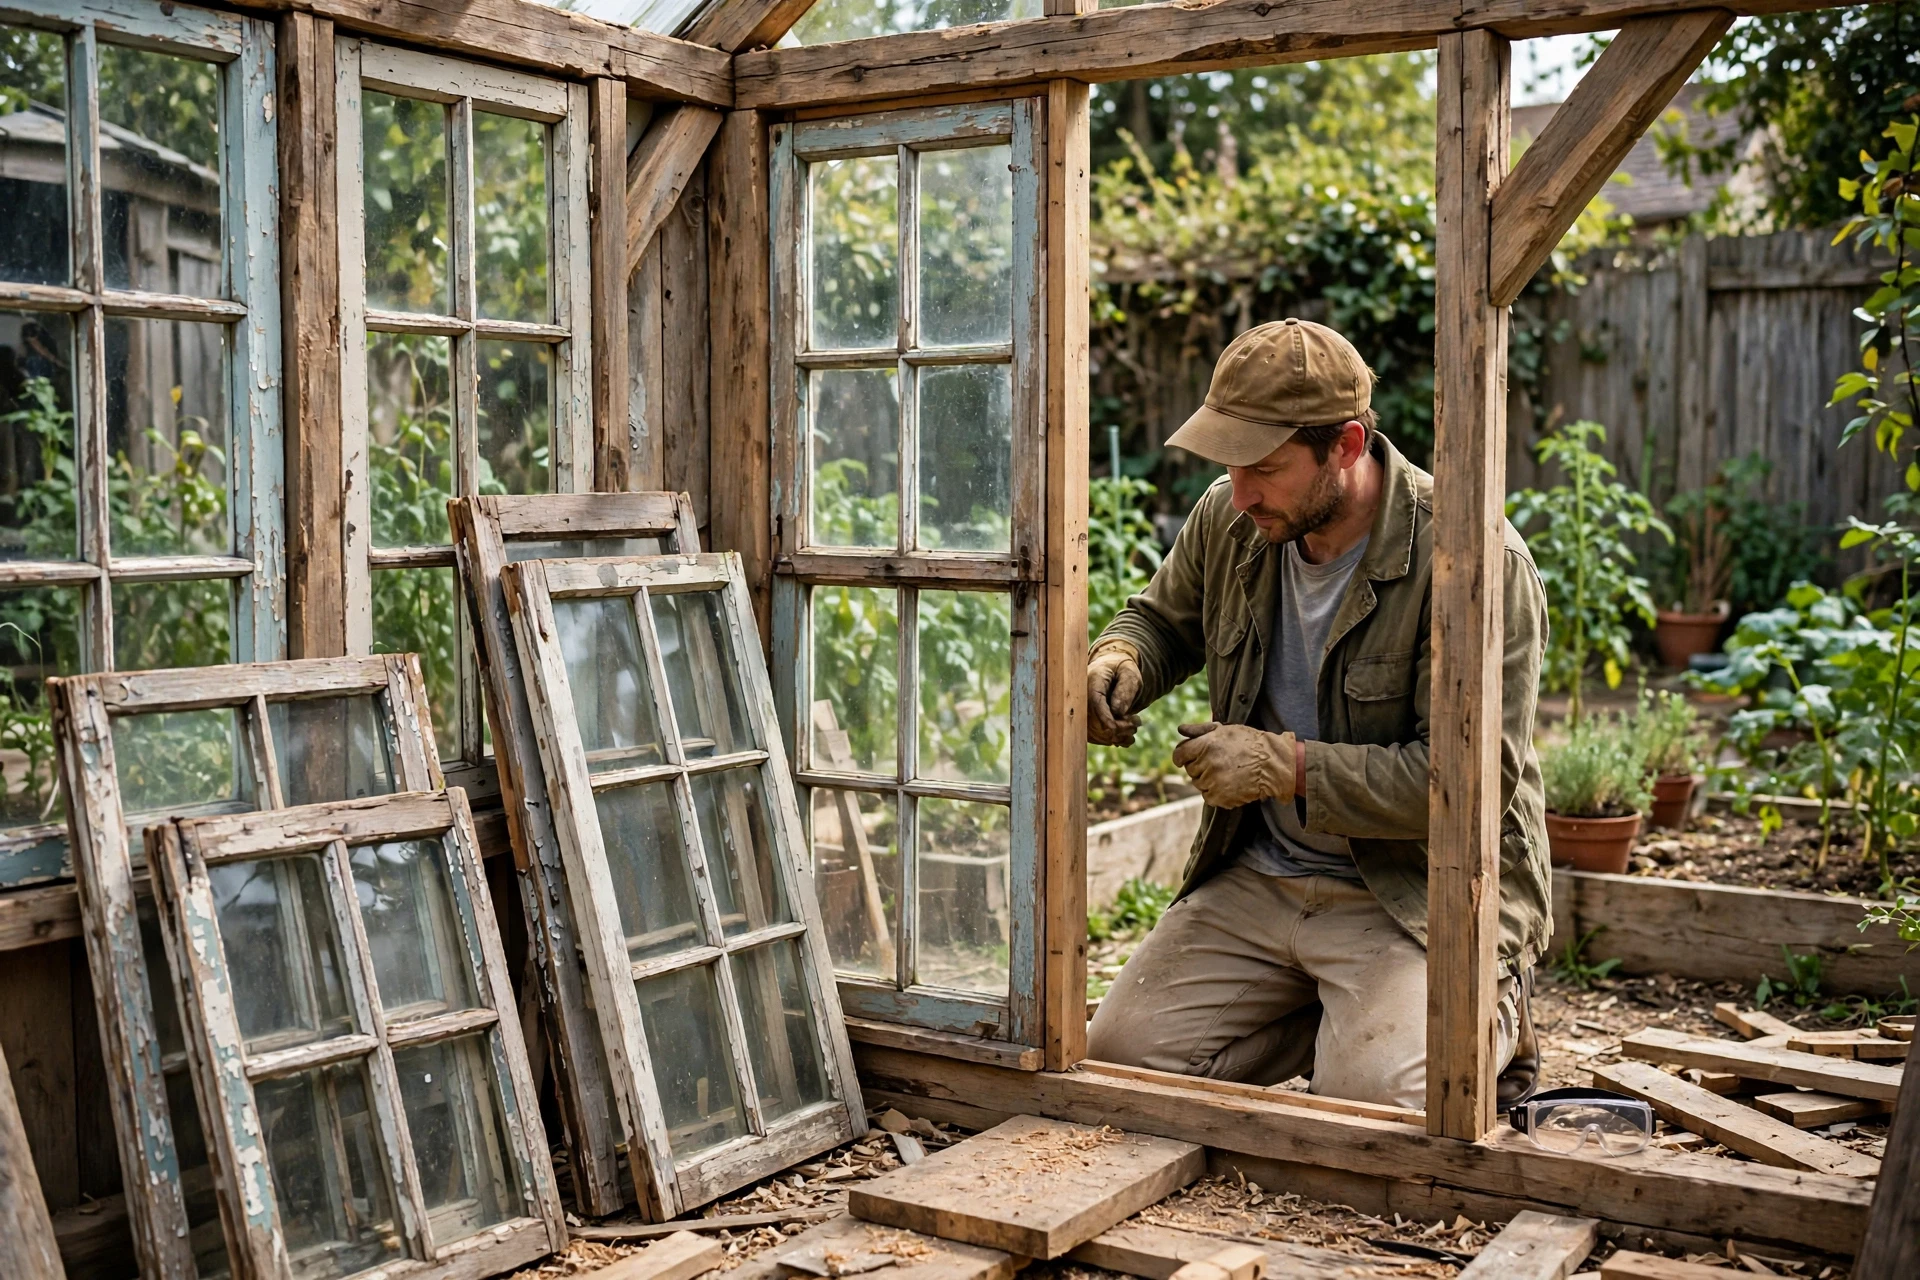
Start installing window panels on the longest wall first, working from one corner toward the other so each panel sets the position for the next. Screw each window frame into the studs on both sides, checking with a level as you go, and fill small gaps between mismatched windows with narrow timber strips. Do not force a window into a tight space, because cracked glass is much harder to fix later.
Work your way around all four walls, leaving one opening for the door and one or two windows hinged as vents, which you will finish in later steps. As each wall fills in, step back and check that the glass lines up neatly and the frames sit flush with the studs. A tidy, level wall now means a roof that fits cleanly later, and far less caulking to hide uneven gaps.
- Install from one corner outward, levelling each window before screwing it in place.
- Fill small gaps with timber strips, not caulk alone, for a stronger, neater wall.
- Leave the door opening and vent windows out until their dedicated steps.
Step 6: Build the Door Frame and Fit the Door
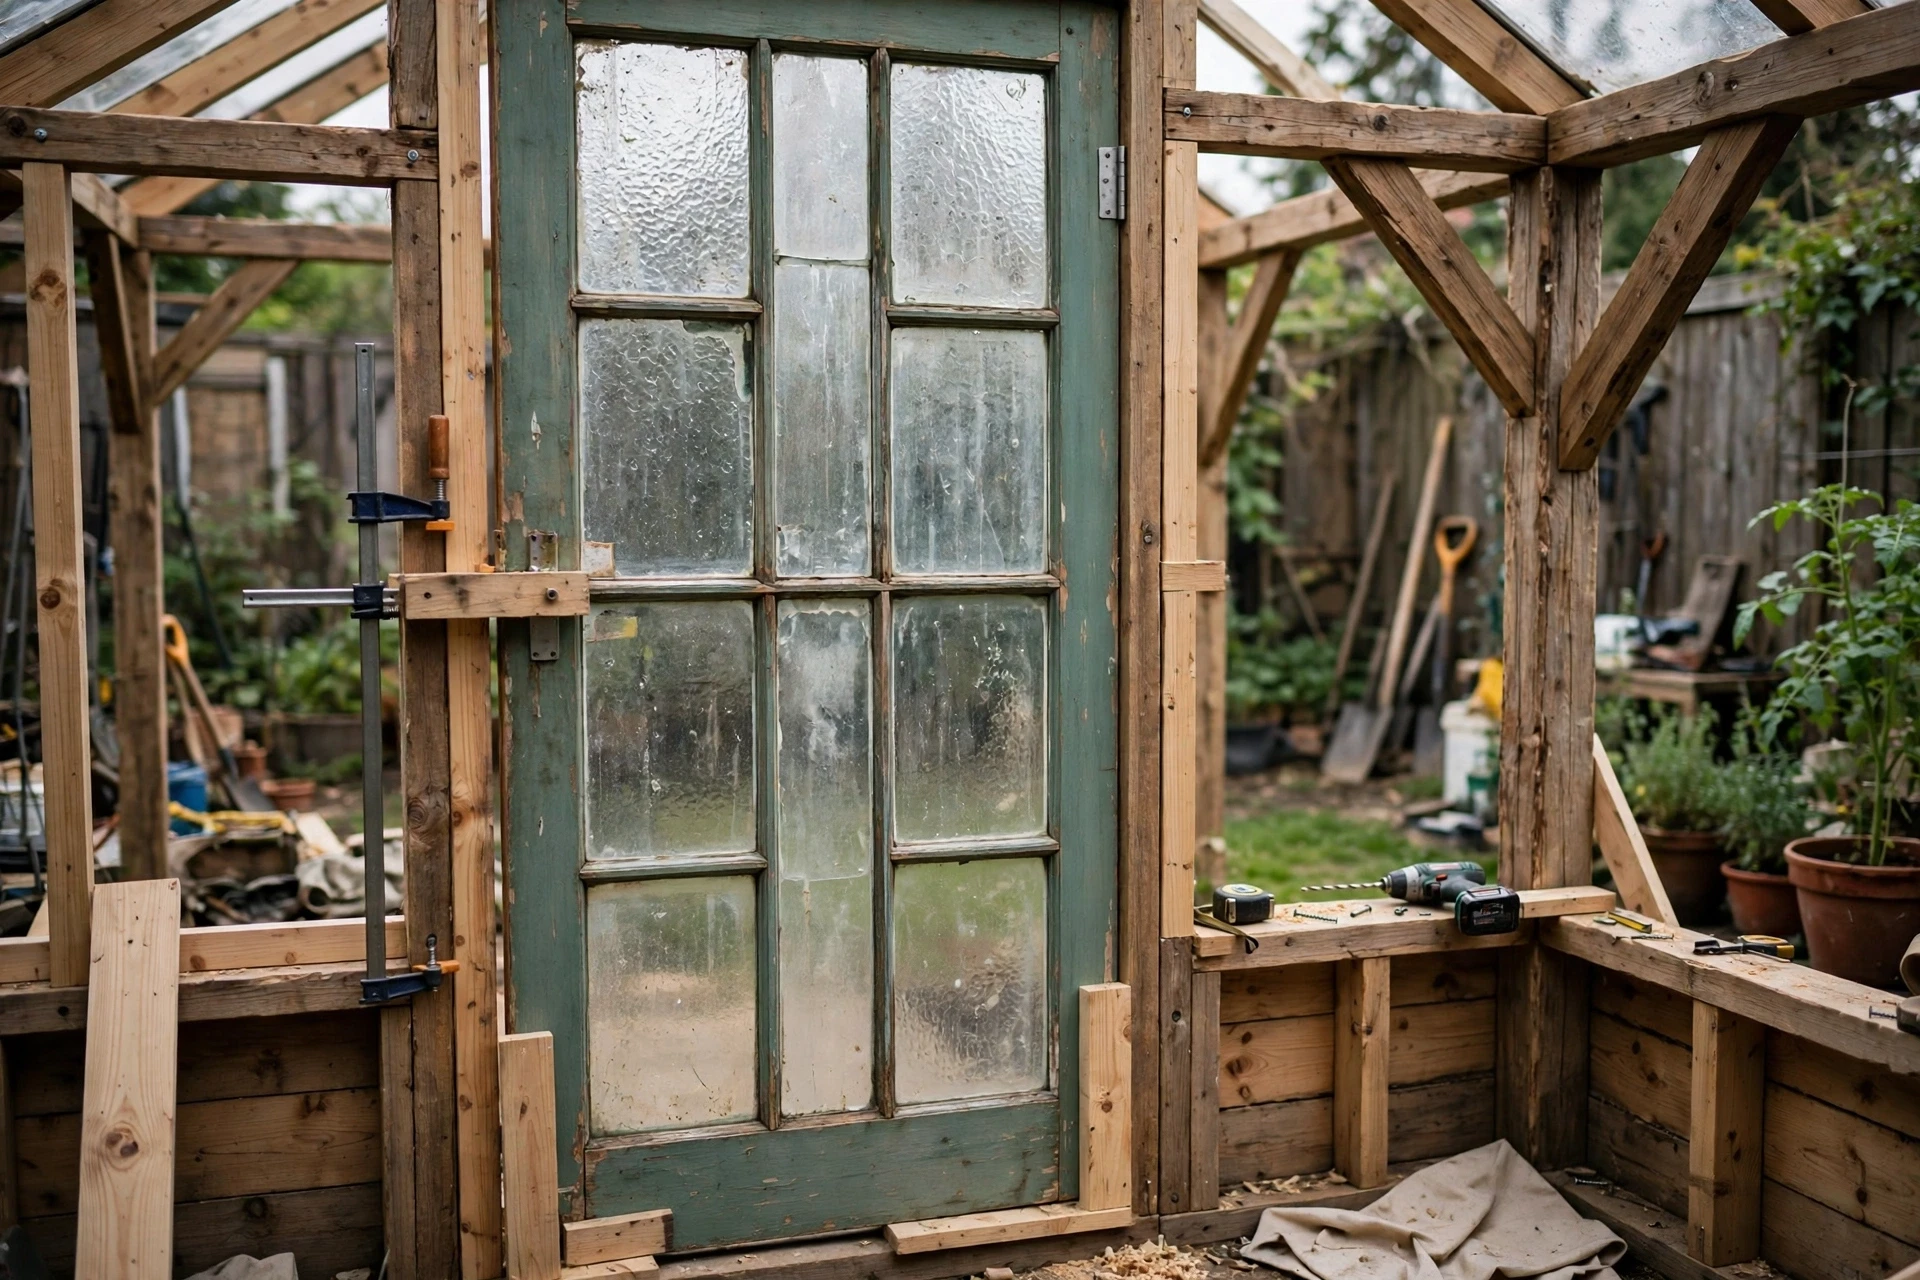
Frame the door opening with doubled studs on each side and a solid header across the top, so the opening stays square even as the greenhouse settles. A reclaimed glass door works beautifully here, but a simple timber-framed door with a window panel is just as good and often easier to fit. Measure the opening three times before cutting anything, because a door that is even slightly out of square will stick, drag, or let in drafts.
Hang the door on sturdy exterior hinges, add a latch that closes firmly, and check that it swings freely without rubbing the frame. Add a simple threshold strip to keep rain and draughts out, and seal around the door frame with caulk once the fit is right. A door that closes easily and seals well makes the whole greenhouse warmer, drier, and far more pleasant to use every day.
- Double the studs beside the door opening and fit a solid header above it.
- Use exterior hinges and a firm latch, and test the swing before sealing.
- Add a threshold strip to block rain, draughts, and crawling pests.
Step 7: Frame and Install the Roof
Build a simple pitched roof frame from timber rafters, with a ridge beam running along the top and rafters spaced evenly down each side. A pitched roof sheds rain and snow far better than a flat roof, and it gives you headroom in the middle of the greenhouse. Keep the pitch gentle enough to work on safely, but steep enough that water runs off instead of pooling on the panels.
Cover the roof with clear corrugated panels or with more salvaged windows if your roof frame is strong enough to carry their weight safely. Screw panels down with the correct washers, overlap each panel over the one below it, and seal the ridge and edges carefully. Work from a stable ladder with a helper passing panels up to you, and never step directly on a glass roof panel.
- Use a pitched roof so rain and snow run off instead of pooling.
- Overlap roof panels downhill, and seal the ridge and edges thoroughly.
- Never step on glass roof panels, and use a helper when lifting panels.

Step 8: Seal Gaps, Caulk, and Weatherproof the Structure
Walk around the finished structure and seal every gap between windows, timber, and roofing with exterior caulk, working in dry weather so the caulk bonds properly. Pay special attention to corners, the base of each wall, and anywhere two different materials meet, since those joints move slightly with temperature and are the first places to leak. A careful sealing job now saves you from damp soil, draughts, and mould later.
Once the caulk has cured, paint or seal all exposed timber with an exterior wood sealer or paint, including the ends of boards where water soaks in most easily. Recoat the timber every year or two, and check the caulk each spring for cracks to repair. This simple maintenance routine is what turns a weekend build into a greenhouse that lasts for many seasons outdoors in all weather.
- Caulk in dry weather, and seal corners, wall bases, and material joints first.
- Paint or seal all timber, especially board ends where water soaks in.
- Recheck caulk and paint each spring, and repair small cracks early.

Step 9: Add Vents and Ventilation for Healthy Plants
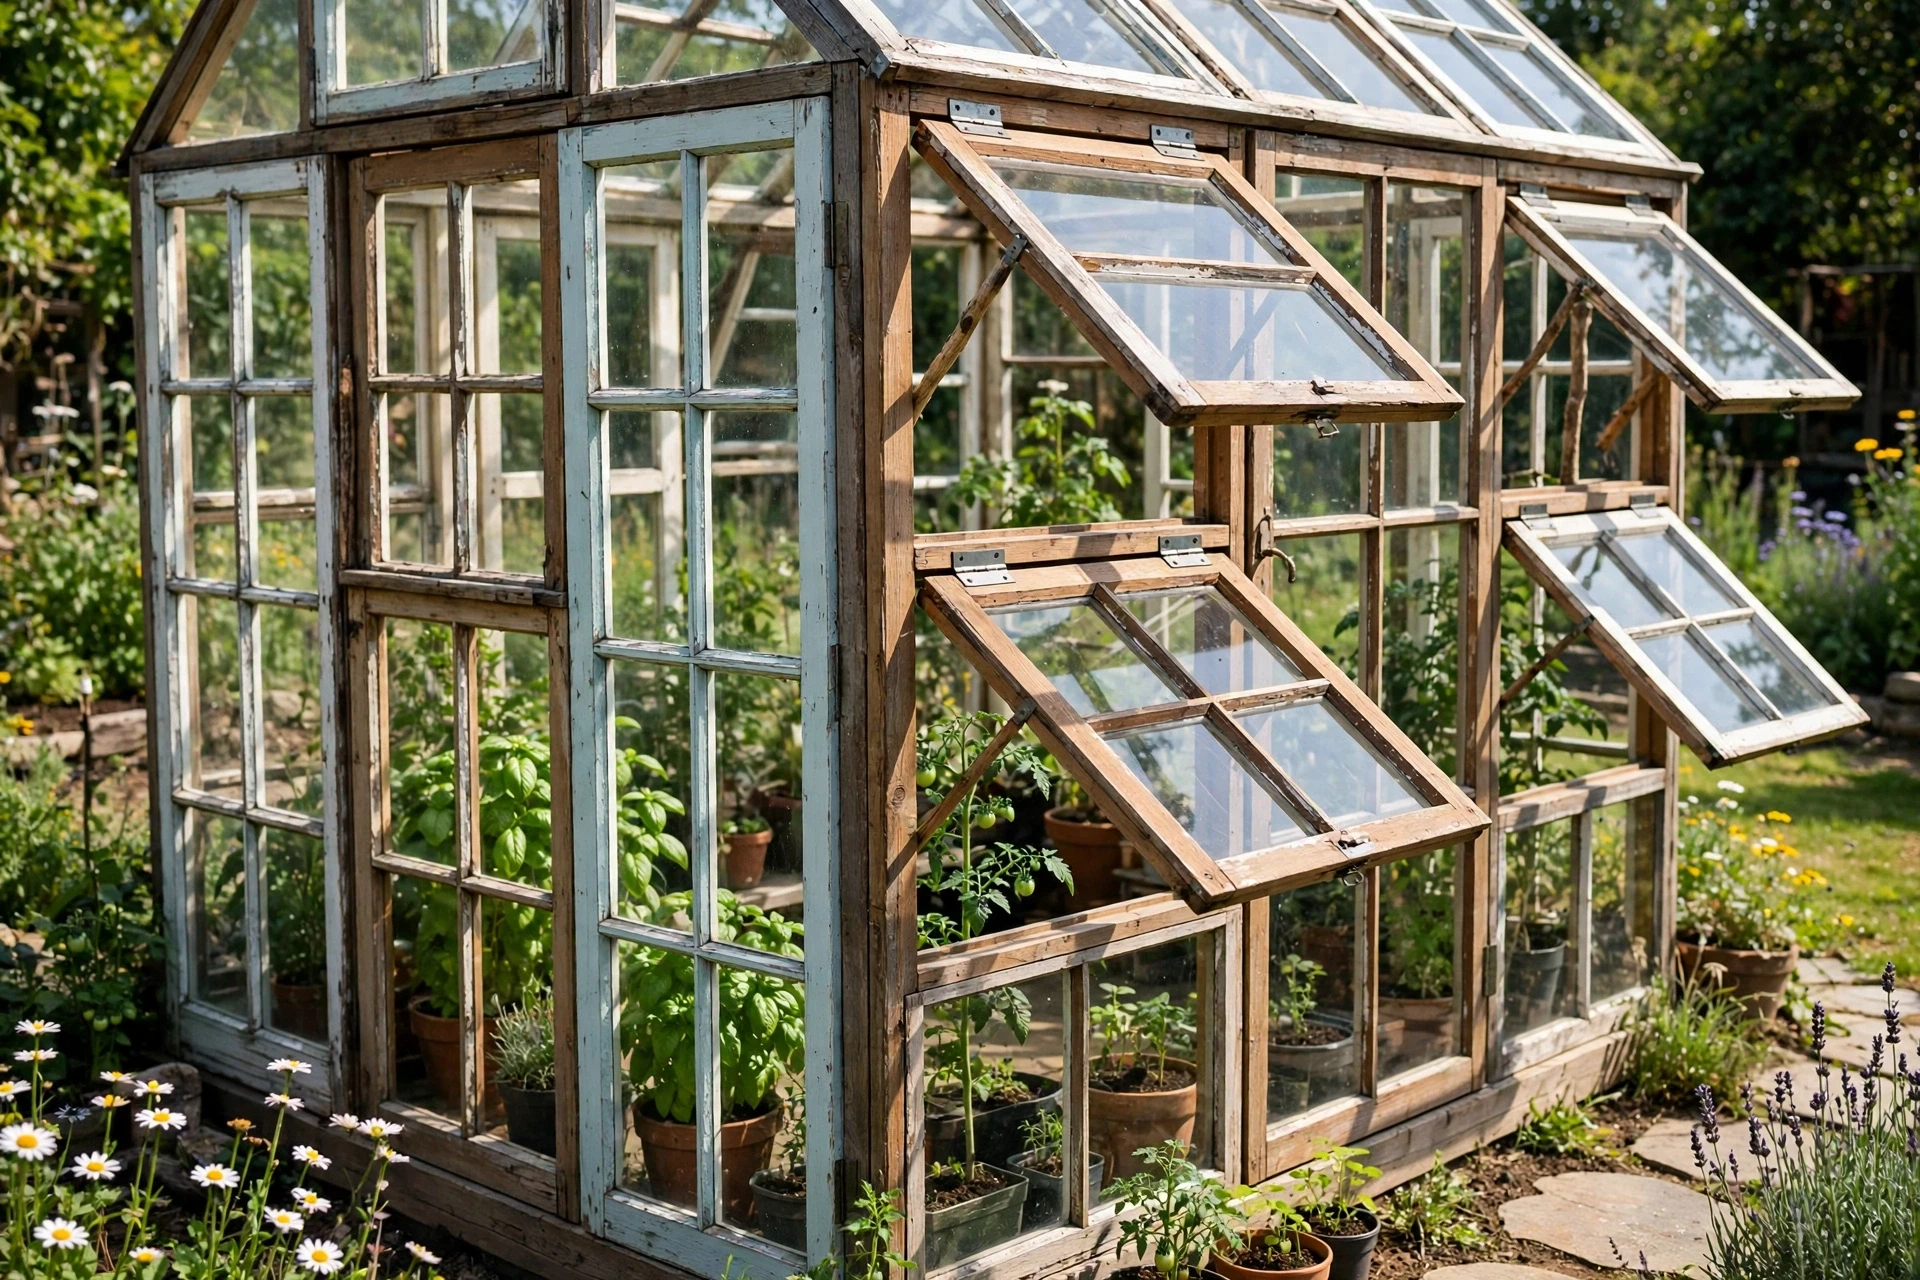
Good ventilation is what keeps a greenhouse from overheating on a sunny day, so fit at least one hinged vent window high on each end wall, plus the door, to let hot air escape. Hinge the vent windows at the top so they open outward, and fit a simple prop or automatic vent opener that lifts the window as the temperature rises. Even a small greenhouse can reach very high temperatures quickly, so vents are not optional extras.
Test the vents on a warm day before you plant anything valuable inside, and add a small fan if your greenhouse sits in a sheltered, windless corner. Open vents in the morning, close them before evening frost, and keep a thermometer inside so you learn how your greenhouse behaves in sun, cloud, and wind. Healthy airflow also reduces mould and pests, which thrive in still, damp air.
- Fit high vents on opposite walls, plus the door, for cross-ventilation.
- Hinge vents at the top and add props or automatic openers if you can.
- Keep a thermometer inside and learn your greenhouse before planting tender crops.
Step 10: Install Interior Beds and Shelving
Build raised beds from timber or reclaimed boards along the sides of the greenhouse, leaving a clear path down the middle wide enough for a wheelbarrow or watering can. Raised beds warm up faster than ground-level soil, drain better, and make planting and harvesting far more comfortable. Line the beds with landscape fabric if your soil is weedy, and fill them with a good mix of topsoil and compost.
Add shelving along one wall for seedlings, small pots, and tools, keeping heavier pots low and lighter trays higher up. A simple potting bench near the door saves you from carrying soil through the house, and hooks for tools keep the path clear. Leave room for plants to grow taller than you expect, since a crowded greenhouse quickly becomes hard to water, ventilate, and enjoy working in.
- Build beds along the sides and leave a clear, wide path down the middle.
- Fill beds with topsoil and compost, and line them if weeds are a problem.
- Keep shelving sturdy, heavier pots low, and a potting bench near the door.

Step 11: Sort Drainage and Finish the Floor
Good drainage protects both the structure and your plants, so finish the floor with gravel, stepping stones, or decking boards over a gravel base. Slope the floor very slightly toward the door or a drain point, so spilled water runs out instead of pooling under the beds. Avoid a solid concrete floor unless you add drains, because standing water encourages algae, mould, and root rot in a closed greenhouse.
Check the drainage after the first heavy watering by watching where water collects, and add more gravel or adjust boards where puddles form. Keep the path clear of soil and pots so water can run freely, and sweep the floor regularly to stop algae building up on damp surfaces. A dry, well-drained floor also makes the greenhouse far more pleasant to work in on wet, cold days.
- Finish the floor with gravel or decking over gravel, never bare mud.
- Slope the floor slightly toward the door so water drains out.
- Watch for puddles after watering, and top up gravel where water pools.

Step 12: Final Checks, Finish, and First Planting
Before planting, walk through a full final check: test the door and vents, look for daylight leaking through gaps, check the roof after rain, and tighten any screws that have worked loose. Touch up paint and caulk where needed, clean the glass inside and out for maximum light, and make sure every window panel is secure. A careful final check now prevents most of the small problems that frustrate new greenhouse owners.
Start planting with hardy, forgiving crops such as lettuce, herbs, and radishes, and watch how they respond to light, heat, and watering in your new space. Keep a simple notebook of what you plant, when you water, and when you open the vents, so next season is easier. Your recycled-window greenhouse is now ready, and every seedling you grow in it carries the story of windows that might otherwise have been thrown away.
- Test door, vents, and roof after rain before planting anything valuable.
- Clean all glass for maximum light, and touch up paint and caulk.
- Start with hardy crops and keep a simple planting and watering notebook.
Ventilation, Drainage, and Finishing Tips
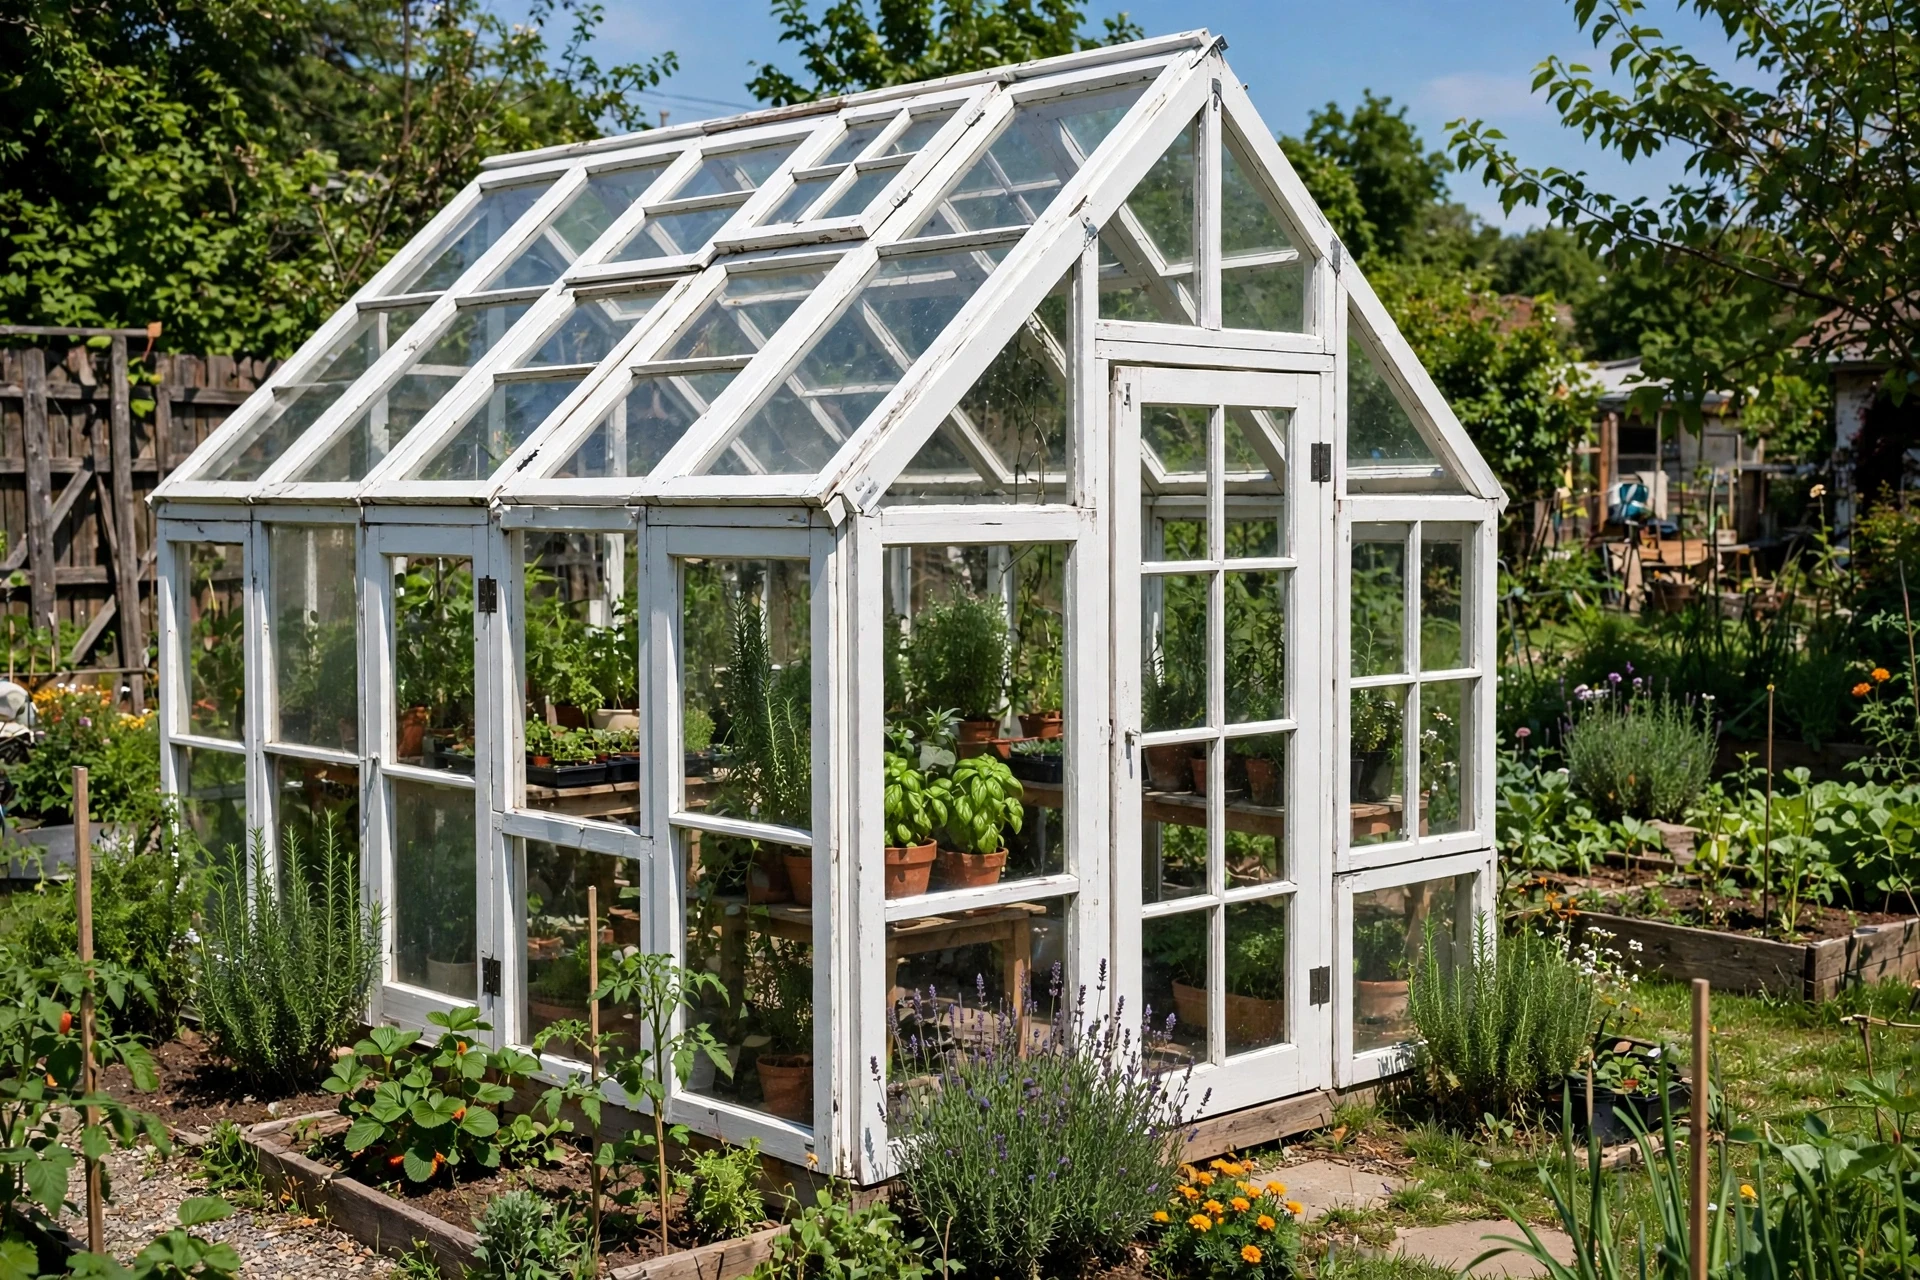
Ventilation, drainage, and finishing are the three details that separate a greenhouse that works from one that merely looks good. Open vents early on sunny days, even in spring, because temperatures inside glass rise far faster than outside, and close them before cold nights. Water in the morning so leaves dry before evening, and keep paths and vents clear of pots, hoses, and clutter that block airflow.
Finish the outside as carefully as the inside by painting timber, sealing joints, and adding simple touches such as a rain barrel beside the door and a small step at the entrance. Check the structure each season for loose screws, cracked caulk, and sticking vents, and repair small issues before they grow. A greenhouse that is easy to ventilate, easy to drain, and easy to maintain will be used far more than one that fights you.
- Open vents early on sunny days and close them before cold nights.
- Water in the morning so plants dry before evening and mould stays low.
- Do a seasonal check of screws, caulk, vents, and paint, and fix small issues early.
Frequently Asked Questions
How much does a recycled window greenhouse cost?
The cost depends mostly on what you already have and what you must buy new. Windows from salvage yards, marketplace listings, and renovations are often free or very cheap, while timber, screws, roofing panels, and caulk make up most of the budget. Many builders finish a small greenhouse for a few hundred dollars, far less than a comparable new kit, especially when they reuse timber and hardware too.
Do I need planning permission or a permit?
Rules vary by location, size, and where the greenhouse sits on your property, so check your local planning and building rules before you start. Small structures in a backyard often need no permit, while larger greenhouses, structures near a boundary, or homes in protected areas may need approval. A quick call to your local planning office before building saves far more trouble than fixing a problem afterwards.
Can I use any old windows for a greenhouse?
Almost any window with a solid frame and intact glass can work, but matching sizes make the build far easier and stronger. Avoid frames with serious rot, cracked glass that cannot be replaced, and hardware that cannot be secured. Check old paint for lead before sanding, and choose windows with glass thick enough to handle wind and weather in your area.
How do I keep a recycled window greenhouse warm in winter?
Close vents early, seal draughts with caulk and weather stripping, and add thermal mass such as water barrels or stone paths that absorb heat by day and release it at night. Insulate the north wall with boards or straw bales if your winters are harsh, and grow only hardy crops in the coldest months. A small heater helps in very cold climates, but good sealing and thermal mass do most of the work.
How long will a recycled window greenhouse last?
With pressure-treated timber, good paint or sealer, and yearly maintenance, a recycled window greenhouse can last for many years. The weak points are usually unsealed timber ends, cracked caulk, and single panes broken by storms, all of which are easy to repair. Recheck the structure each spring, replace damaged panes quickly, and repaint timber before it weathers badly.
Conclusion
Building a greenhouse from recycled windows is a rewarding project that saves money, reduces waste, and gives you a beautiful place to grow. By measuring carefully, framing squarely, sealing thoroughly, and ventilating well, you can turn a pile of old windows into a structure that serves your garden for years. Take your time with the foundation and the walls, since those early steps decide how well everything else fits.
Start by collecting windows, sketch your layout, and build one wall at a time, enjoying the process as the structure takes shape in your backyard. Before long, you will be stepping into your own glasshouse on a cold morning, surrounded by seedlings and the quiet satisfaction of having built it yourself from materials that might otherwise have been thrown away.